boilermaker
Forum Newbie
- Joined
- Feb 27, 2013
- Threads
- 0
- Messages
- 6
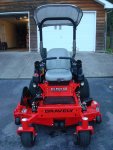
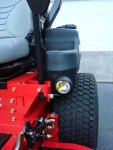
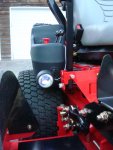
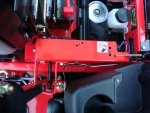
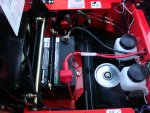
I can't figure out how to put this with my original post,or even if original post was in the wrong place, but i fell that i need to tell all of you that i took of the drive units and removed the covers and cleaned the oil and gunk out. The filters were partially stopped up so cleaned and blew them out several times, then put the covers and oil back in. Reinstalling the drive units proved very hard for this old man, but" i got er done".I have cut my yard, my neighbors and the Museum's 1 1/2 acre and no problems(except i need to adjust neutral ). I didn't measure old oil and couldn't find the amount anywhere, so i just dumped oil in and put the covers on and when i test drove it sounded like a car power steering pump thats low on oil. I removed the vent tops and added oil to almost running over. Works great again!! I have a Gravely 1640, don't know how old...Thanks for listening.