2 stroke engine (filter/exhaust leak)

Sounds about right.
Nice to have access to dealer networks.
If you buy he carb from Aliexpress , take the China post option as most of the freight companies toss on an extra charge for "customs" which is a lie .
Most of what I have bought was bulk feighted to a Botany address then despatched via AusPost and takes 2 to 4 weeks to arrive .
 
Thankyou Bertsmobile1 for the reply and StarTeck for the link for a replacement carb.

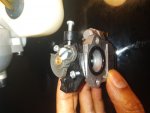
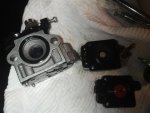
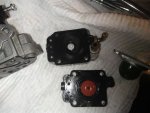
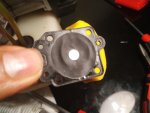
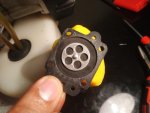
I took the carburetor out this morning carefully dismantling it piece by piece including the metering diaphragm. It was soaked with petrol right through (I'm not sure it you can tell with the pics).
If I decide to keep this trimmer it might be worth just replacing the whole carb since its very cheap however how bad enough does the diaphragm have to be for it to not function properly? It does feel a bit on the flimsy side. Does it have to feel nice and crisp when gently pressed? I did gently soak up the petrol from it however would that be good enough to fix back and test or not?

I will look closely again to see if i can find any other parts which seem to be blocked up or filled with dirt.

Thanks again
Jake
 

Attachments

  • 1 (Large).jpg
    1 (Large).jpg
    114.1 KB · Views: 4
  • 2 (Large).jpg
    2 (Large).jpg
    97.7 KB · Views: 3
  • 3 (Large).jpg
    3 (Large).jpg
    121.3 KB · Views: 3
  • 4 (Large).jpg
    4 (Large).jpg
    117.7 KB · Views: 3
  • 5 (Large).jpg
    5 (Large).jpg
    142.8 KB · Views: 3
  • 6 (Large).jpg
    6 (Large).jpg
    165.4 KB · Views: 2
  • 7 (Large).jpg
    7 (Large).jpg
    97.9 KB · Views: 4
  • 8 (Large).jpg
    8 (Large).jpg
    96 KB · Views: 2
metering diaphrage should be dry on the cover side & wet on the needle side, be soft springy and have no holes.
The needle should withstand around 15 PSI before opening ( called the pop off pressure ) .
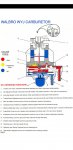
Go to the Walbro site and download the manual for rotary valve carburettors
 
metering diaphrage should be dry on the cover side & wet on the needle side, be soft springy and have no holes.
The needle should withstand around 15 PSI before opening ( called the pop off pressure ) .
Go to the Walbro site and download the manual for rotary valve carburettors

Ok the diaphragm was soaked right through, no holes. I wiped it down but wasn't confident enough putting it back together just to test incase it didn't start again.
Ordered a new carburetor. Once it arrives will put it all back together with the right fuel ratio and hopefully she starts.

Was there anything else i could clean and check while i have the unit open?

Thanks
 
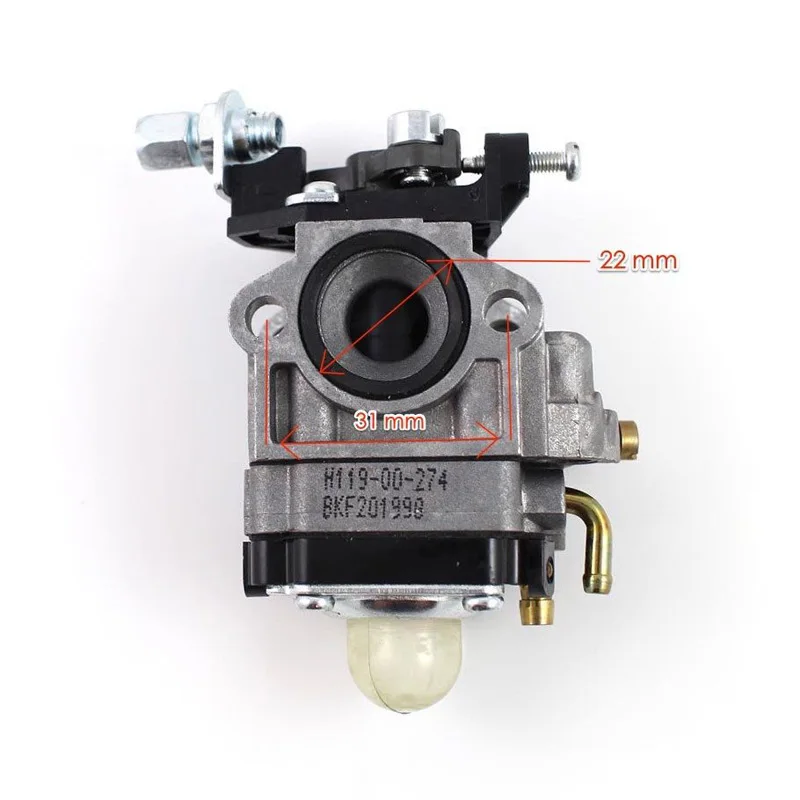
Hey everyone, so I've made some progress with this carb restoration project. I've fitted in the new carb successfully but have forgotten which is one is the fuel intake and the return? I've also pulled the fuel tank apart and cleaned it up as there was lots of residue inside. The fuel filter completely corroded and also needed to be replaced which fortunately was provided with the carburetor kit that I purchased.

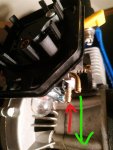
Am I right in saying that the red one is the fuel intake and the green one the return? Don't want to get this one wrong.

Thanks for any help
Jake
 

Attachments

  • Fuel Intake_LI (Large).jpg
    Fuel Intake_LI (Large).jpg
    93.6 KB · Views: 9
Damp your finger and place it over the end of the spiggots
You should be able to feel the air over your finger.
If you block one off and the bulb does not return that is the inlet
If you block one off any you can not push the bulb in , that is the outlet .
Usually the inlet is thinner than the outlet
Usually the inlet is the furthers away from the bulb because the fuel is drawn into the carb and then expelled from the bulb.
 
Come on it is a Walbro WYJ style cube so someone should be able answer without (edited out). It is obvious for anyone that has work with these carbs.

But Bert's instructs will work too.
 
Back
Top