My Lawn Mower Repair Thread (56k warning)

hanyoukimura

Well-Known Member
Joined
Jun 19, 2011
Threads
23
Messages
382
Had some time to do a little work today. Placed the starter rope on the string trimmer, it was frayed at the based of the rope and would have broken soon. What a pain those are. As far as I can tell the only way to remove the old rope and install a new one is to take the pulley off, which makes the spring unwind (and those are a real PITA to recoil). Replace the rope, recoil the spring and carefully set it in the cup, then carefully slide it on the shaft and carefully slide the pulley over it, and put the retaining bracket back on. A pain for sure, but now I don't have to worry about the rope breaking.

I also finished the Lawn Chief. The carburetor that was on was so badly covered in varnish I just threw it away and put a spare one on. Starts first pull and runs great. It seemed to run at a low rpm even at full throttle, but it never bogged down even in thick grass so I guess its fine. Must have a lot of torque.

So here we are before.

IMG_9548.jpg


And all done. I repainted the shroud and discharge shield (its metal).

IMG_9833_.jpg


IMG_9834_.jpg


IMG_9835.jpg


IMG_9841.jpg


IMG_9837.jpg


IMG_9836.jpg


IMG_9838.jpg


IMG_9839.jpg


IMG_9840.jpg
 

hanyoukimura

Well-Known Member
Joined
Jun 19, 2011
Threads
23
Messages
382
I'd like to know what year it is but I don't know how to read the date code (39G). I don't understand why companies don't just put something like 01-25-86 or something understandable to a normal human.
 

hanyoukimura

Well-Known Member
Joined
Jun 19, 2011
Threads
23
Messages
382
Funny you should say that, I just finished up a mower. It's been quiet with the season winding down and I've been on vacation, but I acquired a free Craftsman 917.388553 mower. It was being throw out, bag included. I went to pull of the carb only to have the plastic bracket for the butterfly valve break. Never had that happen before.

IMG_0030_zps3bd4b926.jpg


I'll have to get a photo, but what I ended up doing was using plastic epoxy to hold it (barely) together, then use a heated paper clip to melt the plastic together, followed by melting sections of paper clip together to brace it. The result isn't pretty but seems to be solid. I hate plastic.

The carburetor may not have even needed to be serviced, as it looked totally clean. I cleaned it anyway though. The spark plug was covered in oil as was the inside of the muffler. I replaced the plug and cleaned out the muffler with carb cleaner and let dry. Started right up and after a couple minutes the smoke was gone and hasn't come back.

Here it is all done, its in really good shape.

IMG_0045.jpg


IMG_0044.jpg


IMG_0037.jpg


IMG_0039.jpg


IMG_0040.jpg


IMG_0041.jpg


IMG_0042.jpg


IMG_0043.jpg
 

kyoshofan1

Member
Joined
Sep 15, 2012
Threads
8
Messages
30
Great looking mower, You have inspired me to take do a little repairing, saving mowers from the trash heap and reselling them. I came across a guy last week trying to get rid of 2 mowers that were not running sitting in his garage-one is a Yard Machines by MTD 11A-504C062 and the other is a Snapper LP21550V both with Briggs and Stratton engines. I gave him $20 for them. Already got the Yard Machines running with a Carb diaphragm/gasket and primer bulb replacement. The Snapper when I took the carb off it is so corroded I am going to have a hard time cleaning it, but that is ok. This past weekend I found 2 mowers (1 Ryobi 961160002 02 with Briggs and Stratton and 1 Yard-Man by MTD with 1P65M0 MTD Engine) and a walk behind Bolens gas edger with Briggs and Stratton for sale for $35. Neither mower was running, got the Yard-Man running with carb clean and the Ryobi will need and carb overhaul (been sitting for awhile). The Bolens edger starts and runs fine but needs the blade angle lever and spring ($12 parts). I think I am off to a good start. I plan on keeping the edger and selling the mowers. This is very enjoyable! Thanks for the updates on all your projects!!!!
 

hanyoukimura

Well-Known Member
Joined
Jun 19, 2011
Threads
23
Messages
382
Great looking mower, You have inspired me to take do a little repairing, saving mowers from the trash heap and reselling them. I came across a guy last week trying to get rid of 2 mowers that were not running sitting in his garage-one is a Yard Machines by MTD 11A-504C062 and the other is a Snapper LP21550V both with Briggs and Stratton engines. I gave him $20 for them. Already got the Yard Machines running with a Carb diaphragm/gasket and primer bulb replacement. The Snapper when I took the carb off it is so corroded I am going to have a hard time cleaning it, but that is ok. This past weekend I found 2 mowers (1 Ryobi 961160002 02 with Briggs and Stratton and 1 Yard-Man by MTD with 1P65M0 MTD Engine) and a walk behind Bolens gas edger with Briggs and Stratton for sale for $35. Neither mower was running, got the Yard-Man running with carb clean and the Ryobi will need and carb overhaul (been sitting for awhile). The Bolens edger starts and runs fine but needs the blade angle lever and spring ($12 parts). I think I am off to a good start. I plan on keeping the edger and selling the mowers. This is very enjoyable! Thanks for the updates on all your projects!!!!

Glad you enjoy it and that its inspired you!

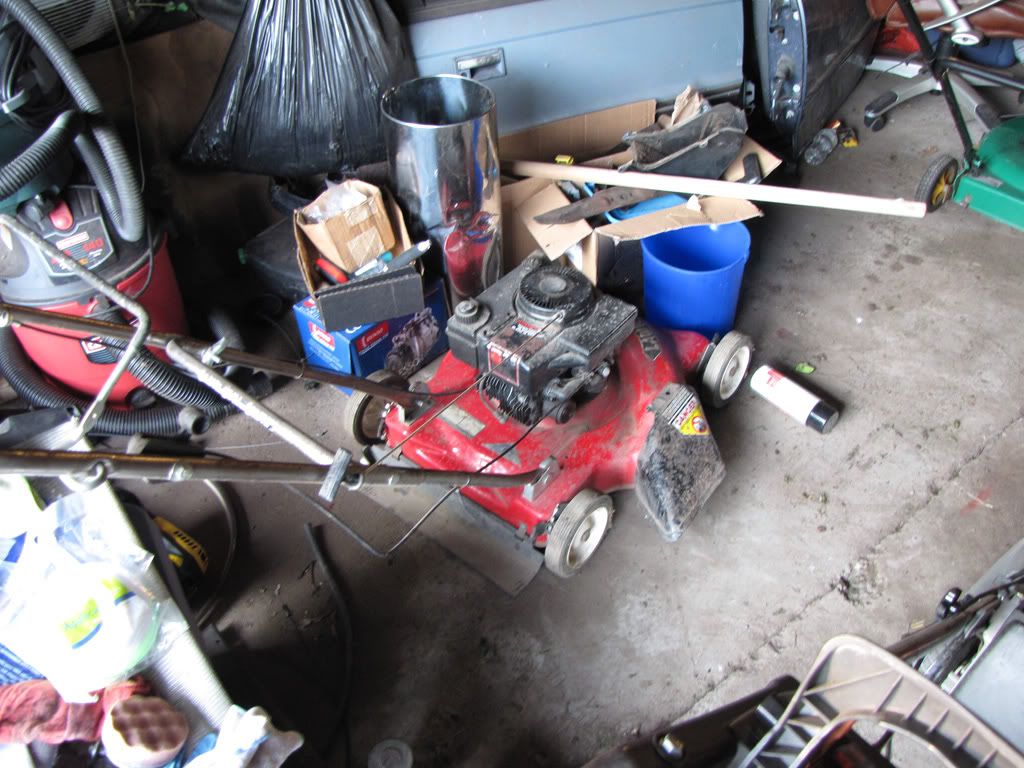
I recently got a chance to get some work done on the machines.

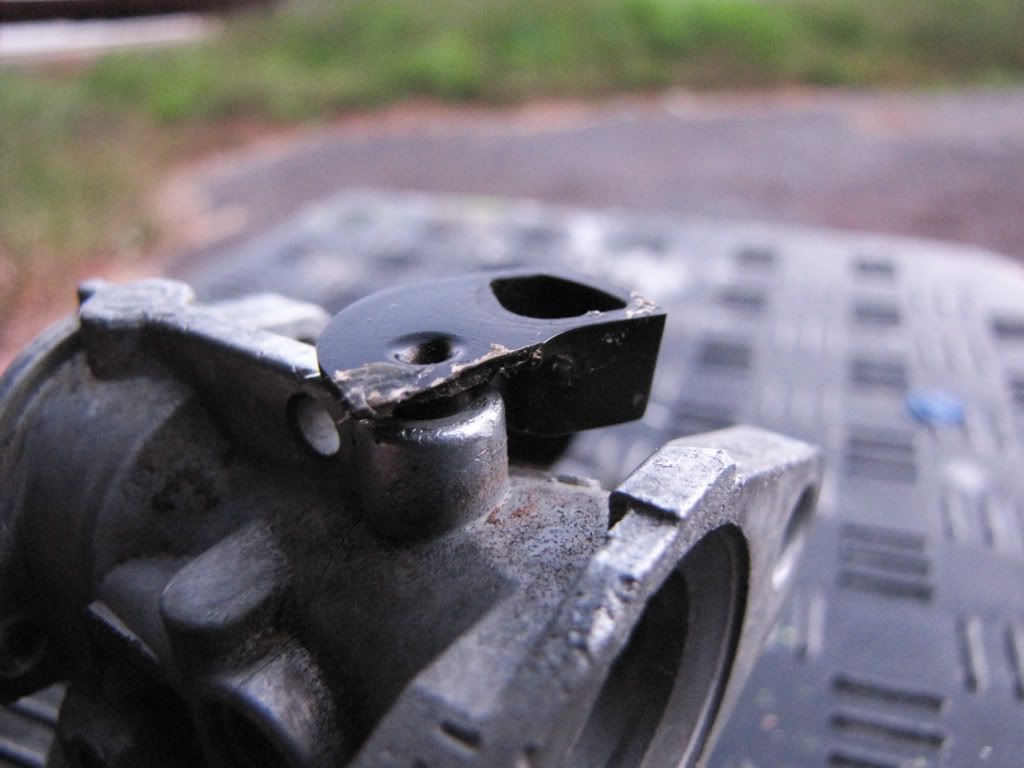
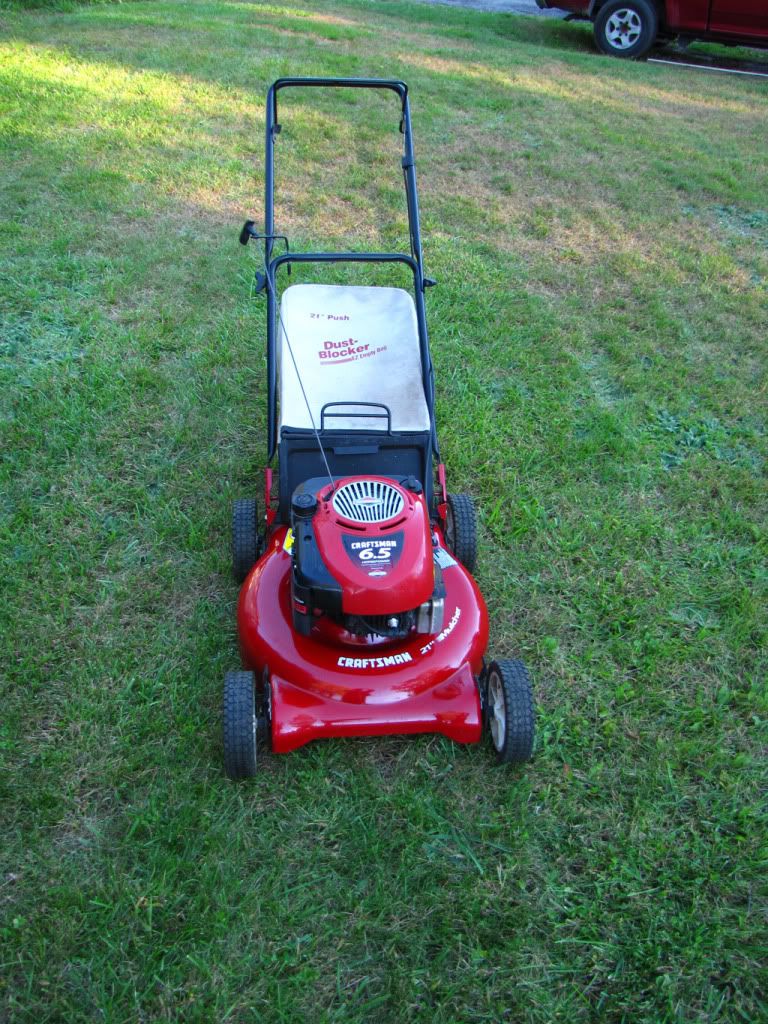
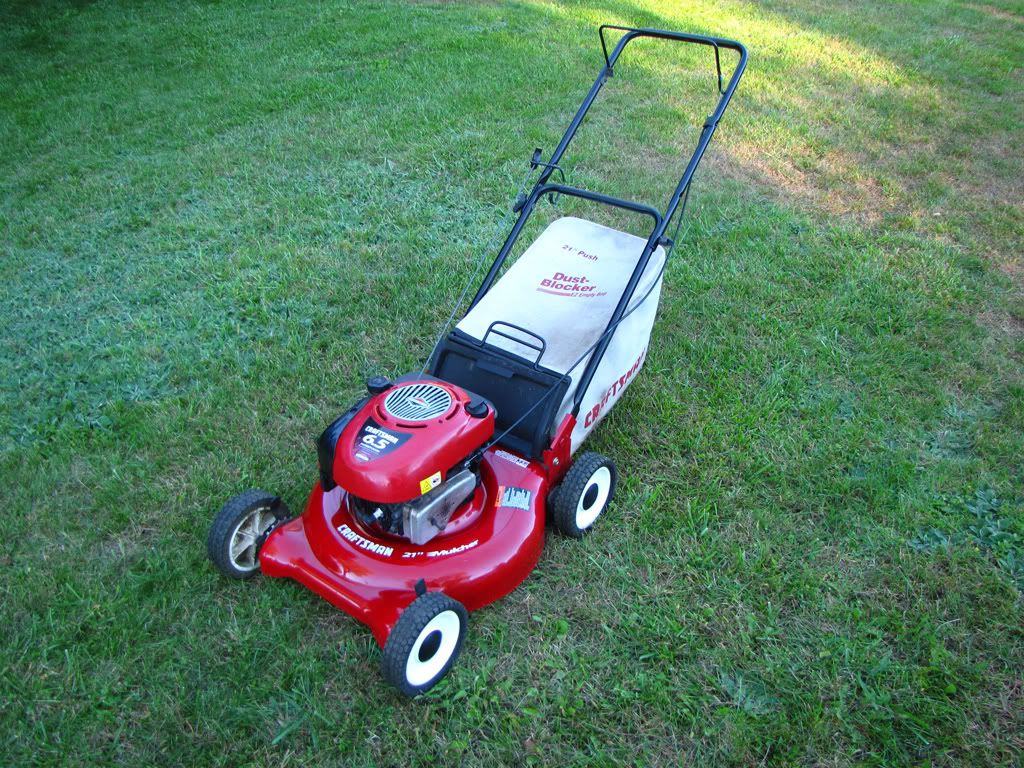
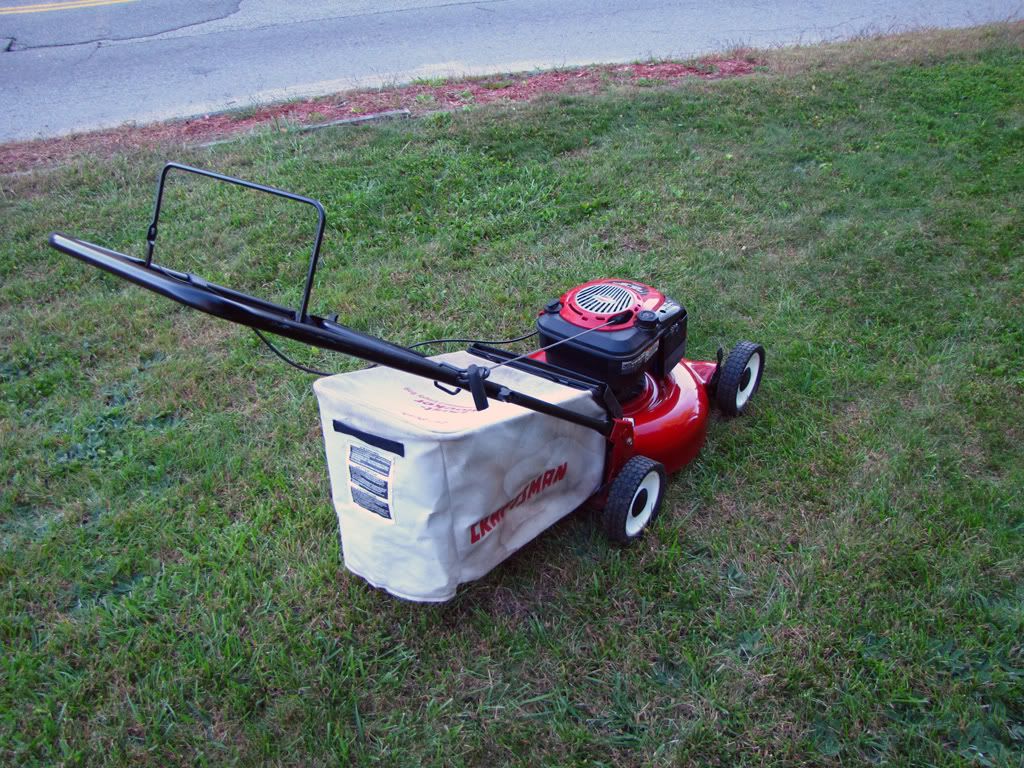
First up was that Craftsman. For some reason it would not prime no matter how many times I pressed the primer. I'm not sure how or why, but the problem ended up being the bracket that holds the primer bulb and mounts to the carburetor. It looks perfectly fine, but even after replacing the bulb it still wouldn't work. I borrowed one from an unused engine and it worked. While I was working on it I finally figured out how to replace that broken piece.

IMG_0060.jpg


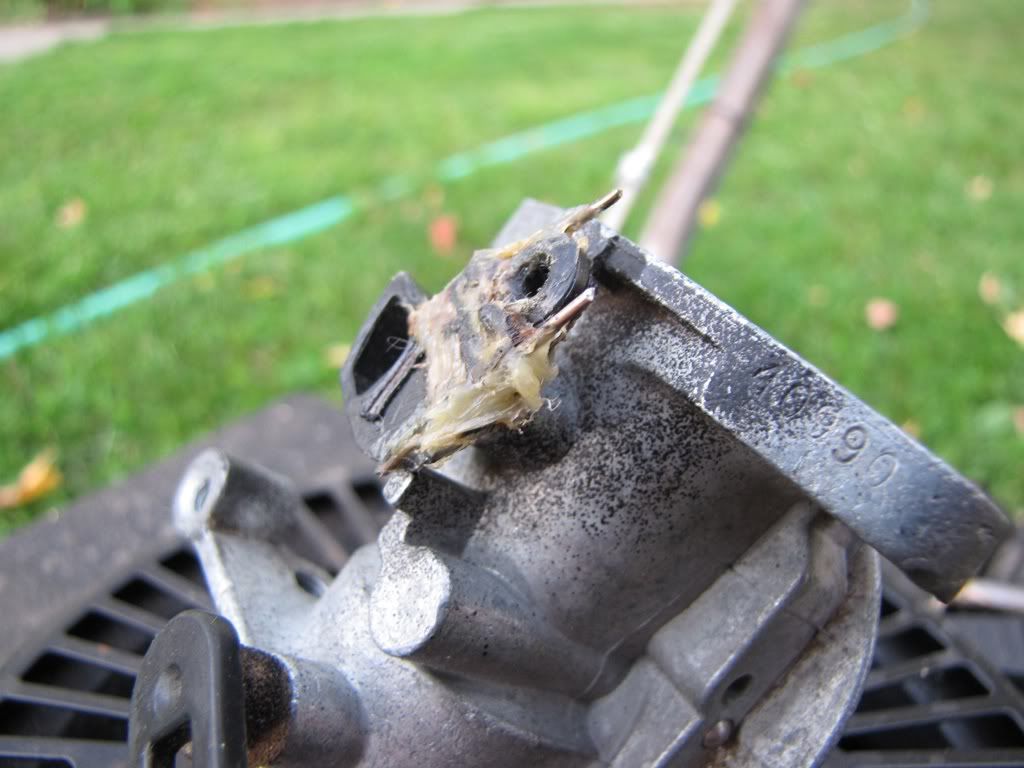
This is the repair, and after much work it did seem to be strong, though ugly. However, I've been concerned about its long term durability and didn't want it coming back to me broken. I had the carb off and was just looking it over (I though it was the reason it wasn't priming at first), when I realized that the butterfly valve is just shoved through a slit in the plastic shaft. All it too to remove it was a gentle tug with a pair of pliers. All that time I spent trying to figure out how to remove it and then trying to fix it, and the solution took only a couple seconds! I replaced it with a good one from another carburetor, put it all together, and she's as good as new.

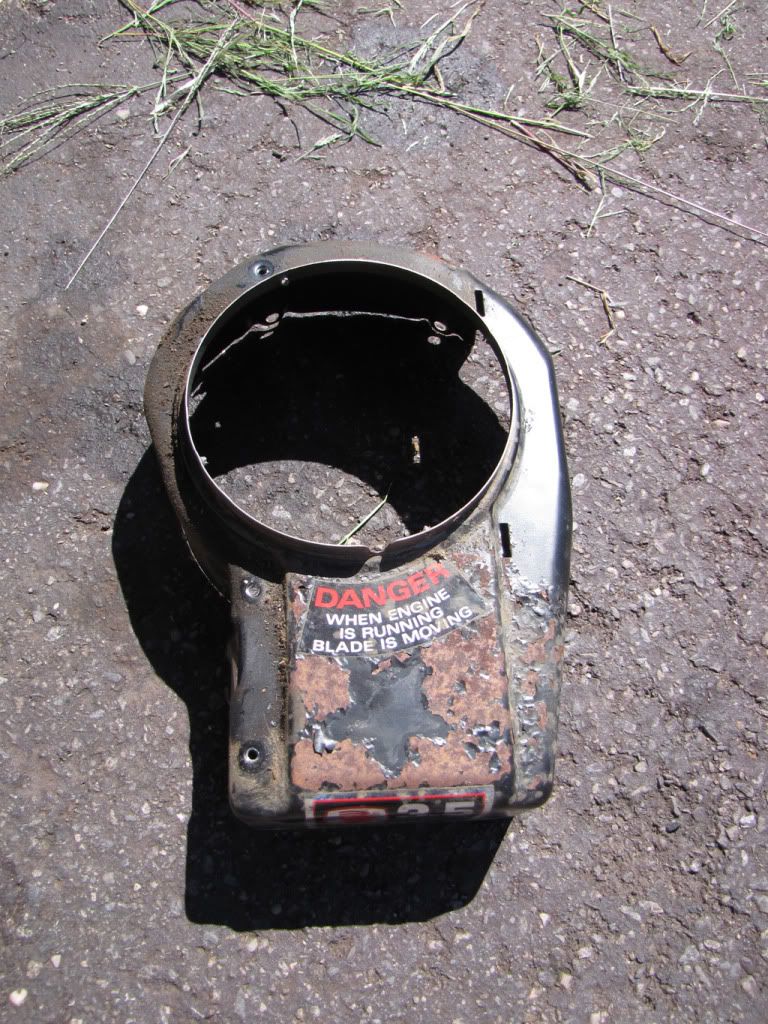
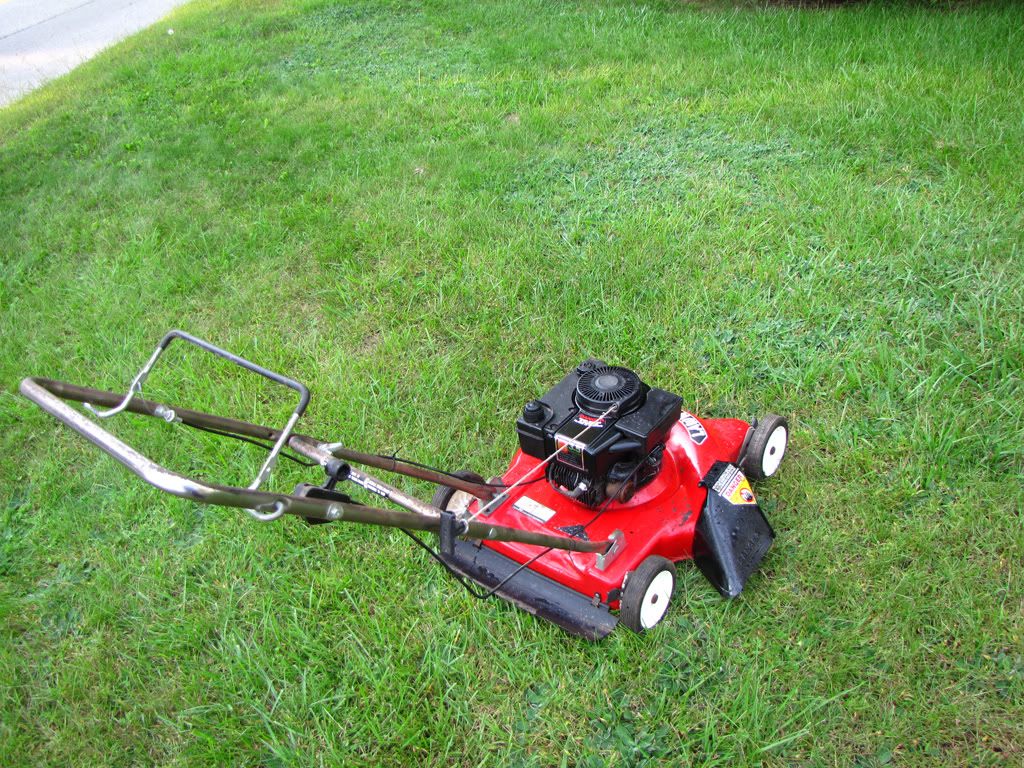
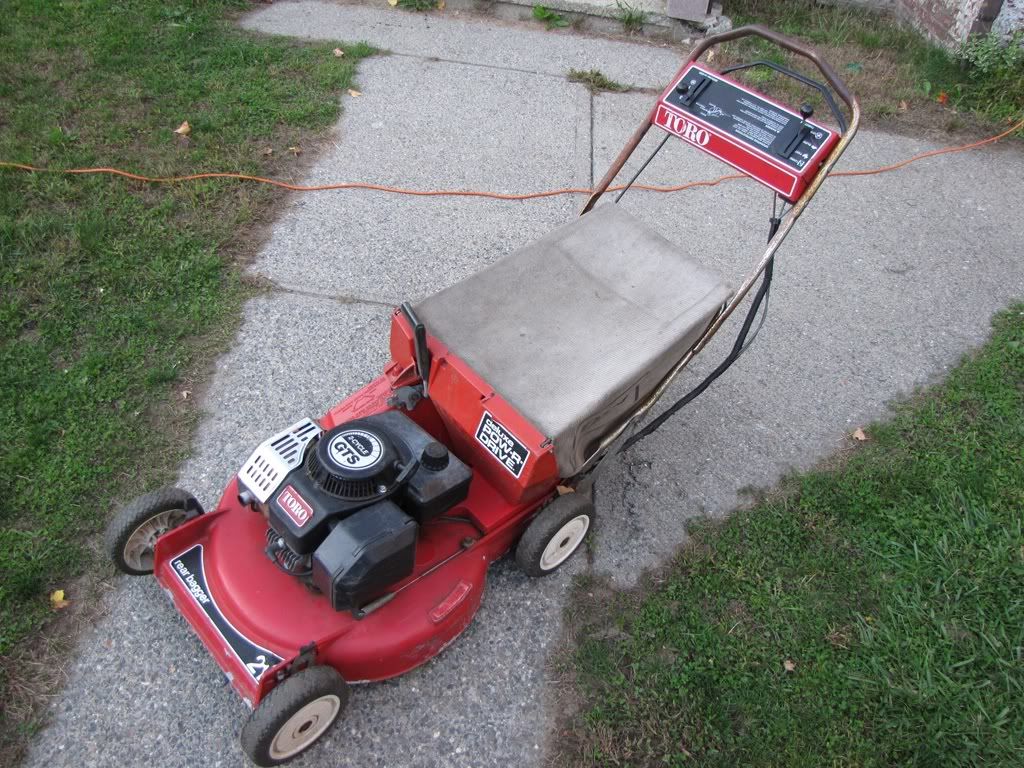
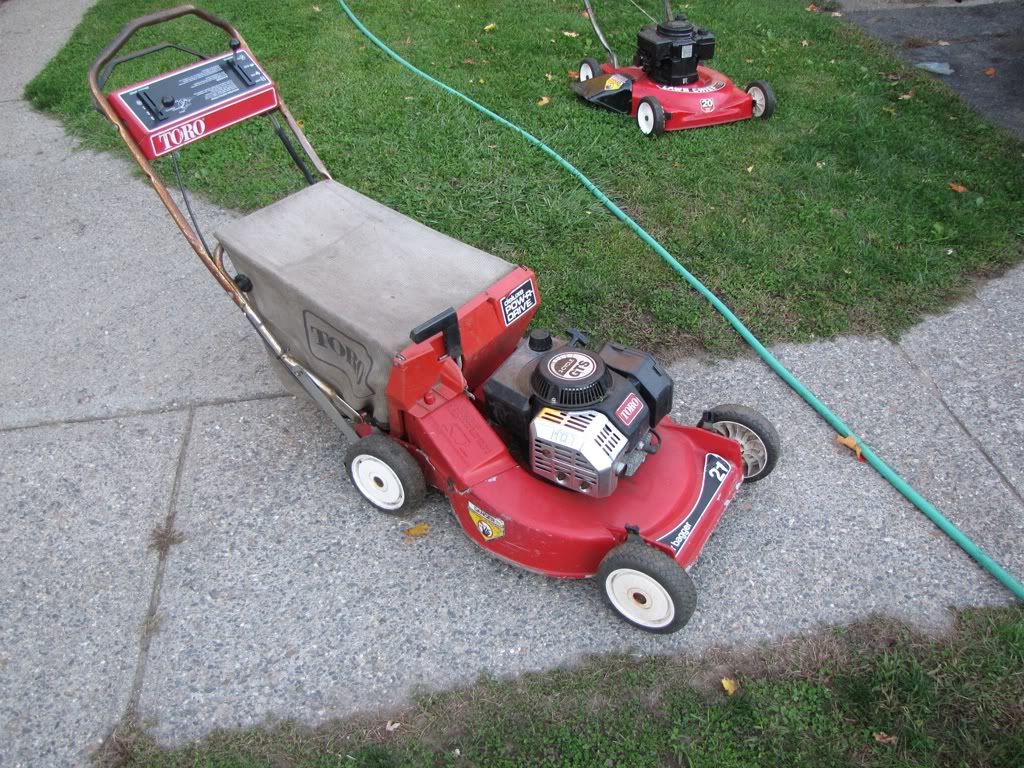
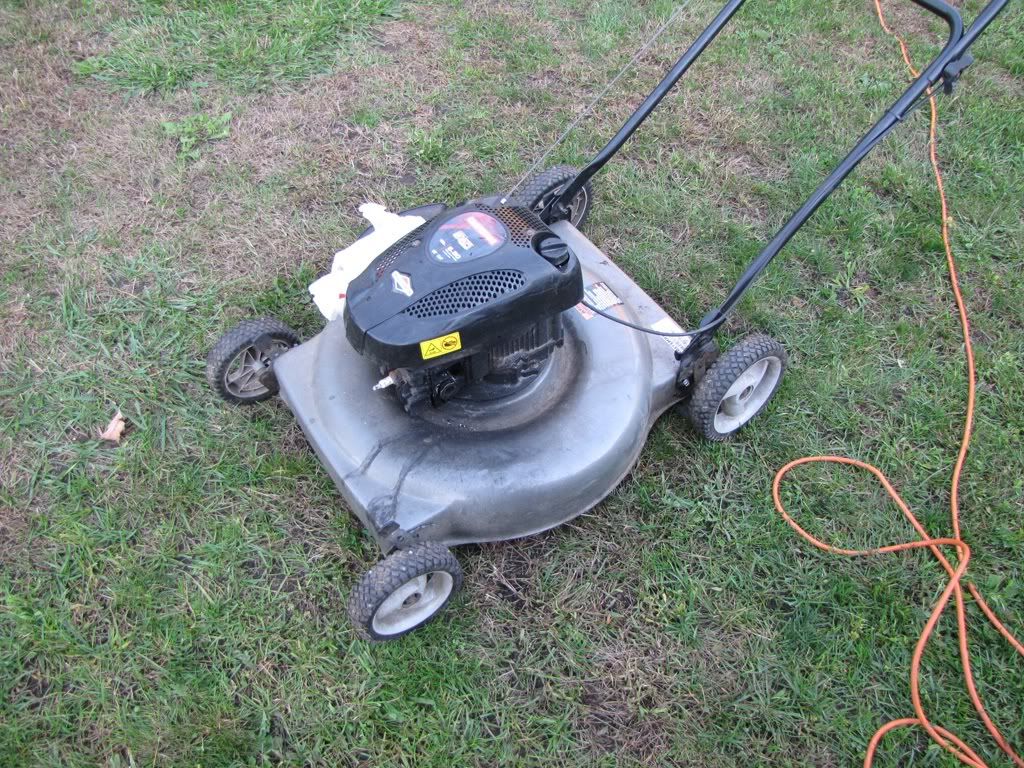
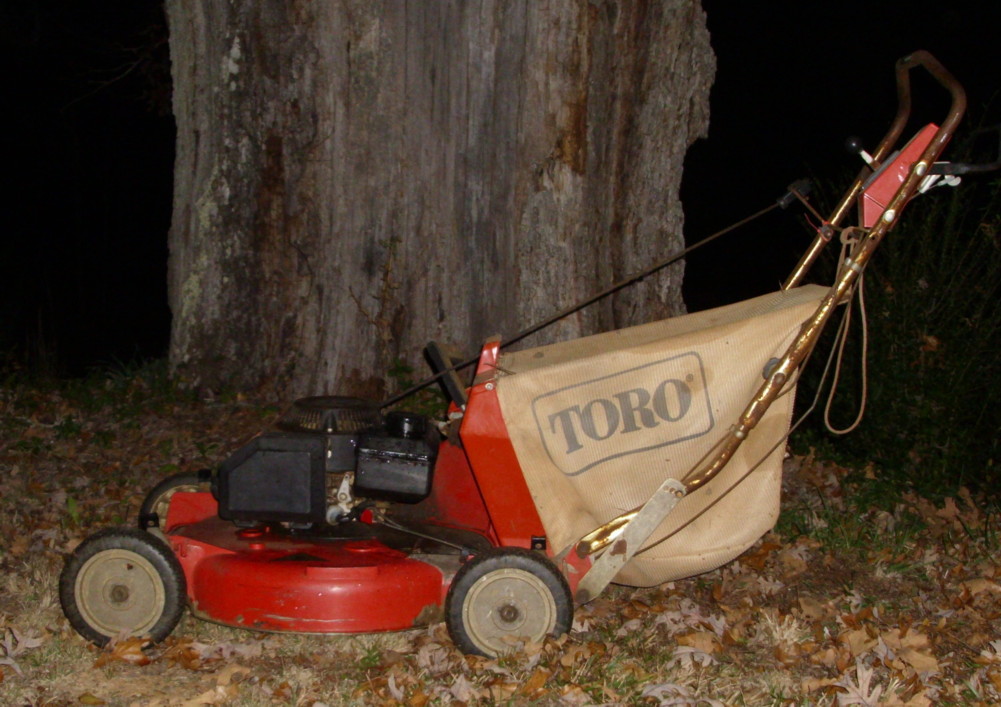
Today was really nice out, so I did some more work. I decided to tackle that 2-stroke Toro today. I figured out that the grinding noise it would make when the recoil was fully tightened down was coming from the bolts being too long and rubbing the flywheel, so I put spacers on and shorter bolts. Replaced the worn blade and put the shield back on and mowed the lawn with it for the first time. Sometimes it would seem like the blade would stop spinning and would clog up, but I guess the reason was because the thing bags really well and fills the big bag up quickly and since the blade is belt driven, it'll slip when there's blockage, I guess. I'm not really family with how these older Toros work. I do really like the drive system, which when in gear doesn't move until you start pushing, so when you make a turn the wheels aren't spinning and digging into the ground.

IMG_0058.jpg


IMG_0057.jpg


Wish I had a mulch plug for it though.

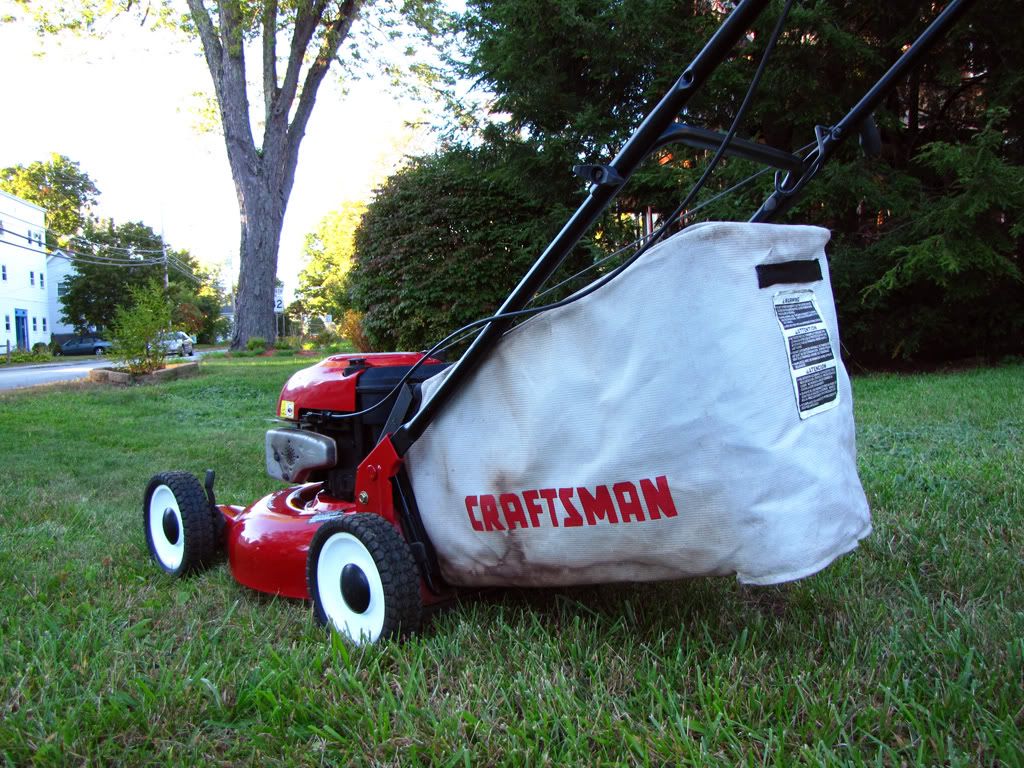
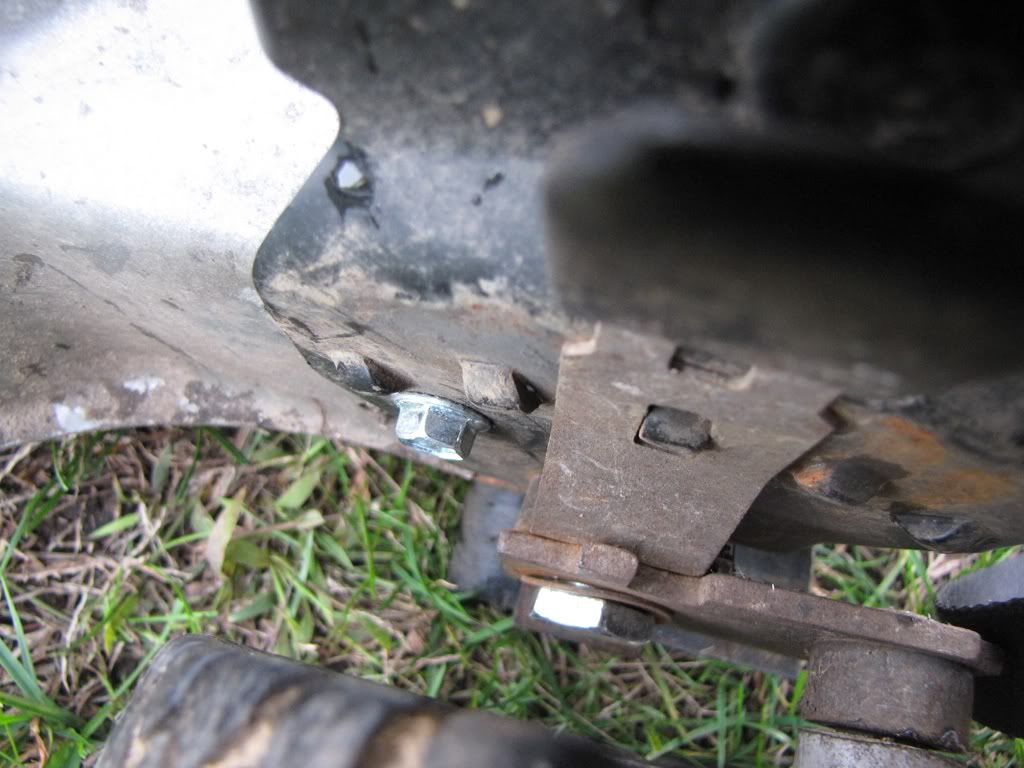
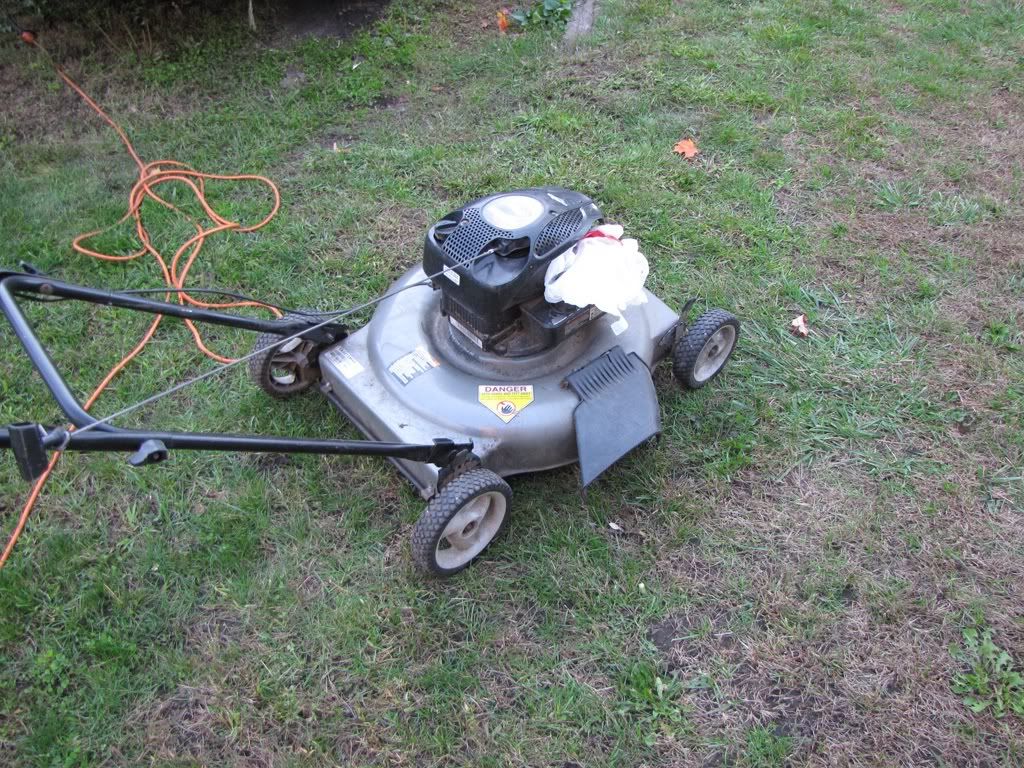
After that I decided to tackle a Craftsman push mower I got as trade for hat small Murray I sold. I didn't get any before pictures, which is too bad, but this poor thing was beat to hell. I was prepared to declare this thing a total loss. The brackets that hold the handlebars and wheels on were both so loose that the handlebars couldn't stay upright and the whole assembly would just rotate freely. All of the movement had caused the tabs that help hold the bracket in place to tear into the metal deck, and on one side the metal was so worn around the main bolt it was almost big enough for the nut to come out.

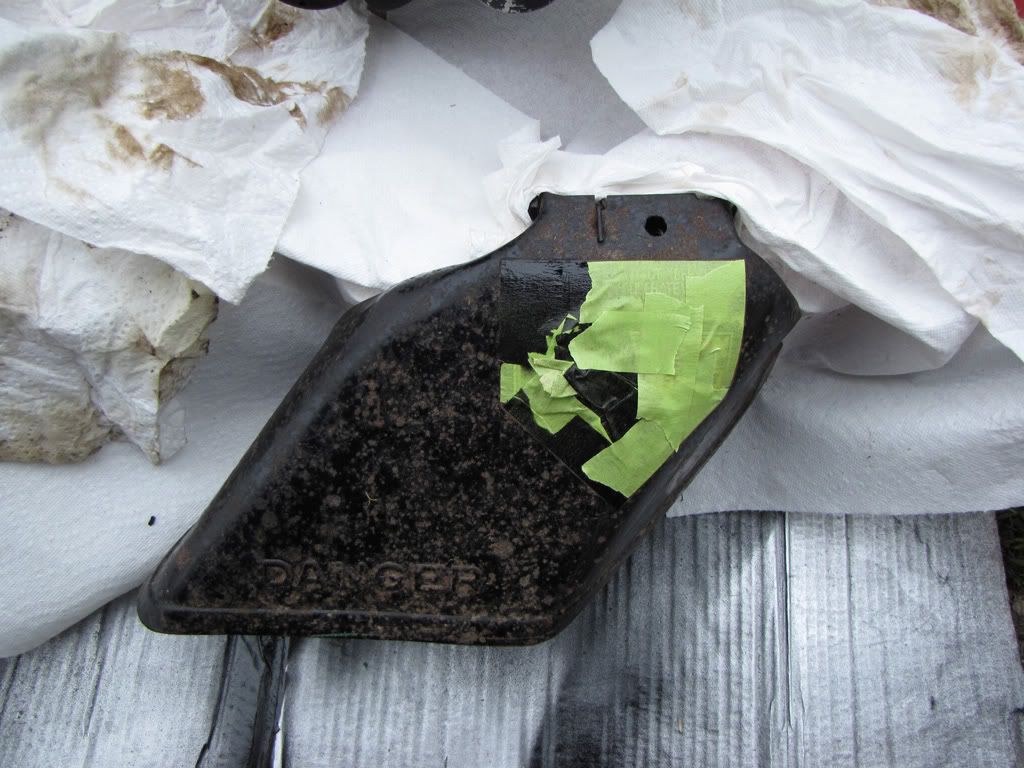
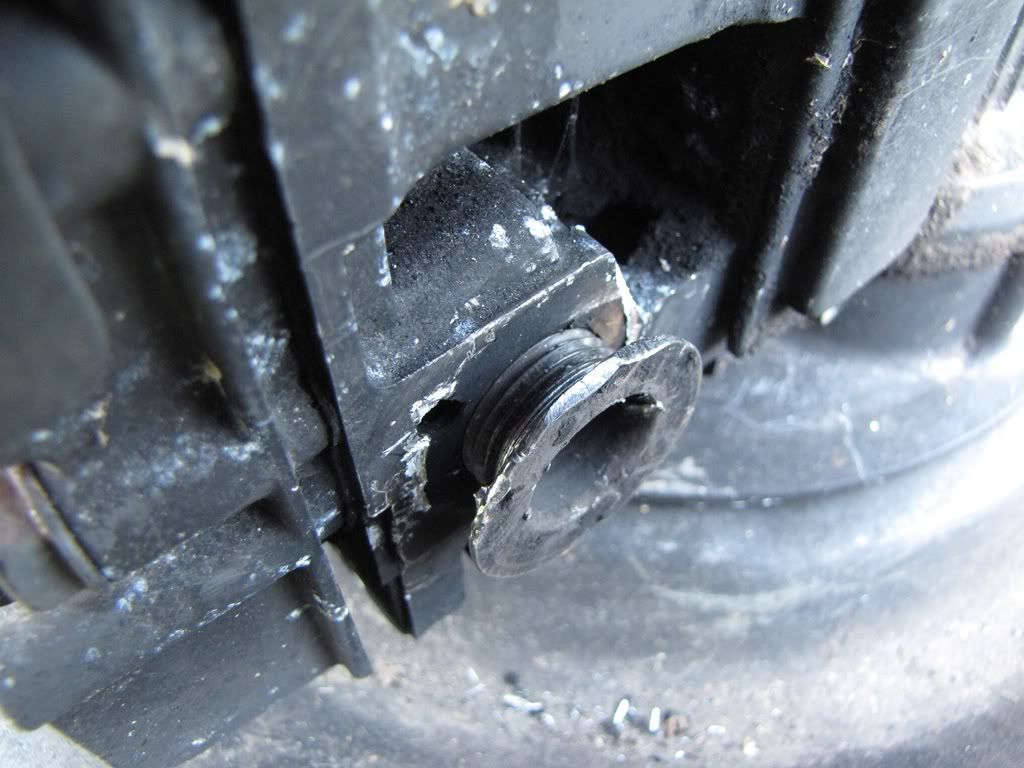
The problem seems to be that when it was assembled, he neglected to put the secondary retaining bolts in to keep the bracket secure. I used 1/4 bolts with locking nuts, straightened the deck, replaced an axle bolt after it sheered, and used a big washer to help compensate for the enlarged hole where the axle bolt goes through. I have to say I'm pretty pleased with the results. Once I got it all back together the brackets were nice and tight with no play, and the wheels and handle bars had no play either.

Here's a look at the repair.

IMG_0059.jpg


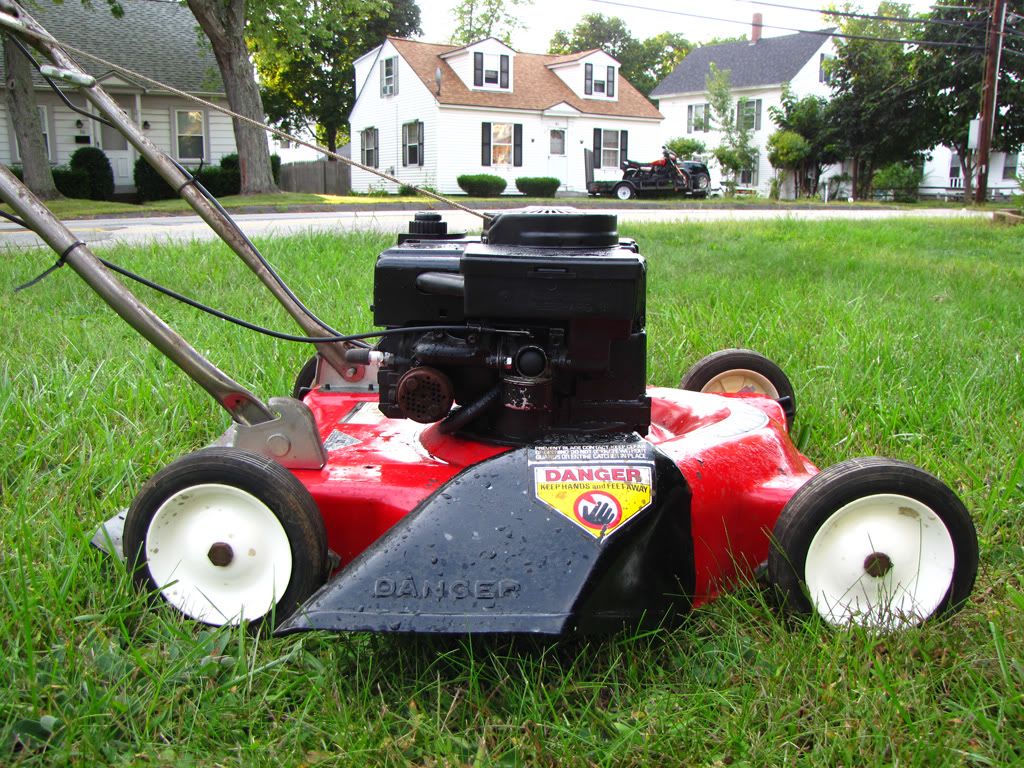
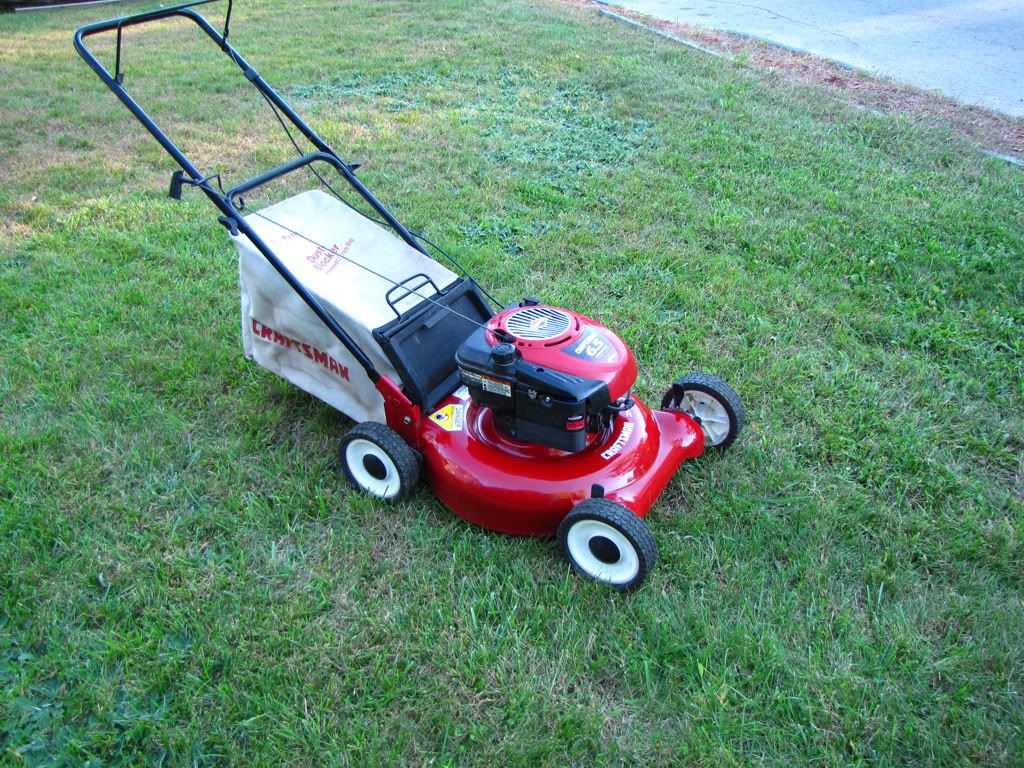
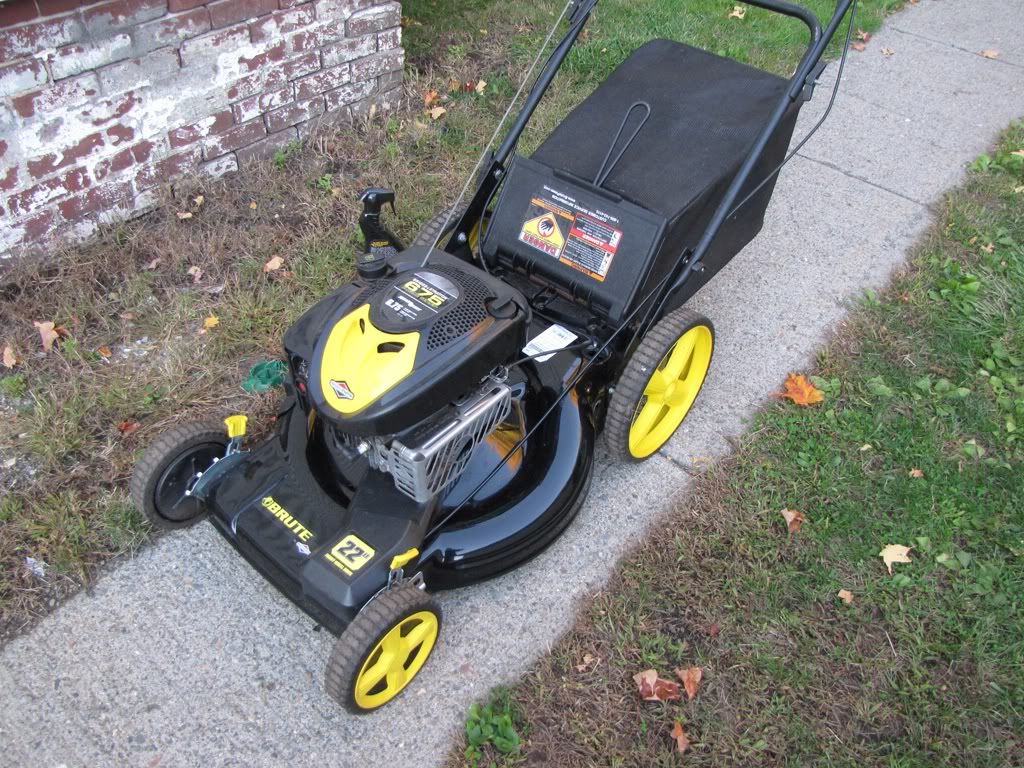
And here it is after the repairs were completed.

IMG_0052.jpg


IMG_0051.jpg


Next up is to see if I can get it to run. As you may have noticed, it has no muffler and must have been running rich. At first I thought the genius had taken the muffler off for whatever reason, but closer inspections hows that the base of the muffler is still threaded in, it blew off someone! It took a several tries with vise grips but I managed to get it off.

IMG_0055.jpg


So now it has a replacement muffler on it. I still need to get an air cleaner assembly, clean out the carb and tank and replace the plug to see if it'll fire. We'll see!

Finally, I wiped the Brute down and put it in the basement for the winter. I have enough in the garage to use for the rest of the season. :p

IMG_0050.jpg
 

natenkiki2004

Well-Known Member
Joined
Apr 22, 2011
Threads
13
Messages
177
Sometimes it would seem like the blade would stop spinning and would clog up, but I guess the reason was because the thing bags really well and fills the big bag up quickly and since the blade is belt driven, it'll slip when there's blockage, I guess. I'm not really family with how these older Toros work.

My older Toro does the same thing. Even with a new blade belt, sanding of the belt surfaces, cleaning and lubrication of the whole mechanism. Good feature to have though, so someone doesn't hit a rock and ruin the whole engine.

On a side note, I love reading the updates on your thread. It is quite inspiring :)
 

Two-Stroke

Lawn Addict
Joined
May 7, 2010
Threads
23
Messages
1,594
I'm glad to hear that your two-cycle Toro is running well. I really like mine and it gets lots of use. For me it occupies a place between a regular lawn mower and a brush mower.

toro-7.jpg


It's good to see this thread going strong. :thumbsup:
 

hanyoukimura

Well-Known Member
Joined
Jun 19, 2011
Threads
23
Messages
382
My one real problem is it that the "C" height on one the rear wheels is worn so it collapses. I have to either have it in B or D, a shame since I usually set my mowers to the middle (C) setting. Since the slot is cast into the deck, I don't see how I could fix it.
 

natenkiki2004

Well-Known Member
Joined
Apr 22, 2011
Threads
13
Messages
177
My one real problem is it that the "C" height on one the rear wheels is worn so it collapses. I have to either have it in B or D, a shame since I usually set my mowers to the middle (C) setting. Since the slot is cast into the deck, I don't see how I could fix it.

If you really wanted it fixed, you could find a guy that does tig welding out of his garage to add a bit of metal to it. I had a decent oil leak fixed in a piece of cracked cast aluminum on my motorcycle. Took it to a shop and it took a long time because the porous aluminum had soaked up oil and was releasing it as the guy was welding. Had to completely fill in a 3" x 1/2" by 1/2" area. Worked great and cost me $32. I'm sure that a little pea-sized weld wouldn't cost but $5-$10.

However, I think some of those Toro decks were magnesium, I'm not sure if that can be welded. My Toro is aluminum but it's one of the later models.
 
Top