On a Lawn-Boy, if the model number isn't on the deck, look on the underside of the sheet metal piece near the top of the handle.
Here is a link to a page with lots of links to Lawn-Boy manuals.
Ok cool, I'll check that out and report back.
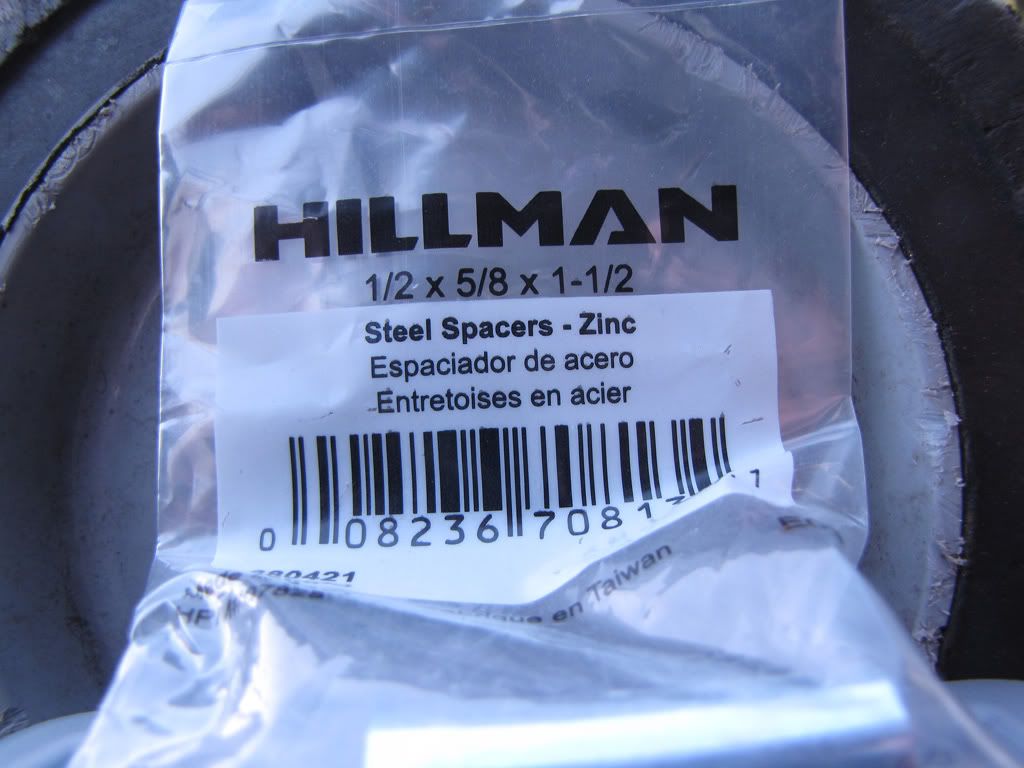
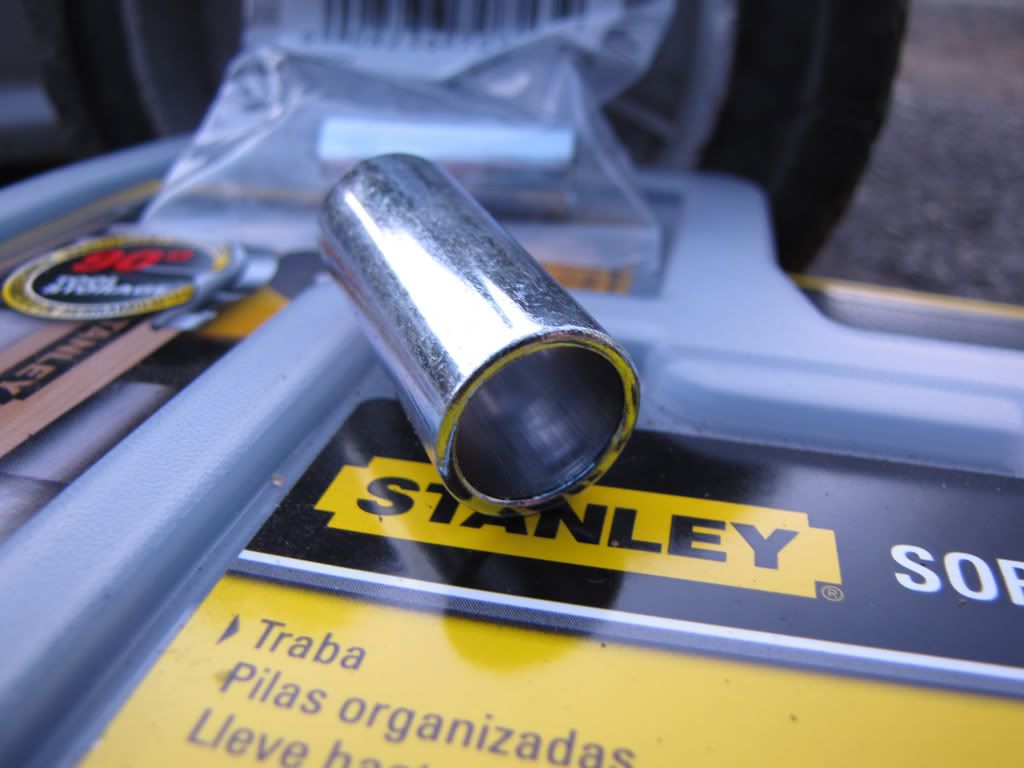
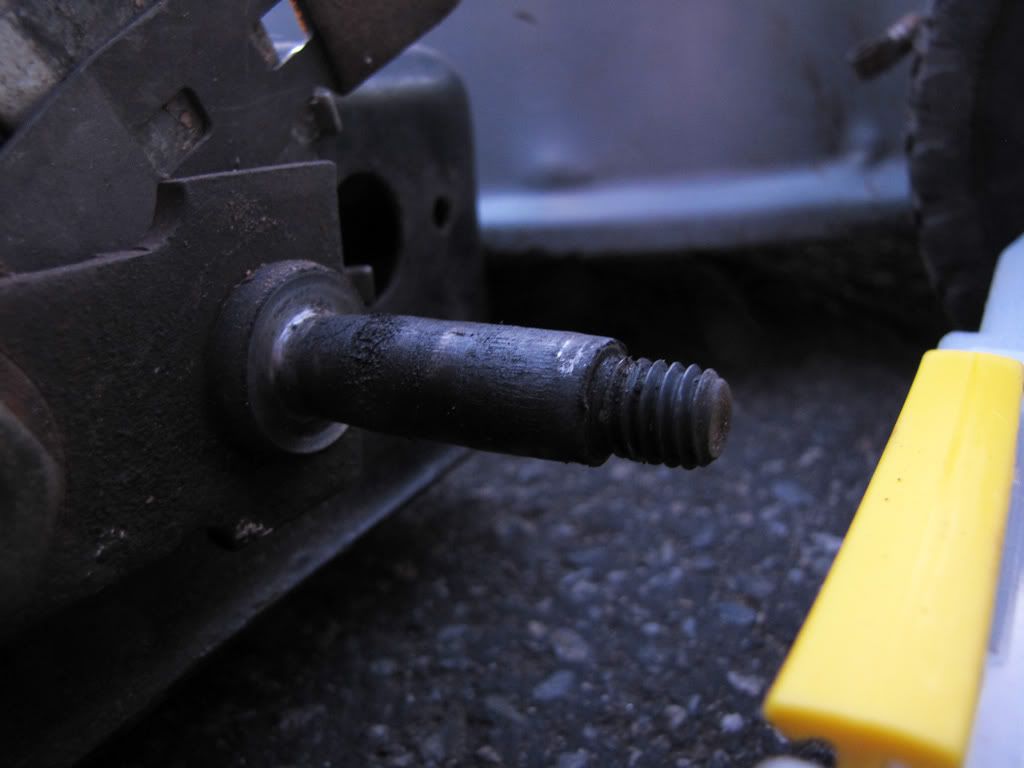
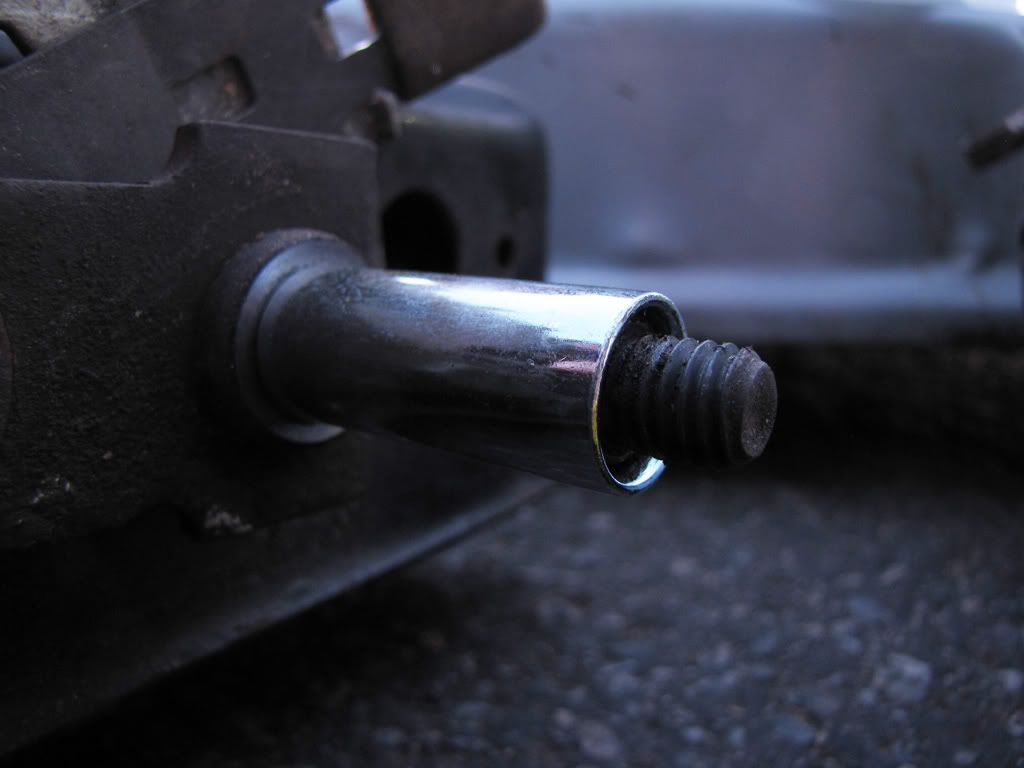
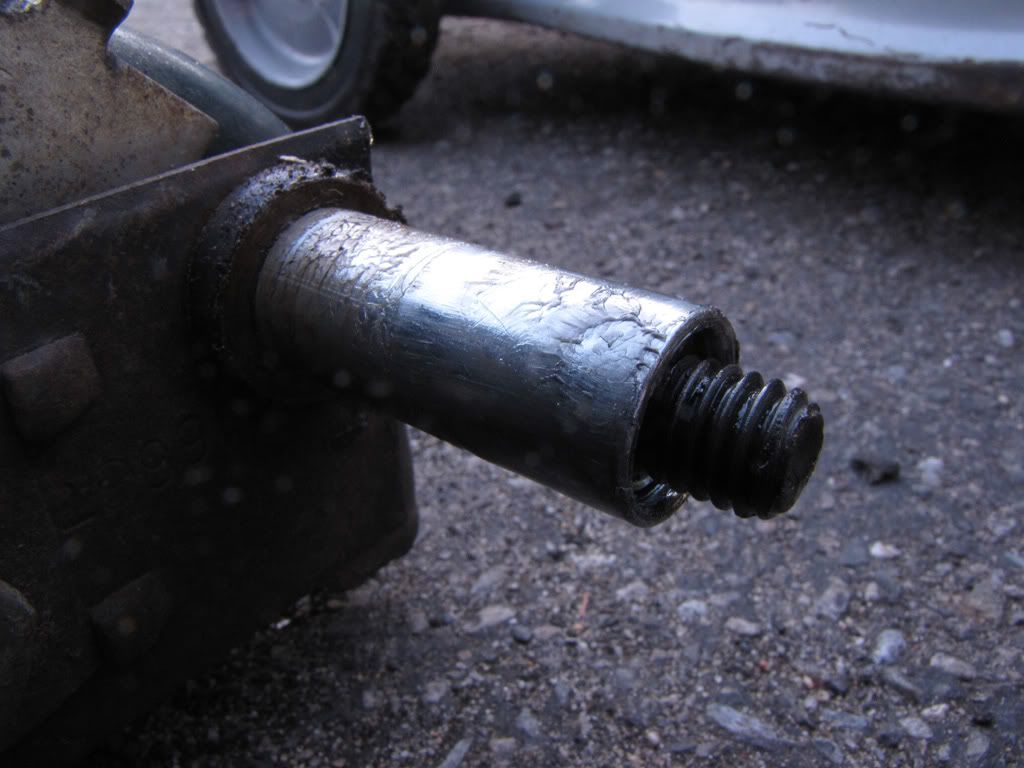
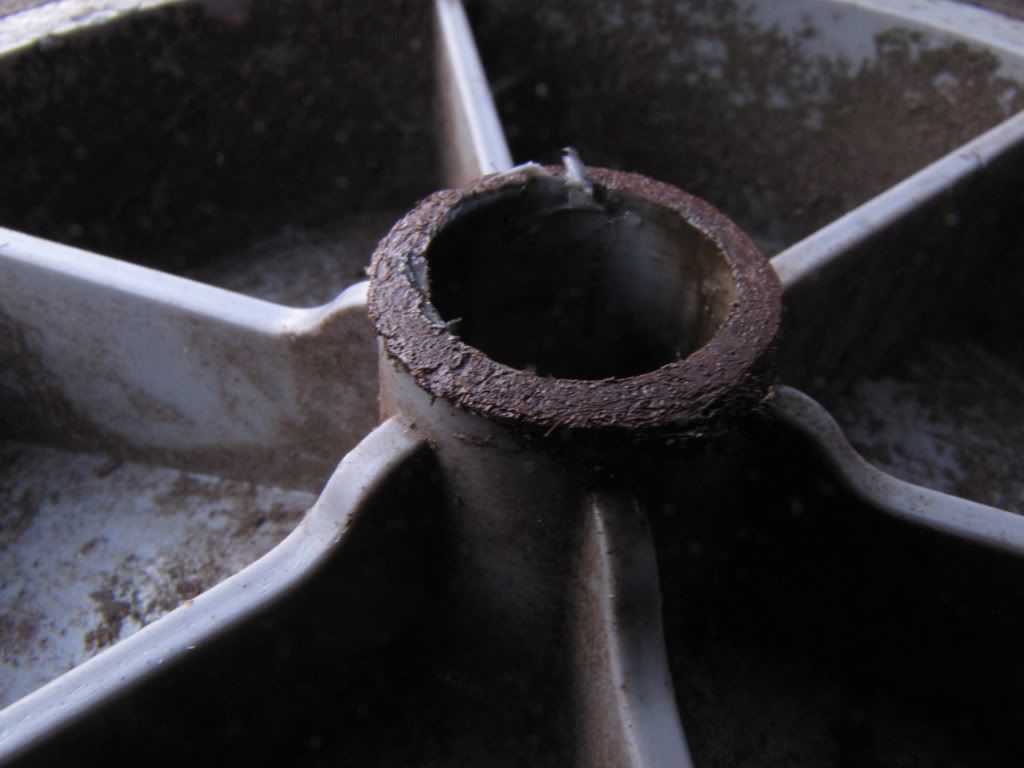
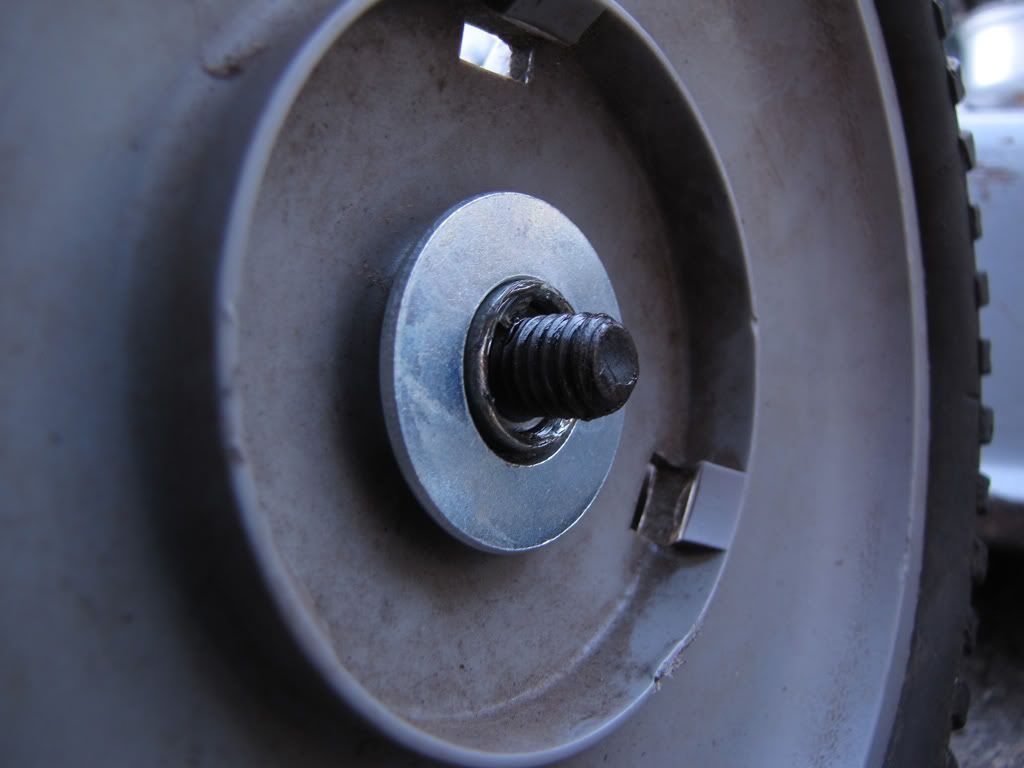
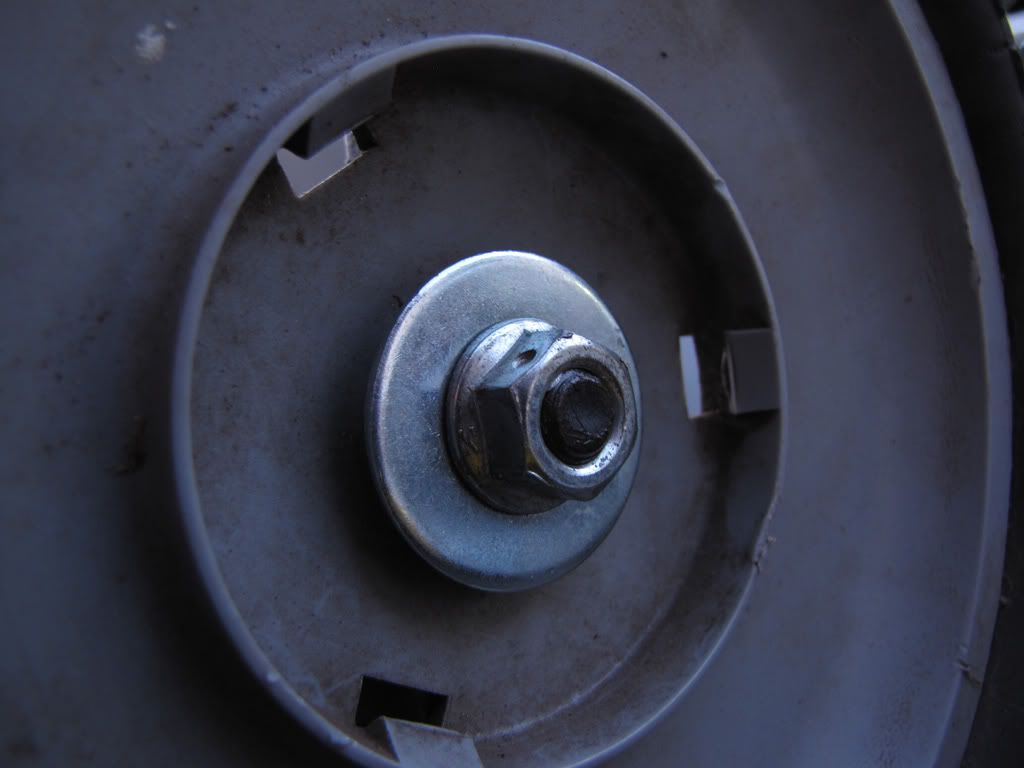
That's funny, I just did this same exact thing. I got a free used mower that had a busted wheel. Rather than buying 2 brand new ones, I found 2 used ones on eBay for $22 total including shipping. But I failed to realize they didn't have bearings. Had to buy spacers and some other misc hardware and just used plenty of lithium multi-purpose grease. Plastic hubs riding on a steel axle isn't the best setup but with lube and proper cleaning once a year, I should get the $22 out of these wheels
")
Back to the OP; I love this thread. I've read every post and will keep up on it. It inspires me to do similar work. Some of these mowers may be considered junkers by others but if it functions and looks good after $30, there's profit to be made as well as the enjoyment and knowledge learned with tinkering.
*EDIT*
Here's a pic of it:
New project; pull string, lubed recoil, removed rust off of a... on Twitpic
New spark plug, new pull cord, new handle, new rear wheels, total carb cleaning with new gaskets & o-rings and new air filter. Surprisingly cold-started with 1 pull the other day in 40F weather, and that was right after I drained the float bowl out!
Sorry if it sounds like I'm trying to hi-jack. I'm just inspired by this thread
Not hijacking at all. Personally I love to see other people bringing these things back to life. Sure they may not be collectable, but there's something to be said about saving a machine from being turned into scrap and hiving them a new lease on life. I enjoy posting photos, I like to document what I do, especially before and after.
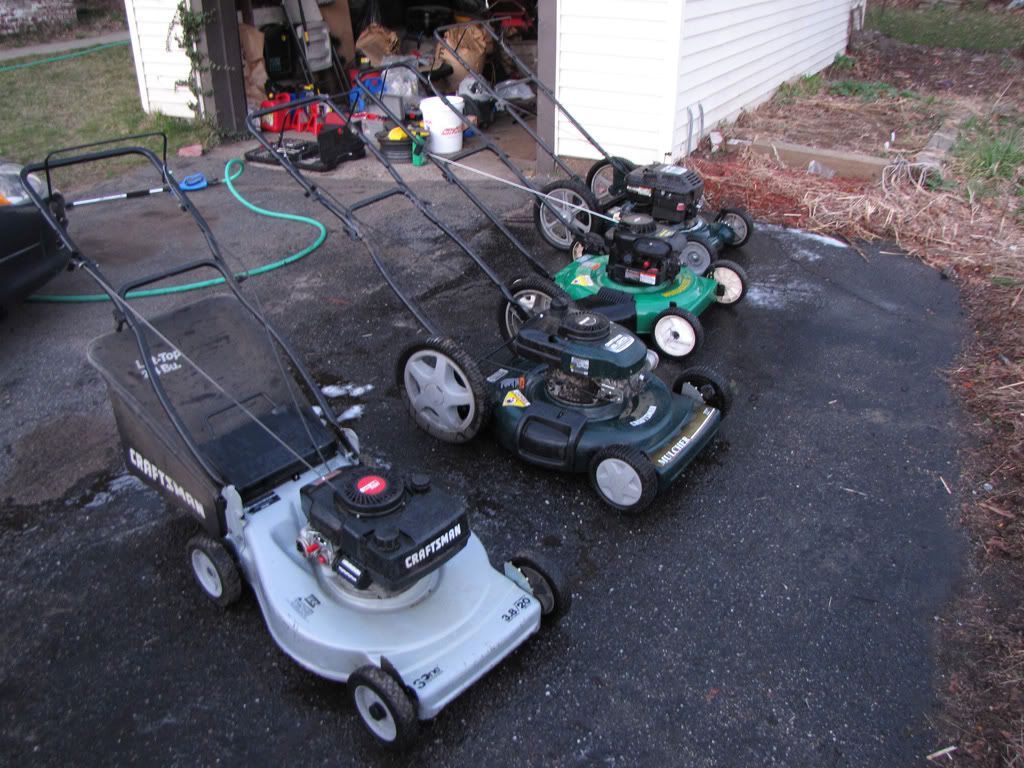
With that said, here are some quick photos taken before the sun went down. They got a quick wash, more thorough cleaning later.
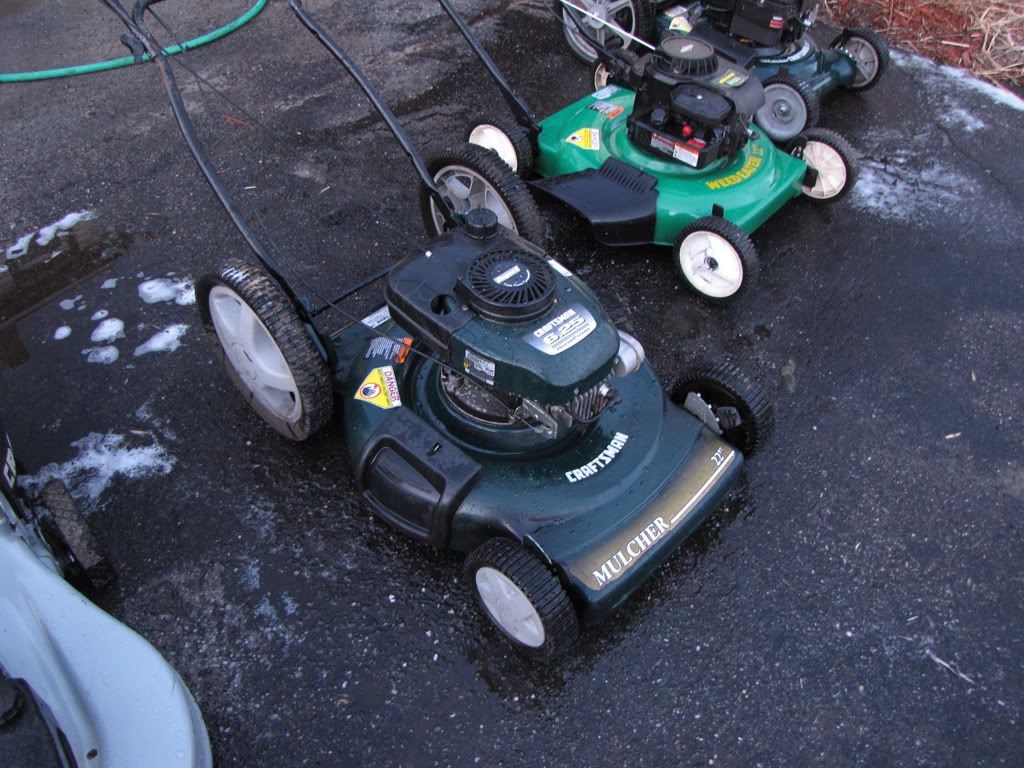
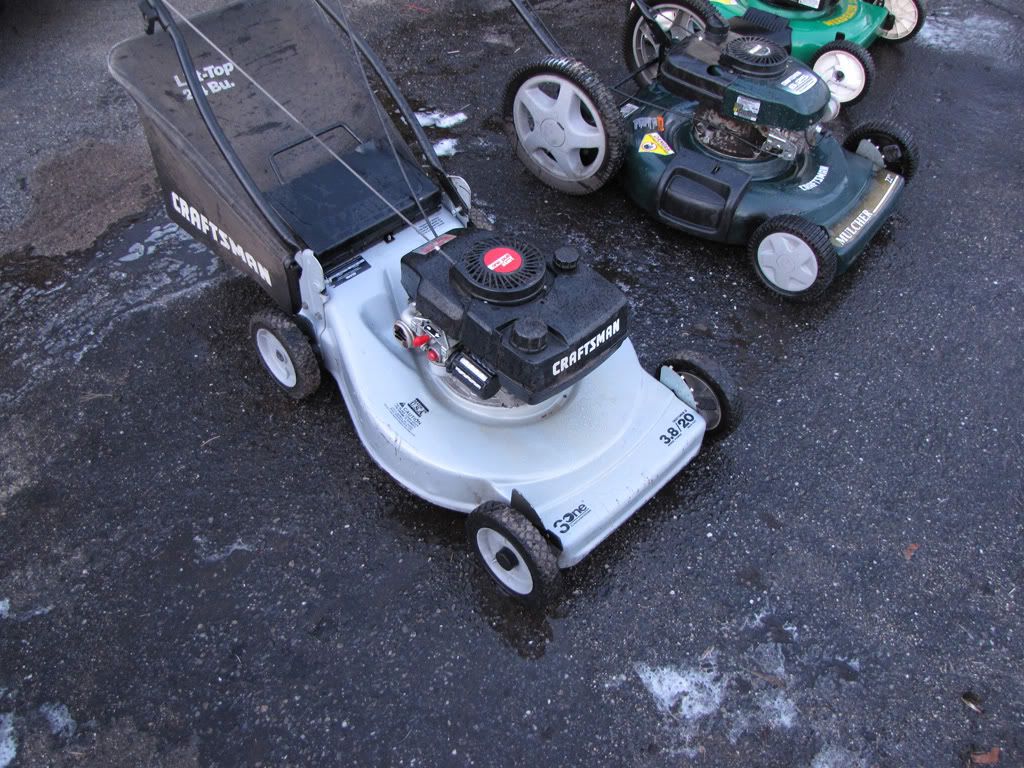
Here is the Briggs Craftsman.
This one I got running the other day however it would not idle right and sometimes wanted to rip the pull cord out of my hand. I figured broken flywheel key since it was still doing it after I recleaned the carburetor.
So I went to put the blade lock on and what do I find? No blade! Found my problem. Put a blade I had on it and now it runs excellent. Very quite too.
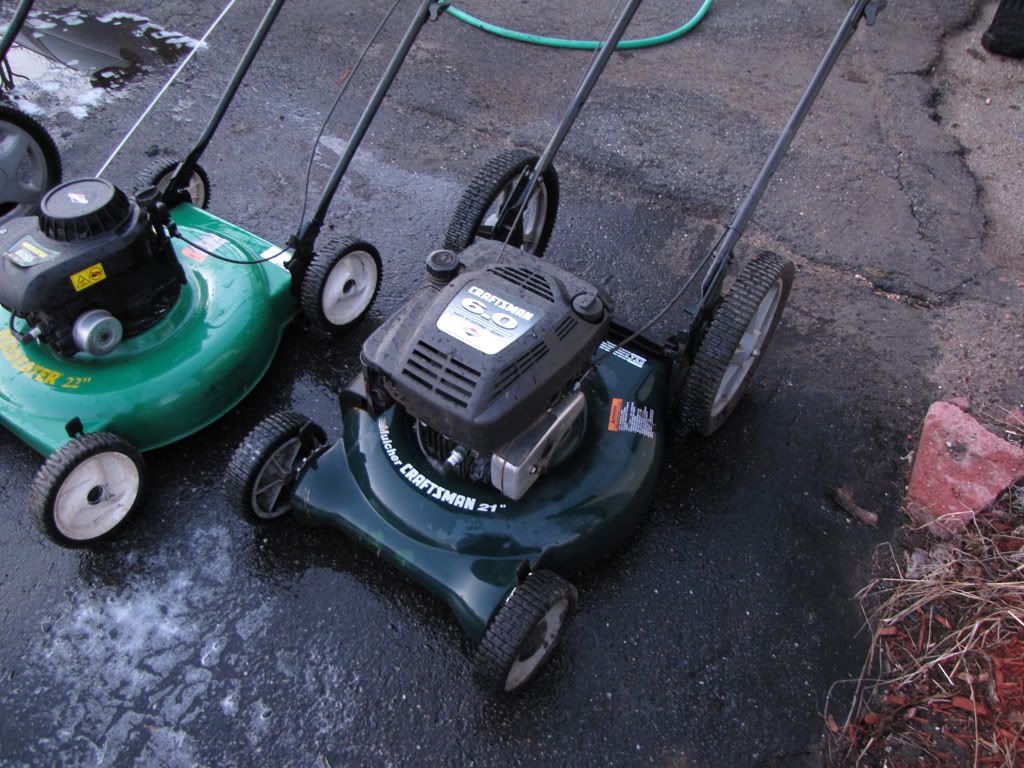
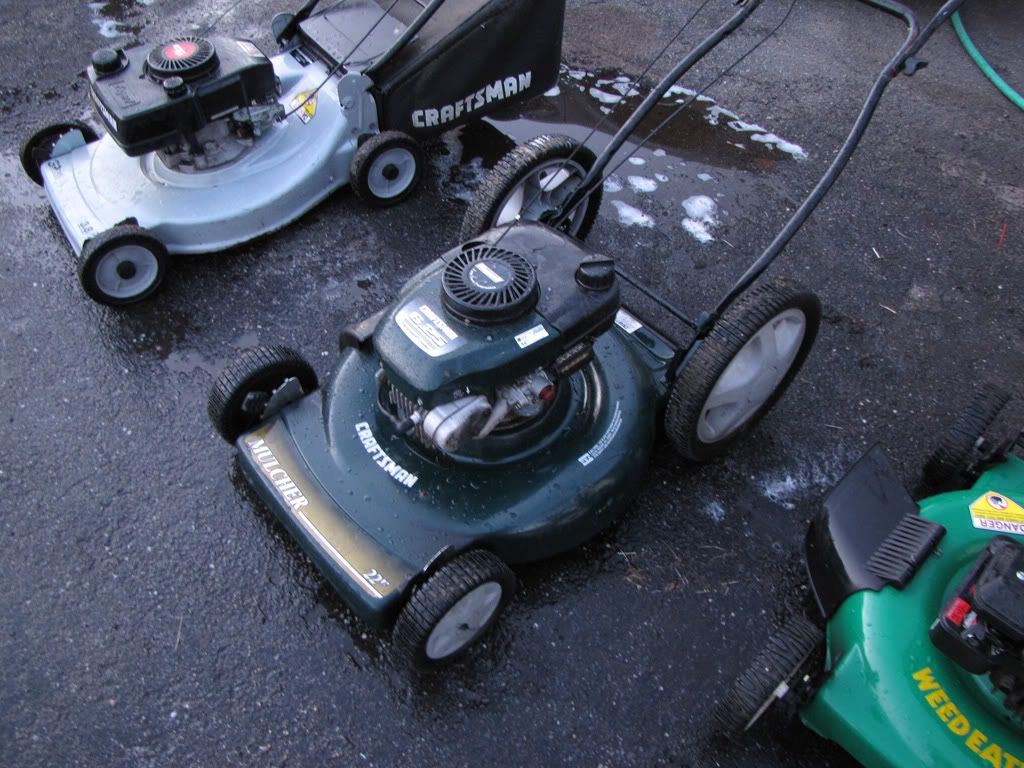
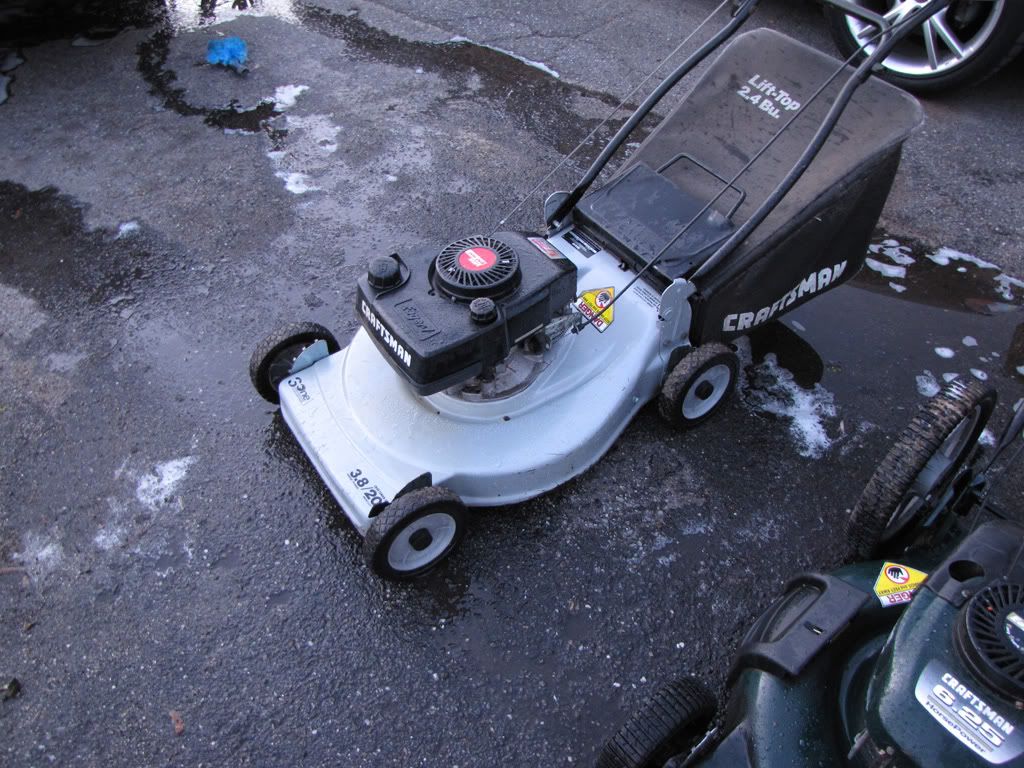
Next up is the Tecumseh Craftsman.
As you may recall, this one's engine had a threw a rod right through the crankcase. So I using parts from it I rehabilitated the engine on the gray MTD mower, then put the newer shroud parts on it. Ended up using the blade brake assembly, ignition coil, ground wire, shroud, gas take, carburetor, and air filter. Then, to compensate for the shorter crankshaft I used a longer blade mount from the MTD OHV engine I have no parts for. The result is a mower that looks just like it would have if it were all original except for the dipstick, because this engine has a threaded oil cap.
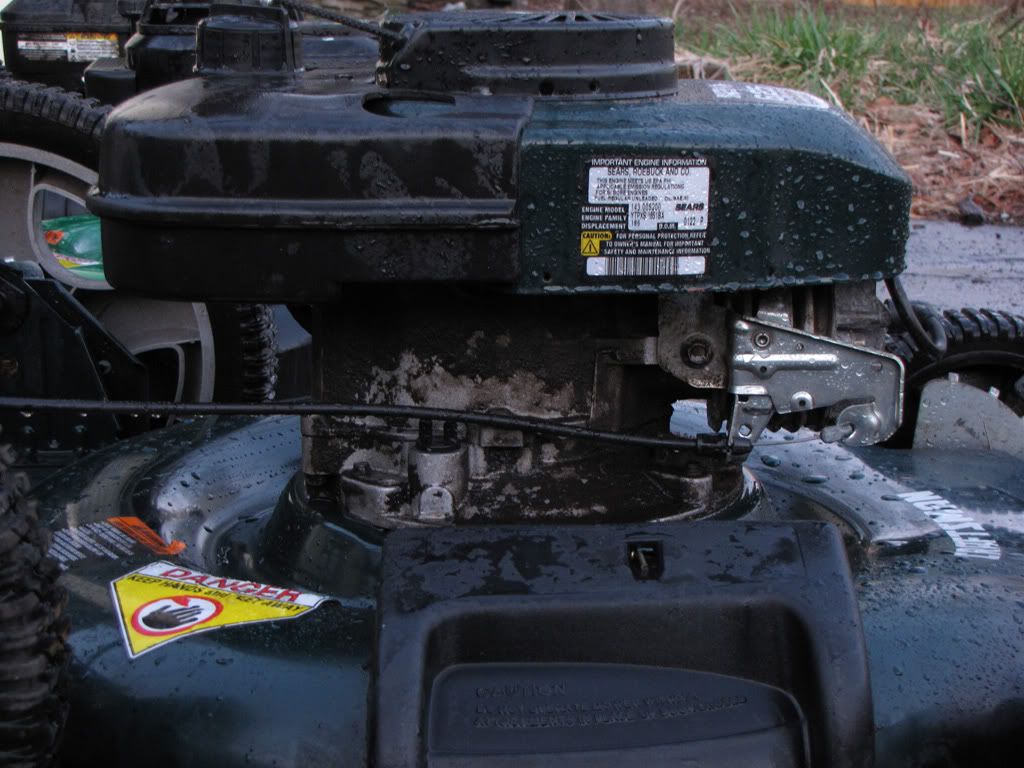
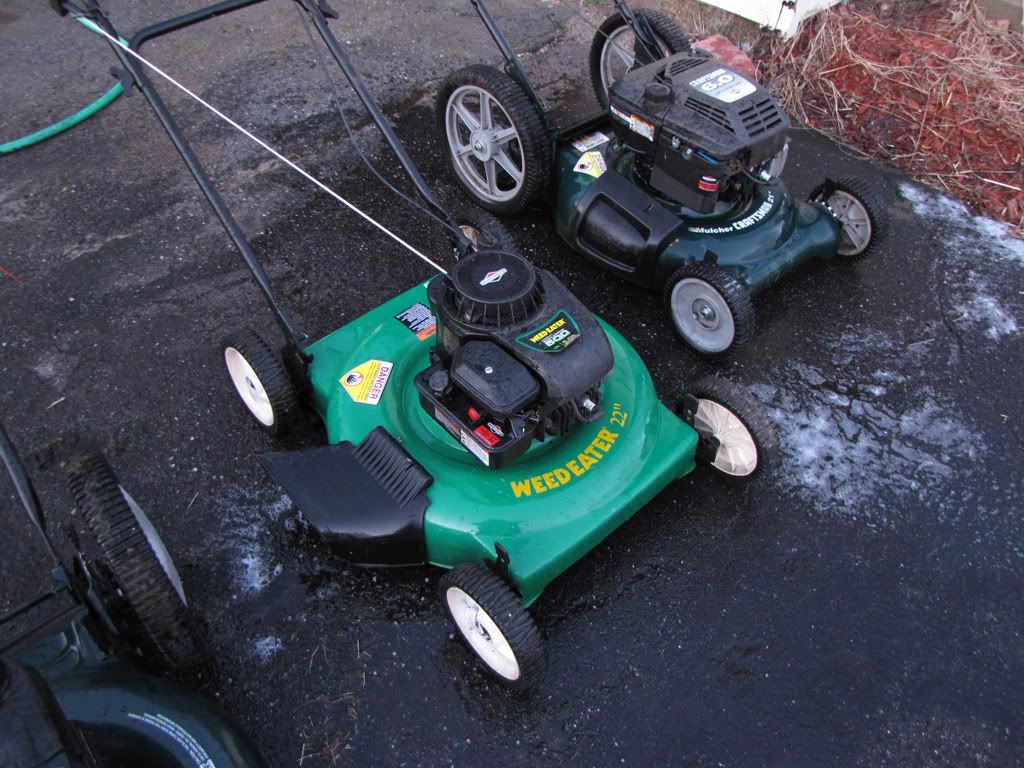
I finally, FINALLY finished this Craftsman from last fall.
This one kept leaking no matter what I seemed to do, but I finally figured out that the tab on the float for the pin needed to be adjusted, so it's all set. The only thing I may do is swap the shroud with another one because I want that one for another mower I may keep.
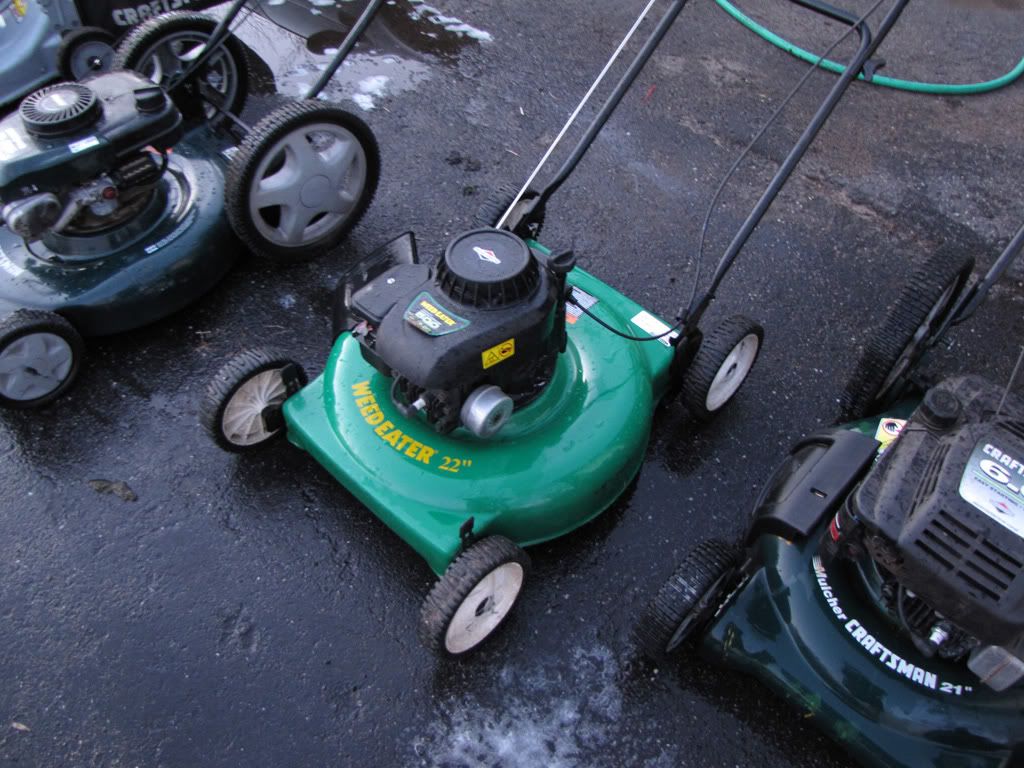
The other one I worked on today was this Weed Eater, which i just cleaned off since I fixed it over the water winter. This little guy is in great shape, probably a couple years old. Still has paint under the deck!
Its been a productive couple days, besides two oil changes and two blade that need to be sharped and a thorough under deck cleaning for all, these are ready to go. They all start first or second pull and run great.