I have a model 604 Yard Man tractor with a 46" deck ( 13BT604H755 ). I'm fixing it up to give to my son so I decided to replace all the idler pulleys and belts on the deck and drive train. There are 2 identical flat pulleys on the belt that goes from the engine to the transmission pulley. Getting the one off that screwed into the bracket was no problem but one (item 40 in the parts breakdown) has a bolt that goes up through the chassis with a nut on top. The nut is under the floor board and I can't see how to get to it without taking the whole fender assembly off. Luckily, that pulley still felt good so I left it on. Any help on this? Thanks
You are using an out of date browser. It may not display this or other websites correctly.
You should upgrade or use an alternative browser.
You should upgrade or use an alternative browser.
Yard Man 604 tractor, Idler pulley
- Thread starter kh0432
- Start date
More options
Export threadmechanic mark
Lawn Pro
- Joined
- Jul 15, 2013
- Threads
- 175
- Messages
- 7,412
bertsmobile1
Lawn Royalty
- Joined
- Nov 29, 2014
- Threads
- 64
- Messages
- 24,702
You get to the head using an open ender from the engine side.
You will need to get it up high.
Some turn the mower over , carb side up, I stand it upright ( remove battery & plug tank filler )
A long strait spanner will go into the space between the carrier plate and the chassis.
A curved one is easier.
Space is a bit tight but I do them a dozen or so times a year without much grief.
An inspection mirror will be a great help if you have not done this before.
To get clean access from the top you have to pull the rear guard & seat off .
To do that you have to pull the steering shaft and dash tower off.
As the pulley is a service replacement item it is designed to be accessed from underneath you just need to know how.
JD use the same system but their bolts are coach headed so all you need to do is put a finger on the head to keep it in the square hole .
However this is apparently not important as the general opinion is JD just charge too much for their mowers.
Boobala
Lawn Pro
- Joined
- Feb 15, 2015
- Threads
- 200
- Messages
- 7,000
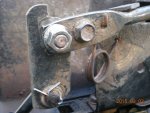
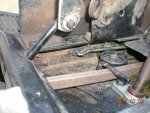
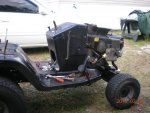
Actually it's not as bad as you might think, the very FIRST thing is to get your CAMERA !! IF.. you take your time, study the things you are disassembling, note where springs and linkages and how they mount/connect take LOTS N LOTS of pics !! write down what needs to be replaced/ repaired, and order A.S.A.P. !! return all screws and nuts & bolts, to where you removed them, to remove your parts, from, (old mech's tip) because you sure as hell WON'T remember where they came from when you go to re-assemble it, grab a small sit-down stool and bring PATIENCE along with a can of PB-Blaster (local auto-parts store) might even want to spray some on the rusty lookin hardware the day before dis-assembly... would help to have your parts diagrams but not really necessary the pics will become better than the service manual, (not many detailed pics in those things) hope you all the best, whichever you decide, should only take several hours for tear-down going slow N takin pics. DON'T be intimidated !!
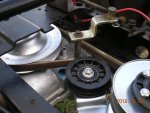
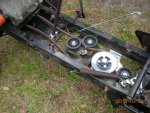
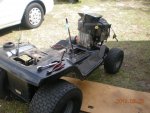
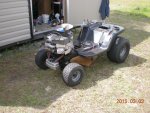
here's a few pics of my Murray I tear down every few years...... ( note springs and linkages / brackets too...
 ..
.. ..
.. ..
.. ..
.. ..
.. ..
..
here's a few pics of my Murray I tear down every few years...... ( note springs and linkages / brackets too...
 ..
.. ..
.. ..
.. ..
.. ..
.. ..
..
Thanks for all of the replies. If the pulley ever goes bad, I'll remove the fenders. Even if you were able to get a wrench on the nut I doubt that it would stay put when you put the bolt back in.
