My Lawn Mower Repair Thread (56k warning)

hanyoukimura

Well-Known Member
Joined
Jun 19, 2011
Threads
23
Messages
382
And we're back! Thank f*** the snow is finally gone and the nice weather has arrived. That means its time to get things started.

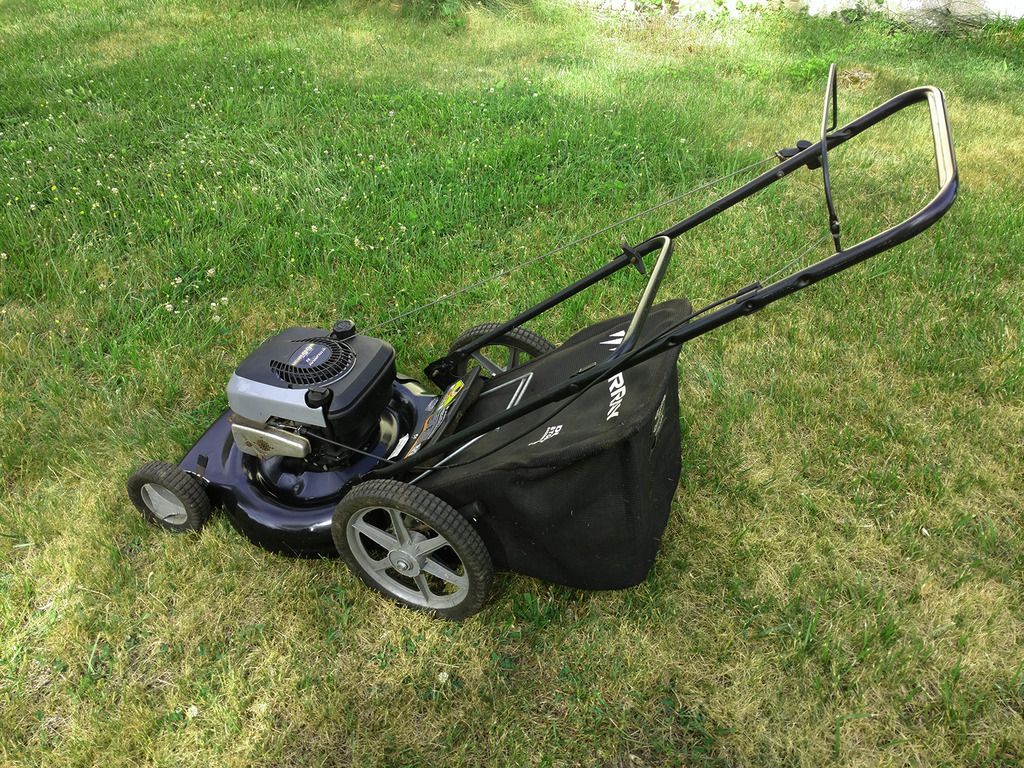
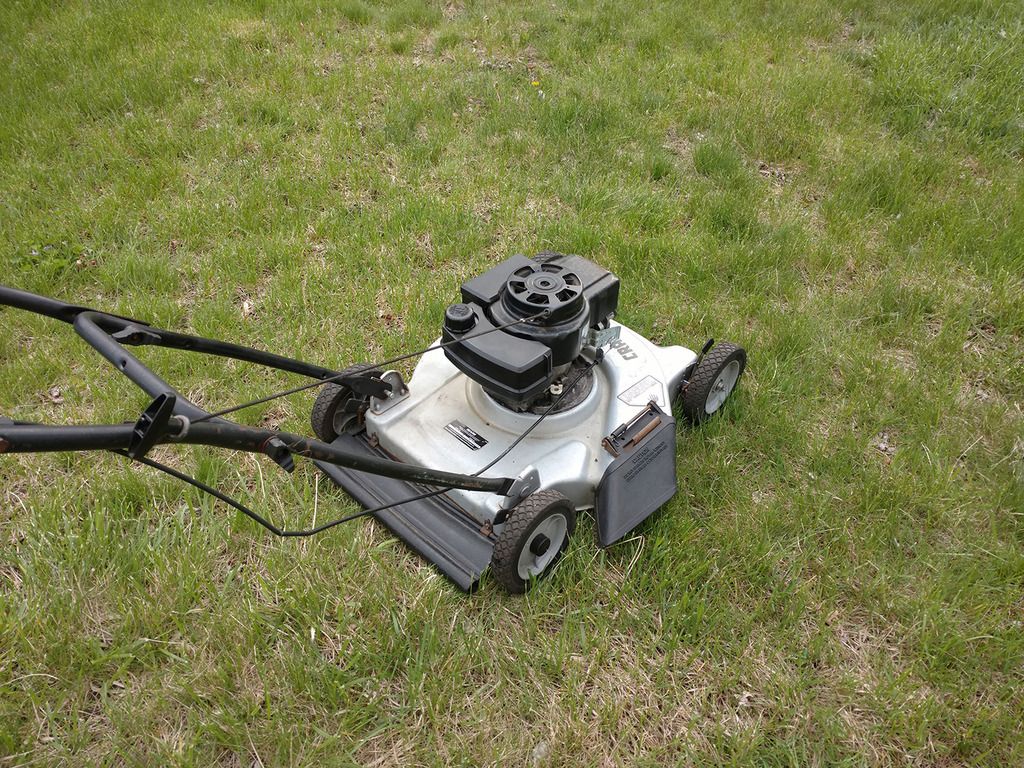
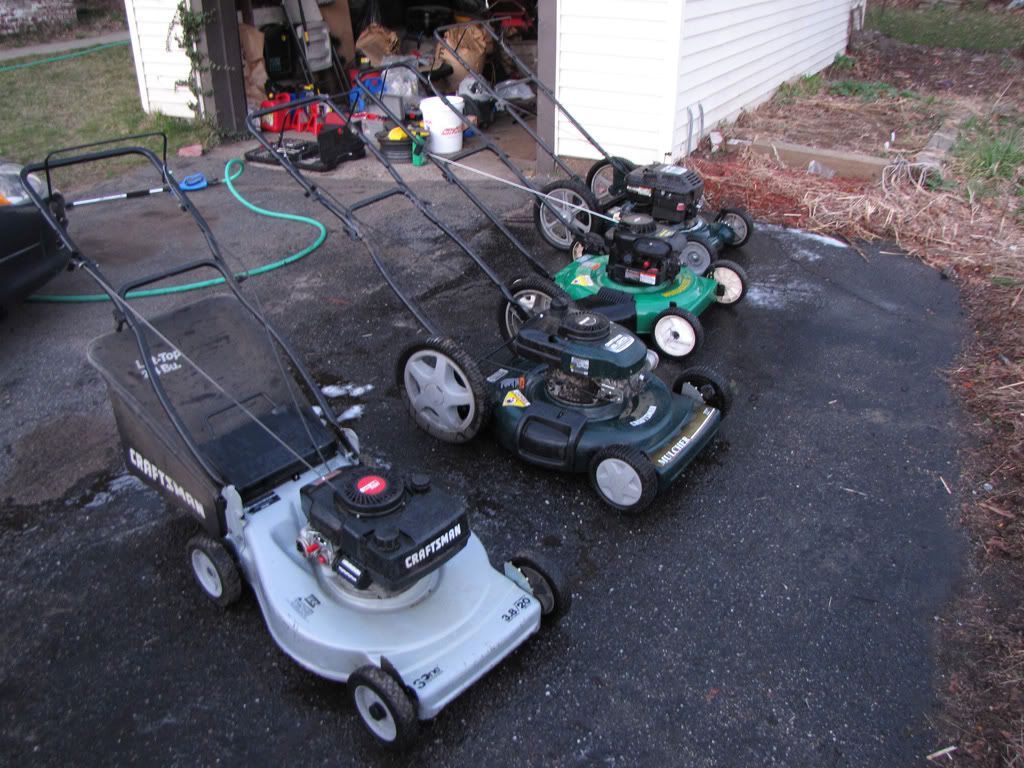
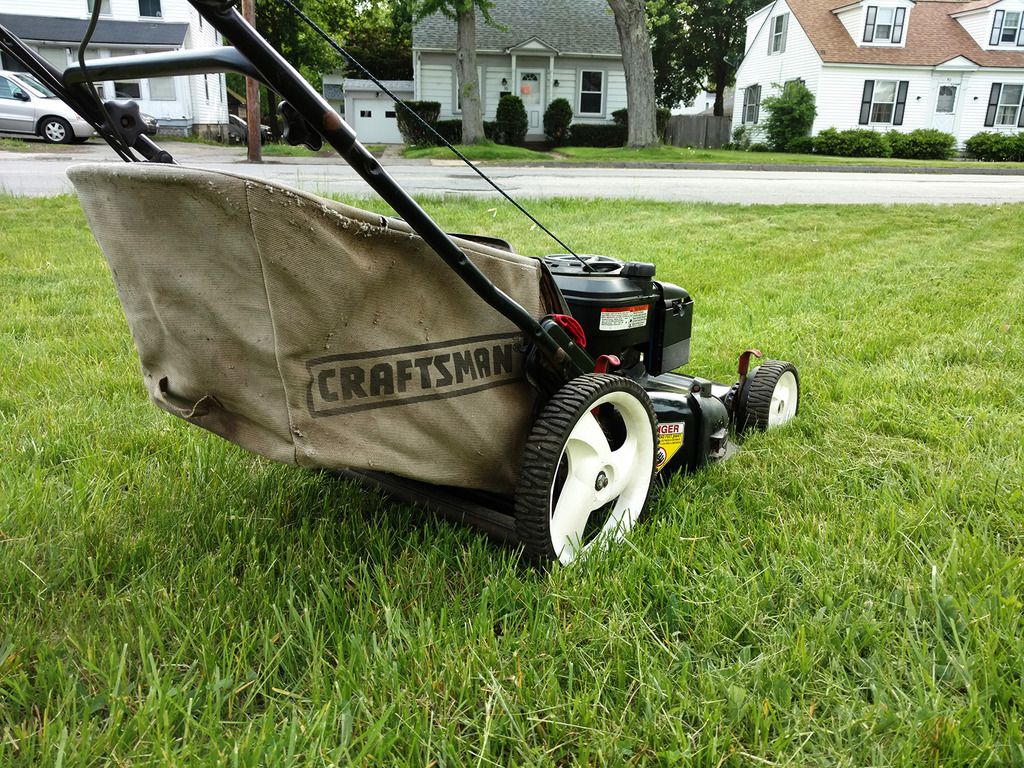
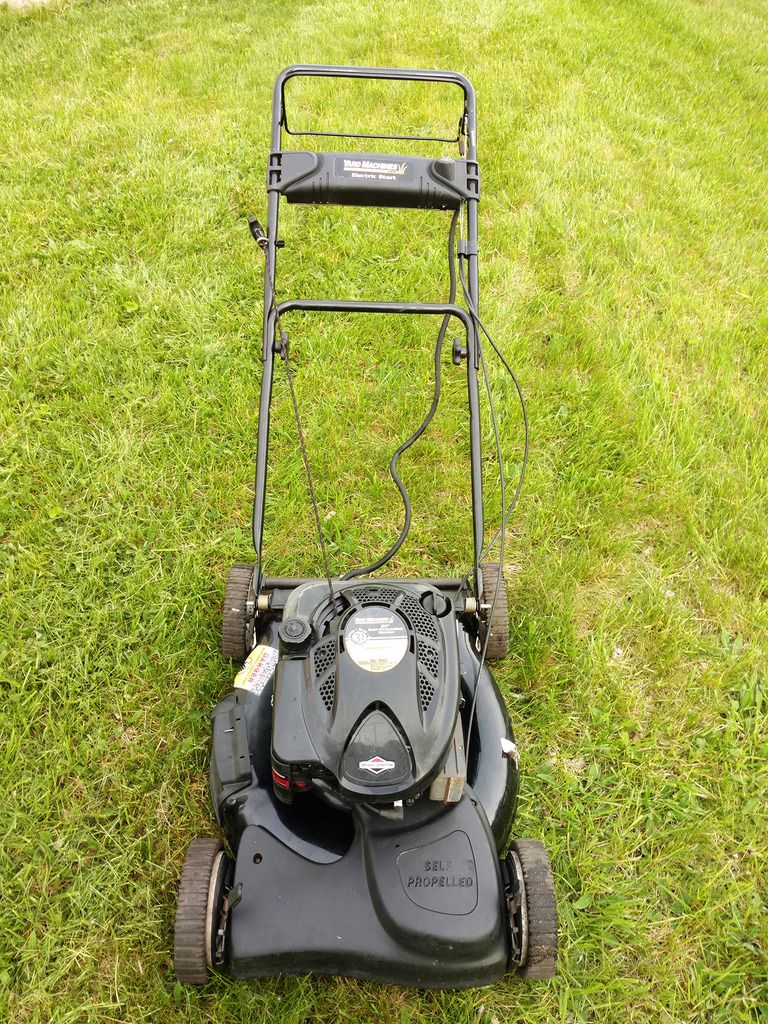
We begin this season with some holdovers from last season. A Murray I finished but never sold fired right up and is ready for a home. The real fin begins with three mowers I picked up near the end of the season but never got around to fiddling with. Two Craftsmans a Poulan Pro make up the lot.

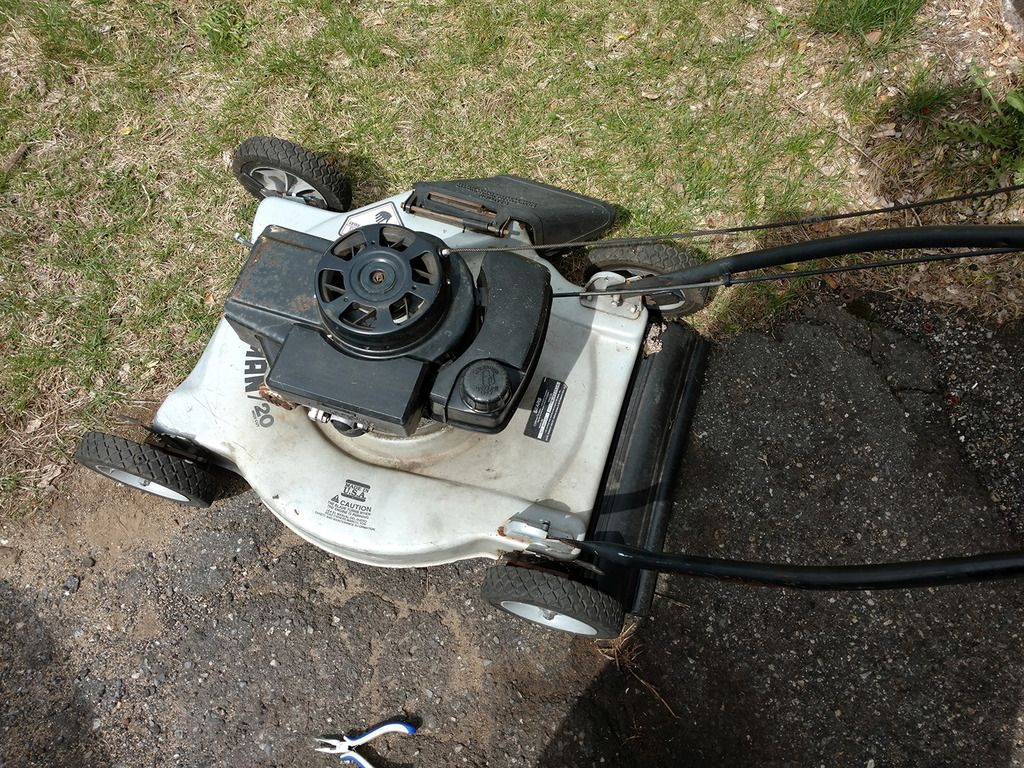
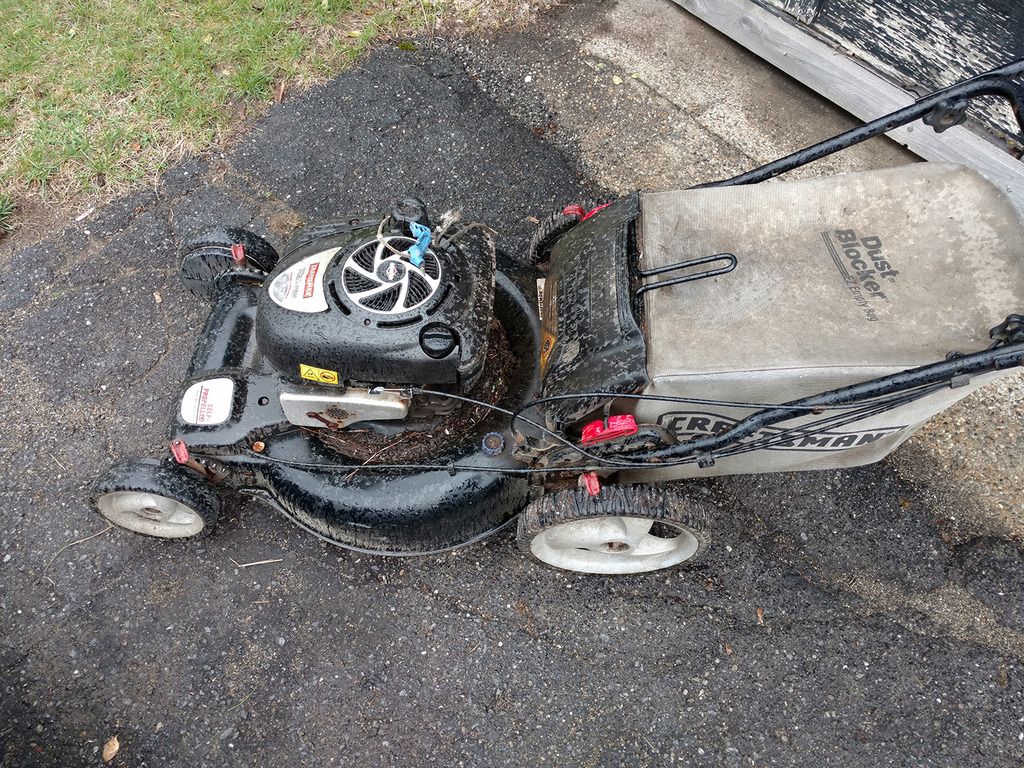
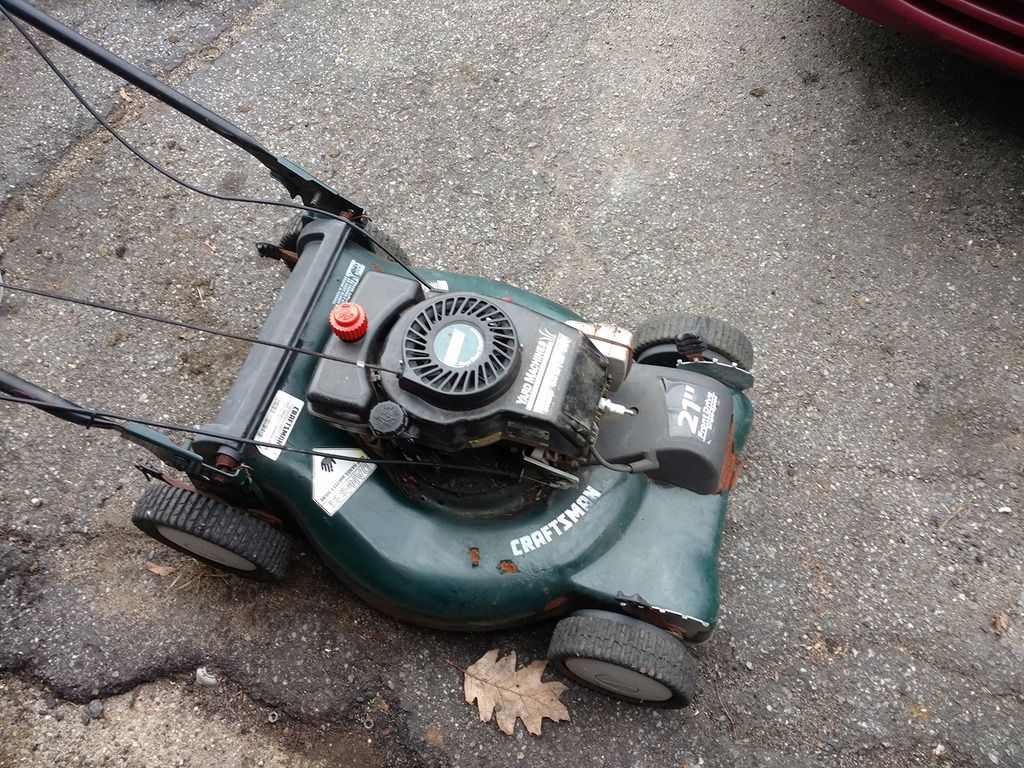
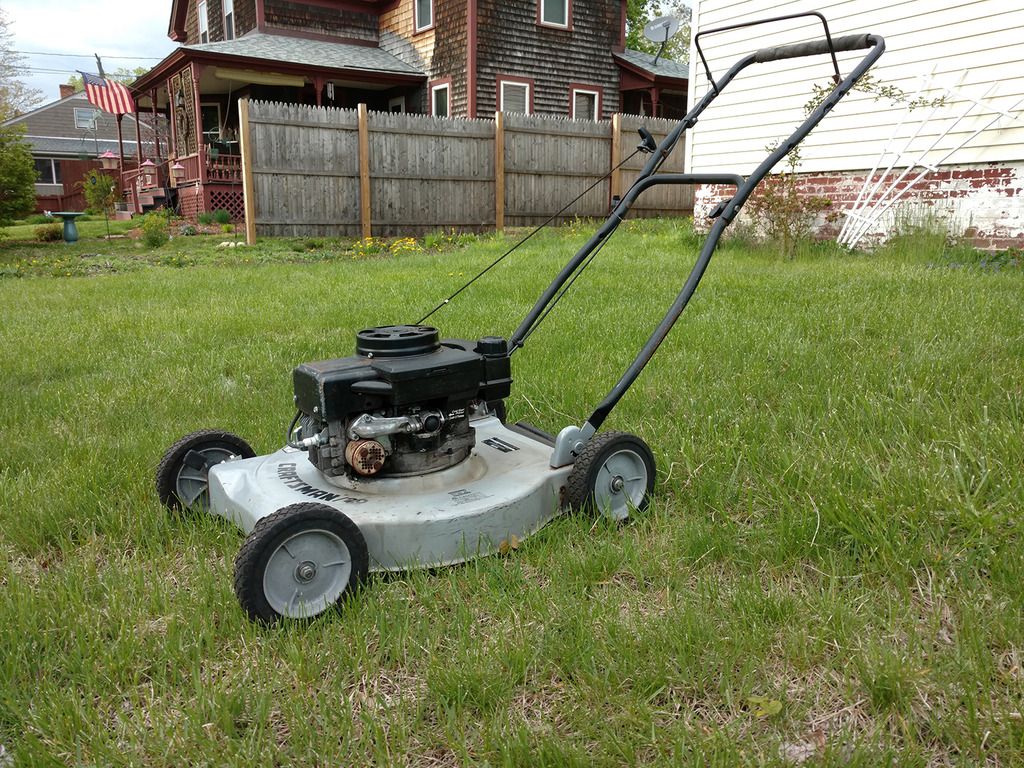
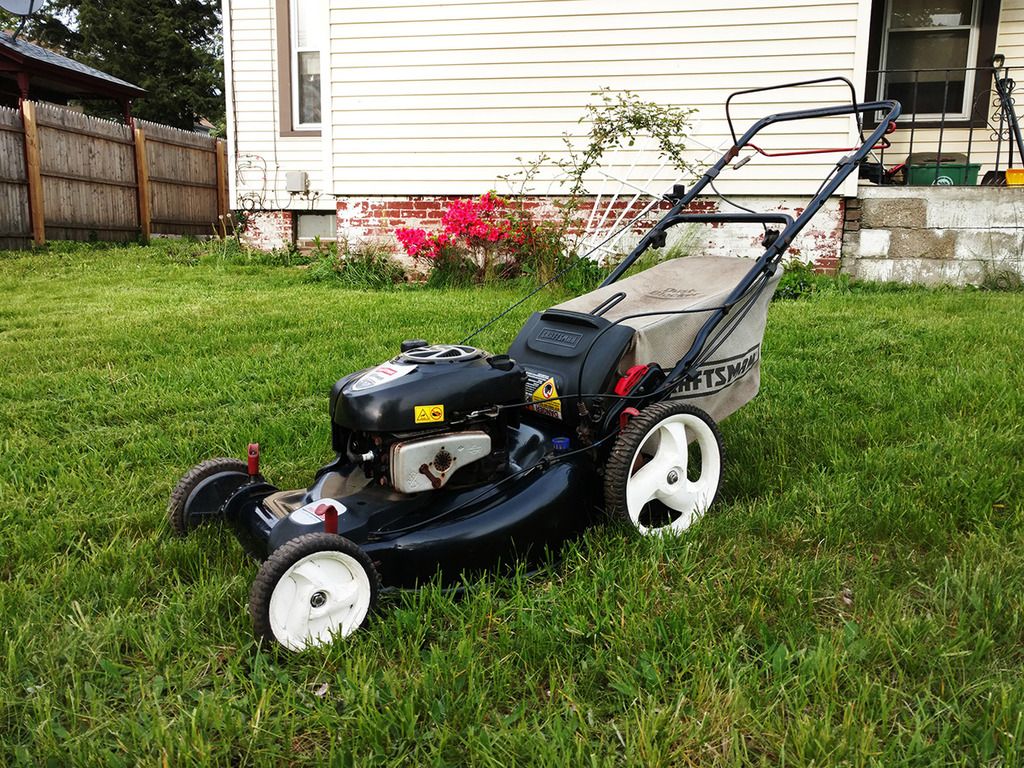
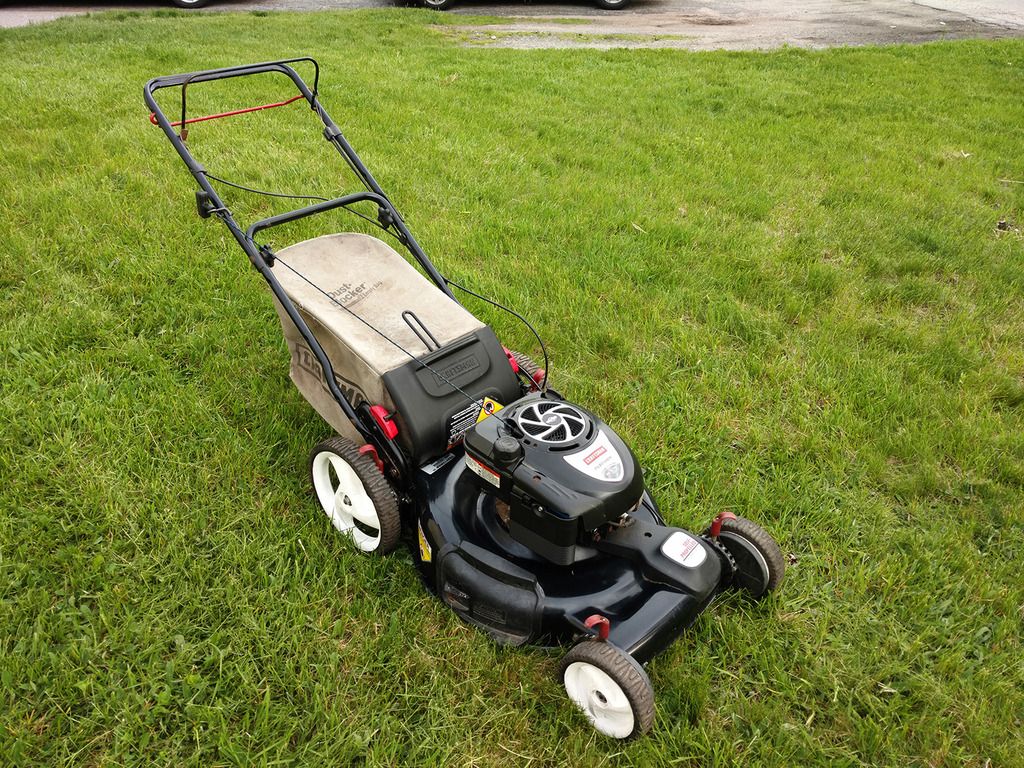
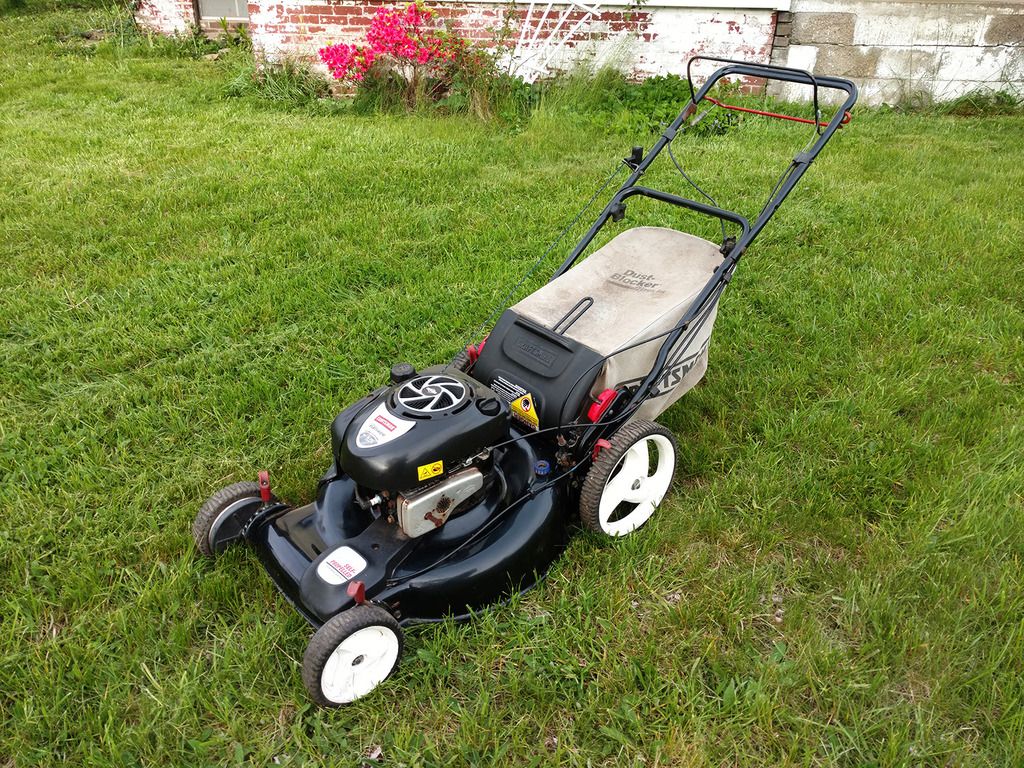
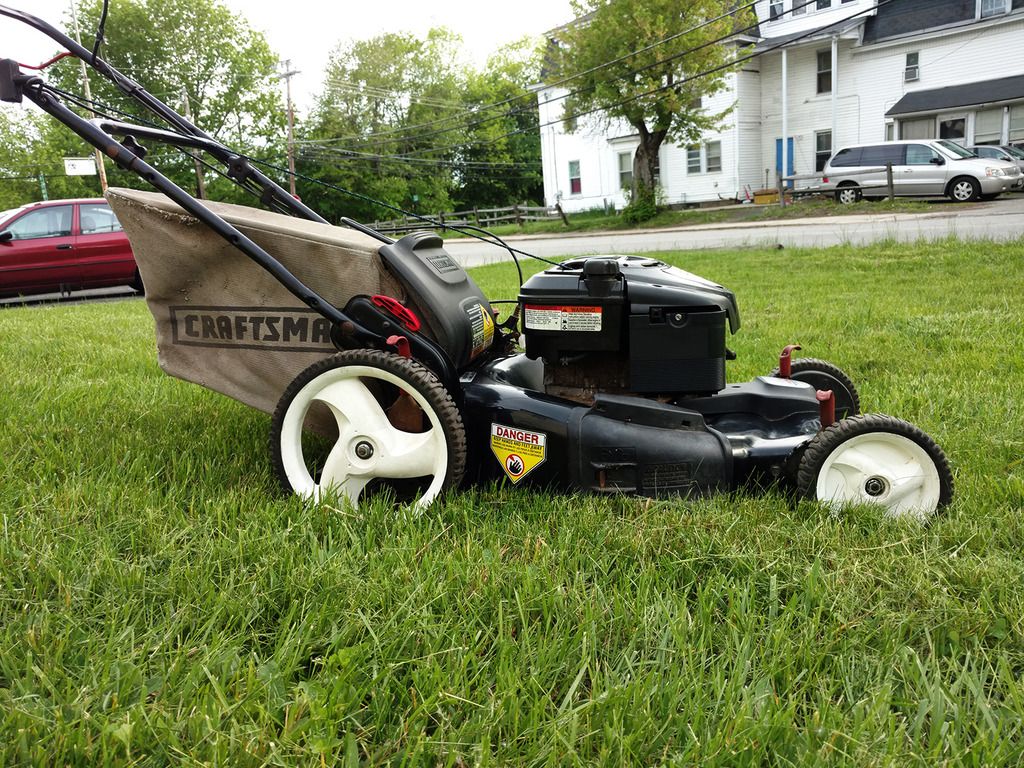
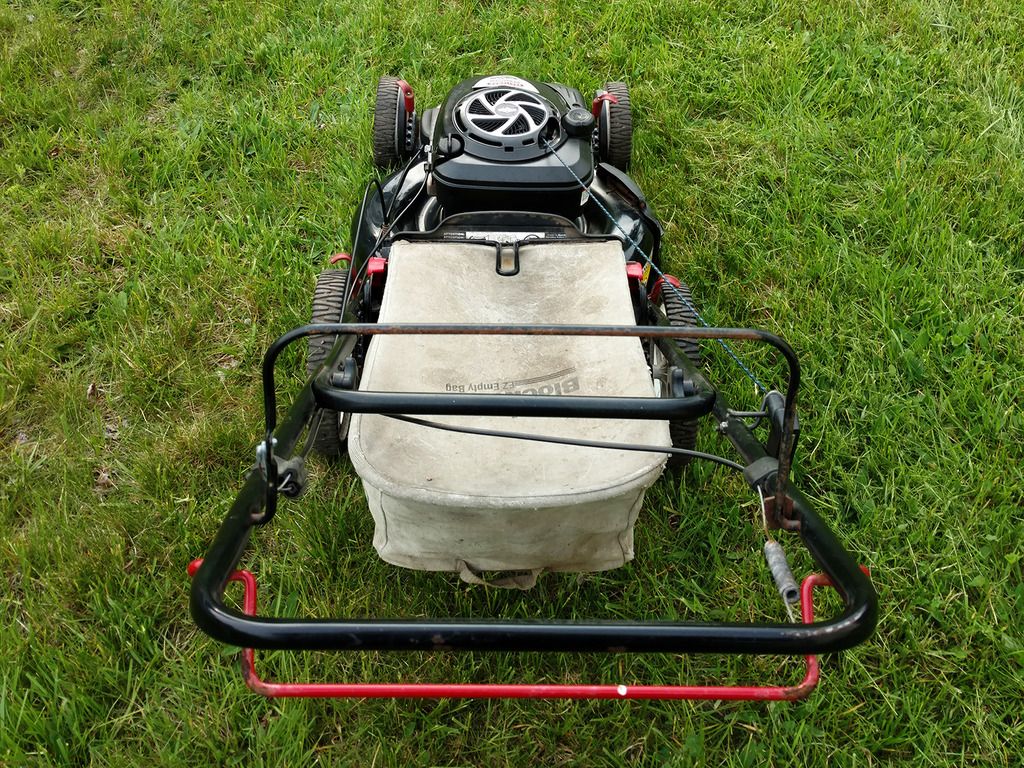
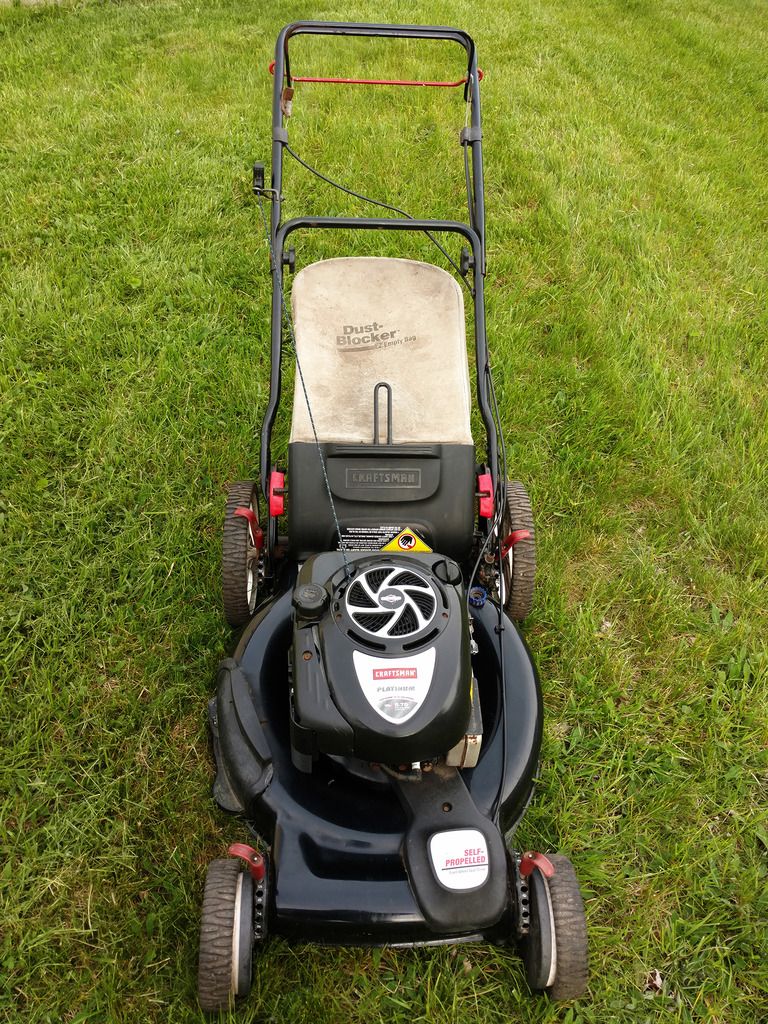
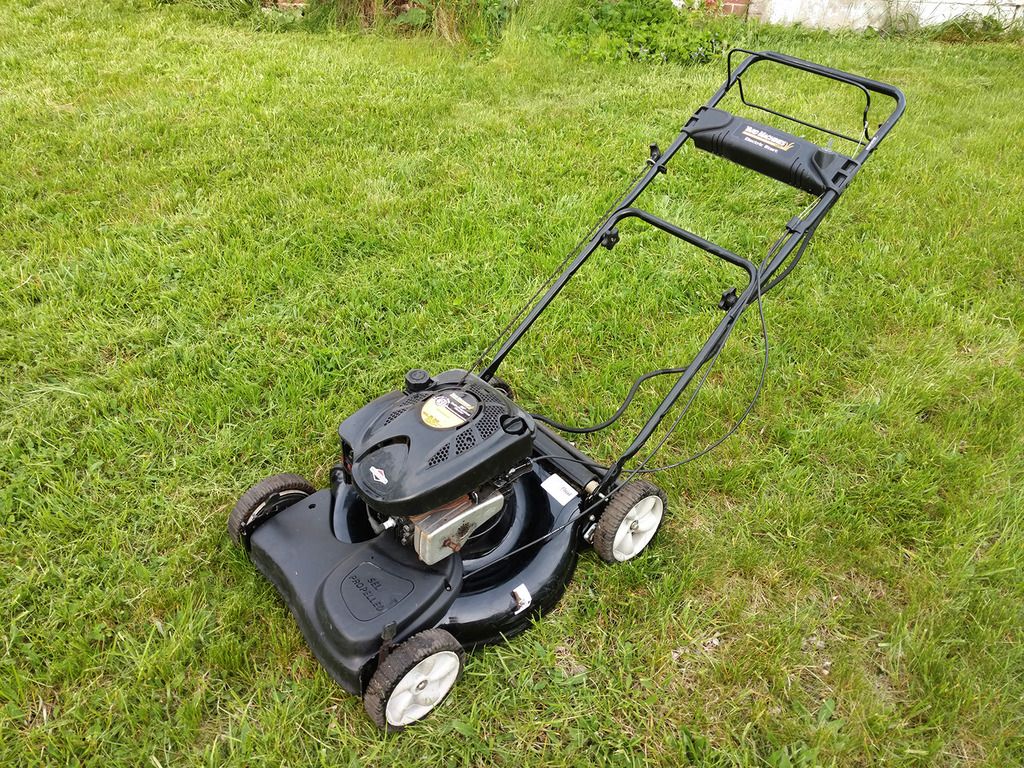
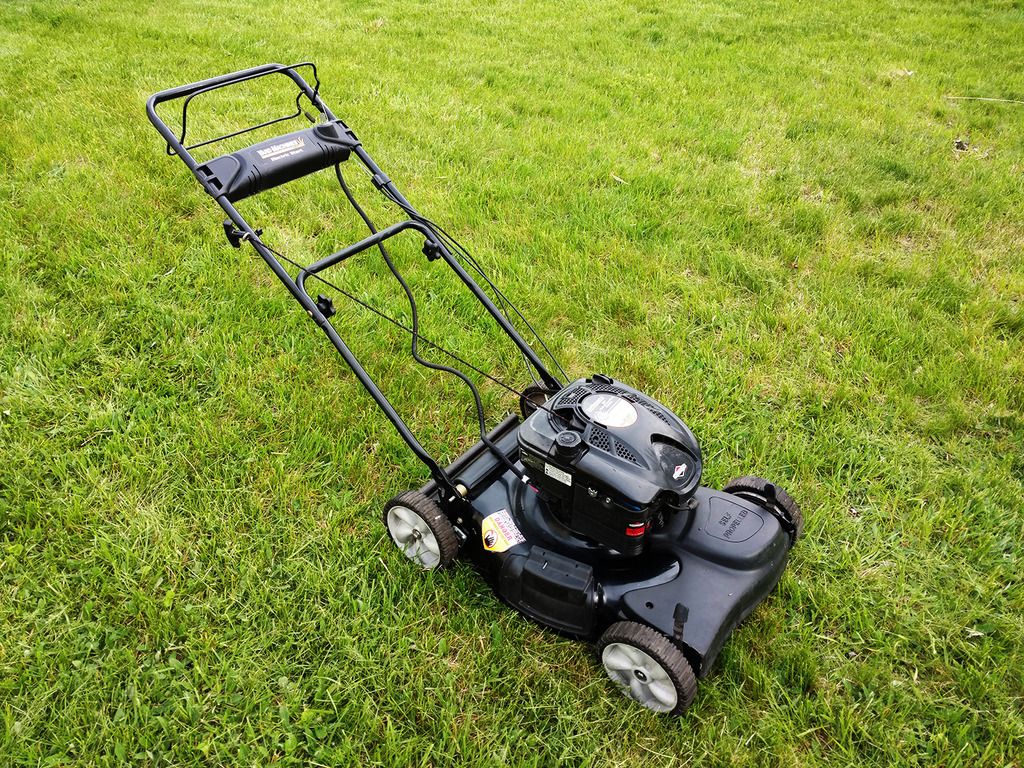
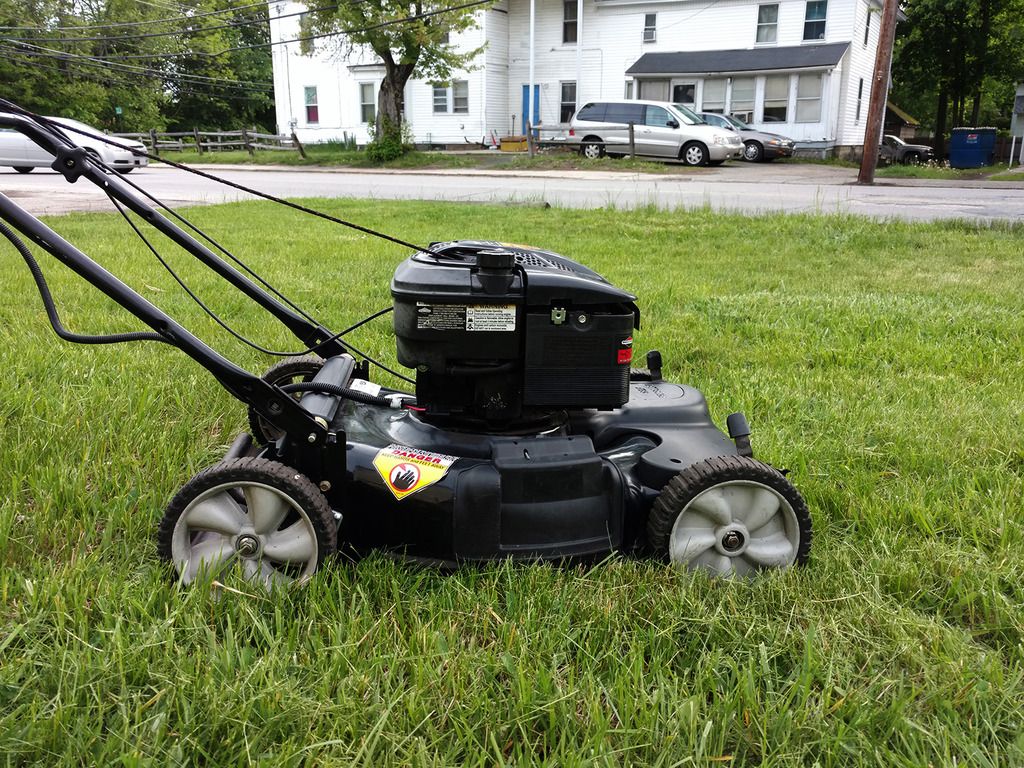
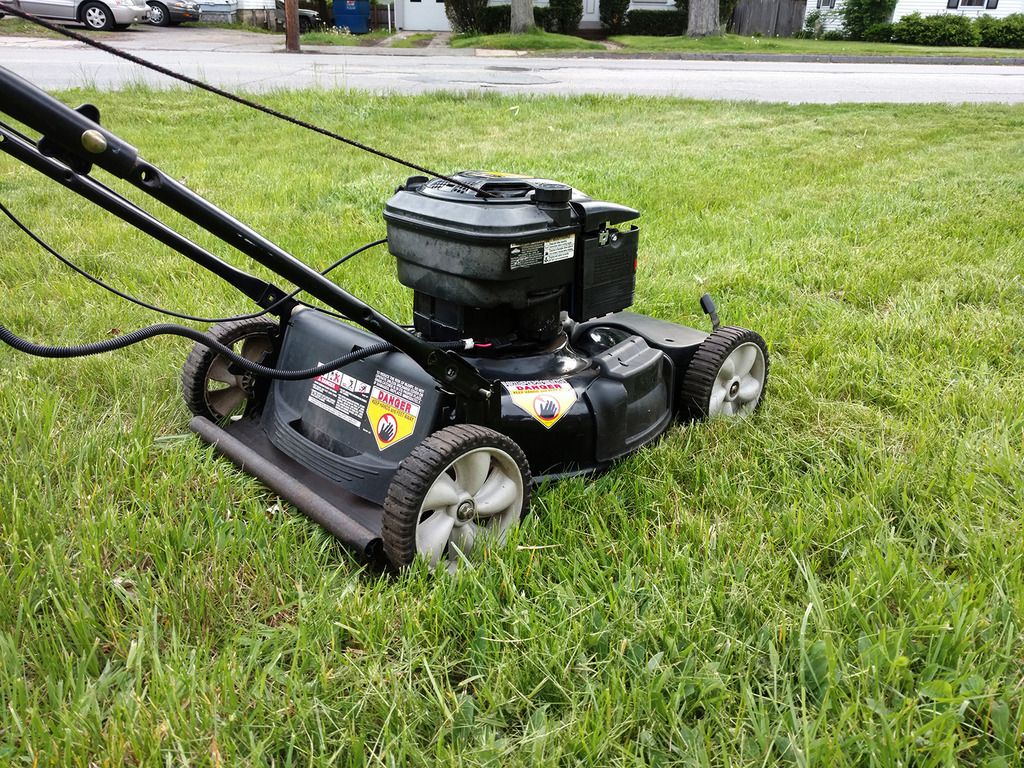
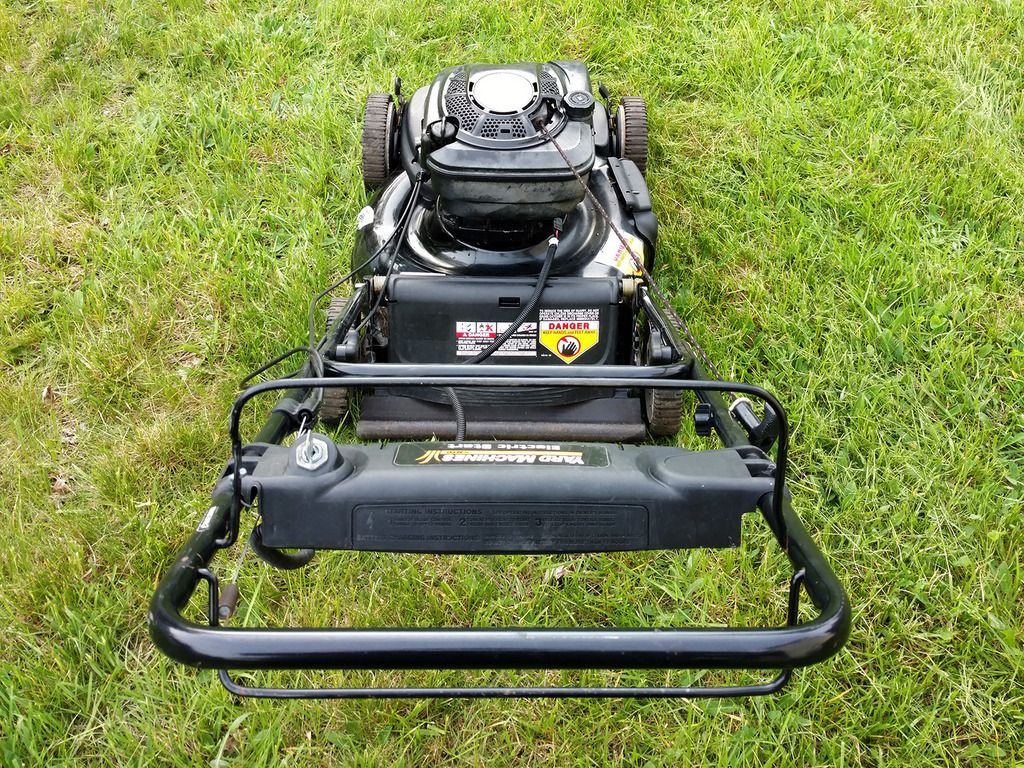
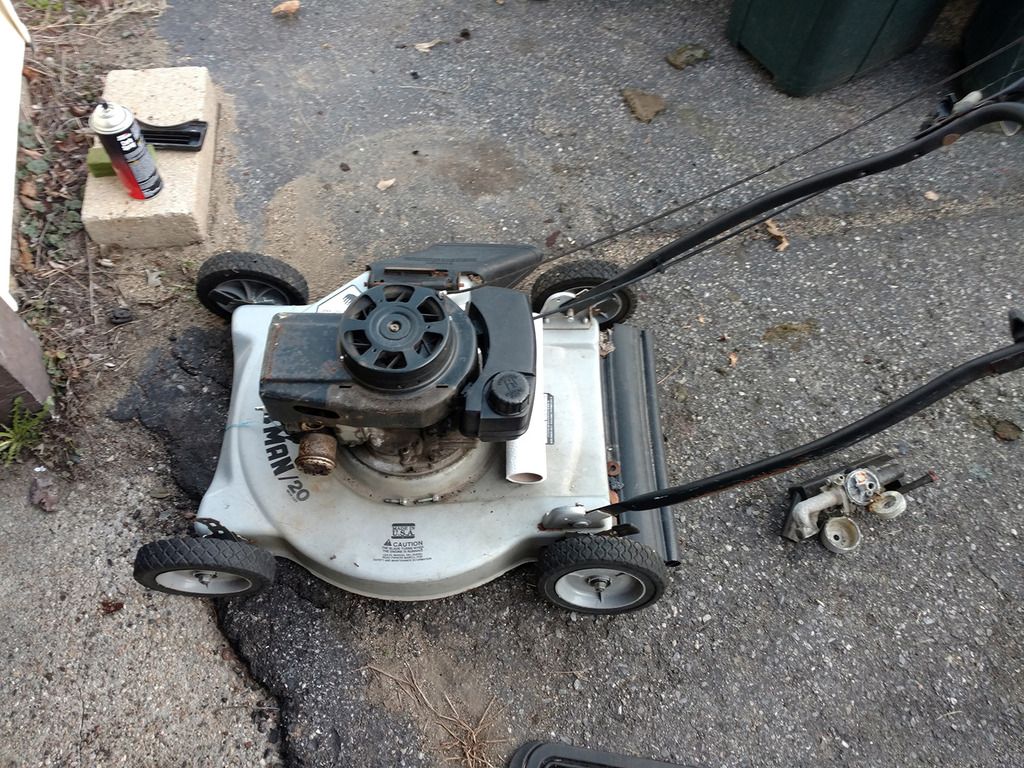
I decided to take a crack at the self-propelled Craftsman first. Looked unassuming enough.

IMG_20170414_180843756_zpsowlykzge.jpg


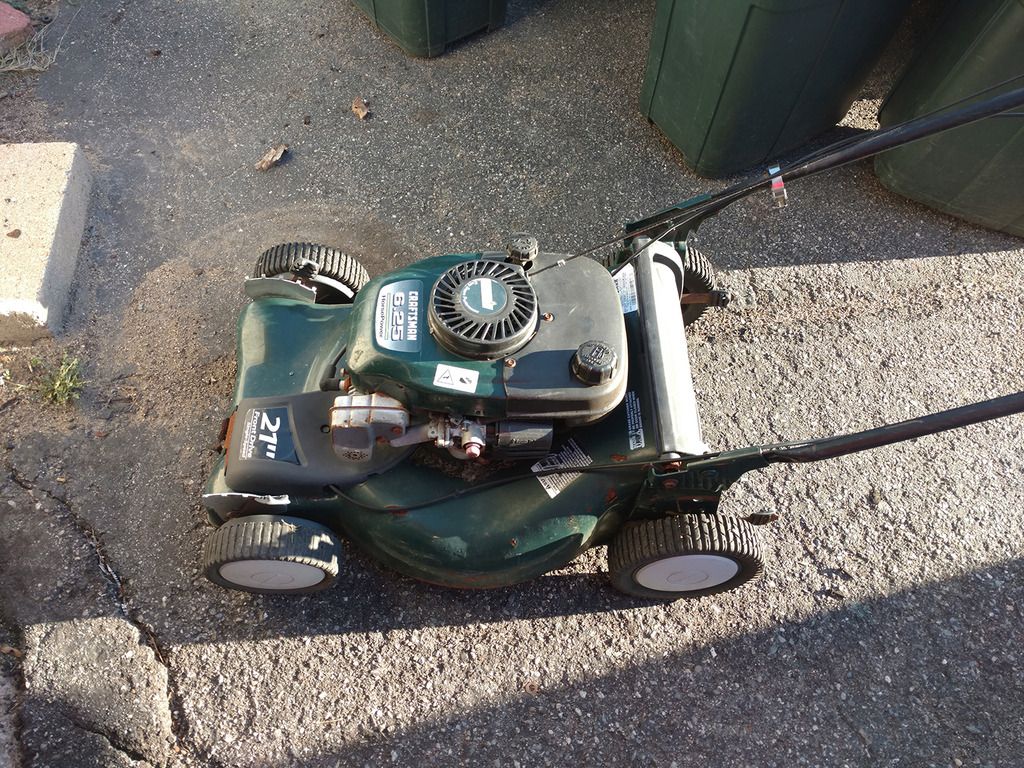
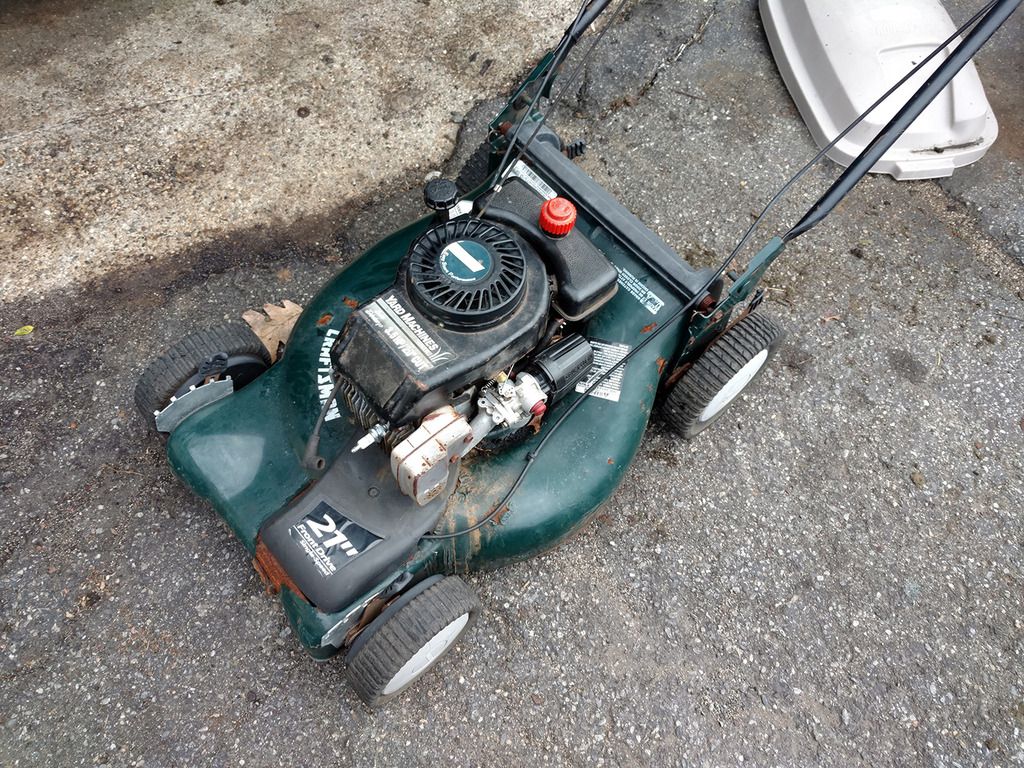
However, closer inspection revealed quite a mess.

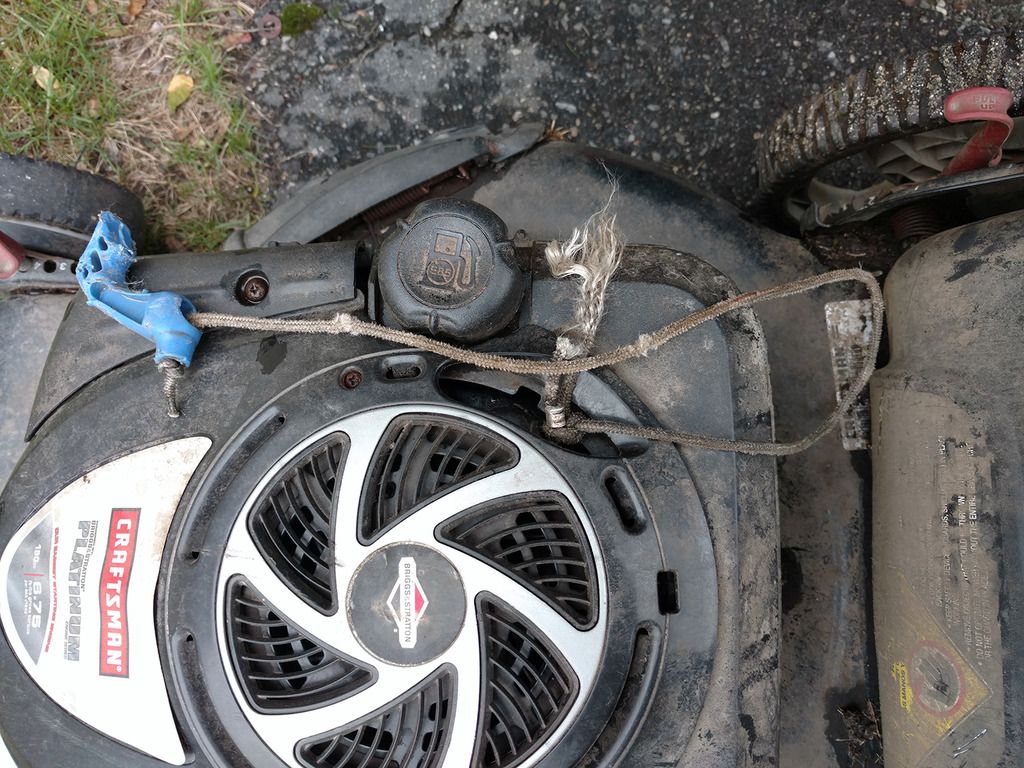
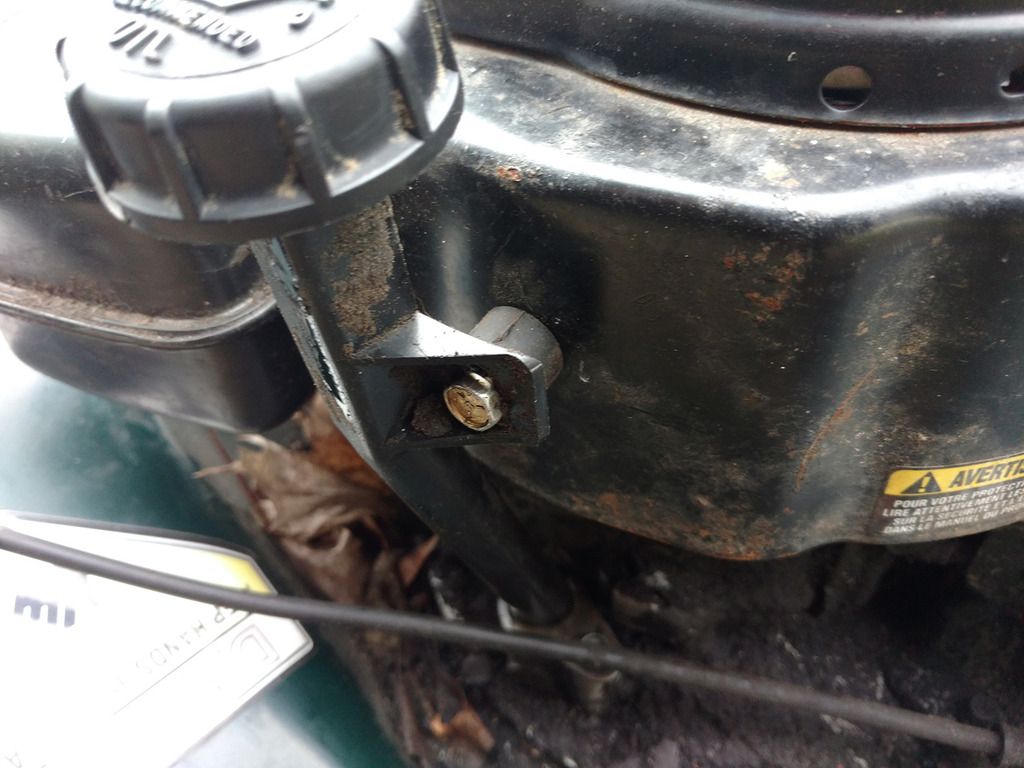
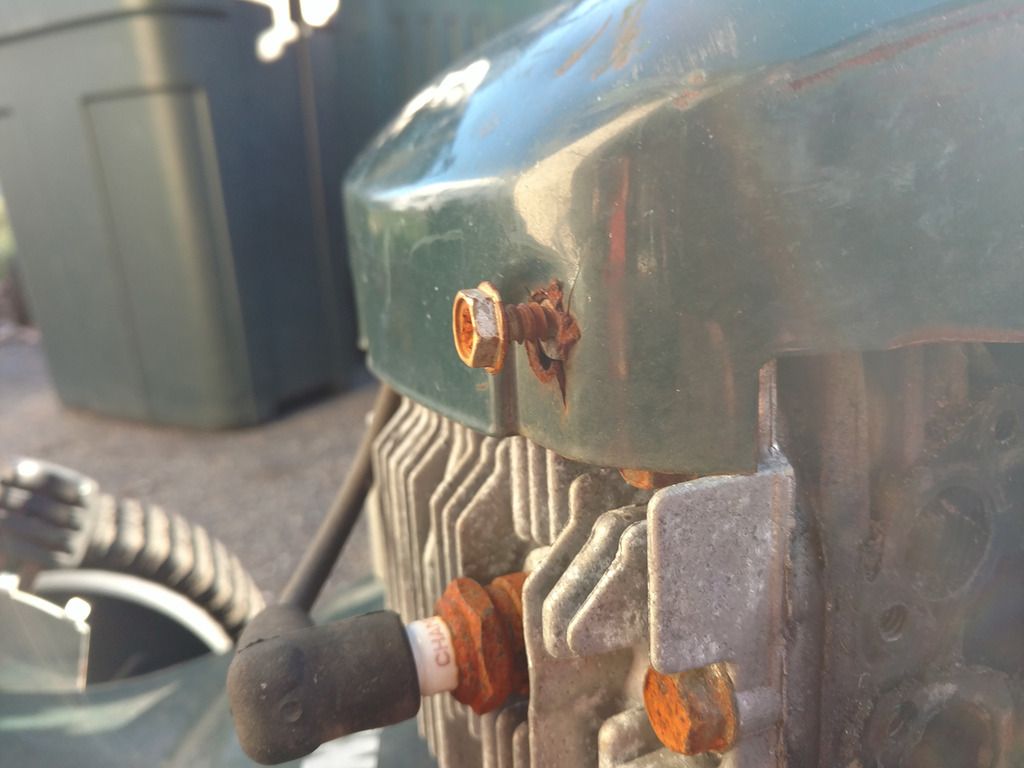
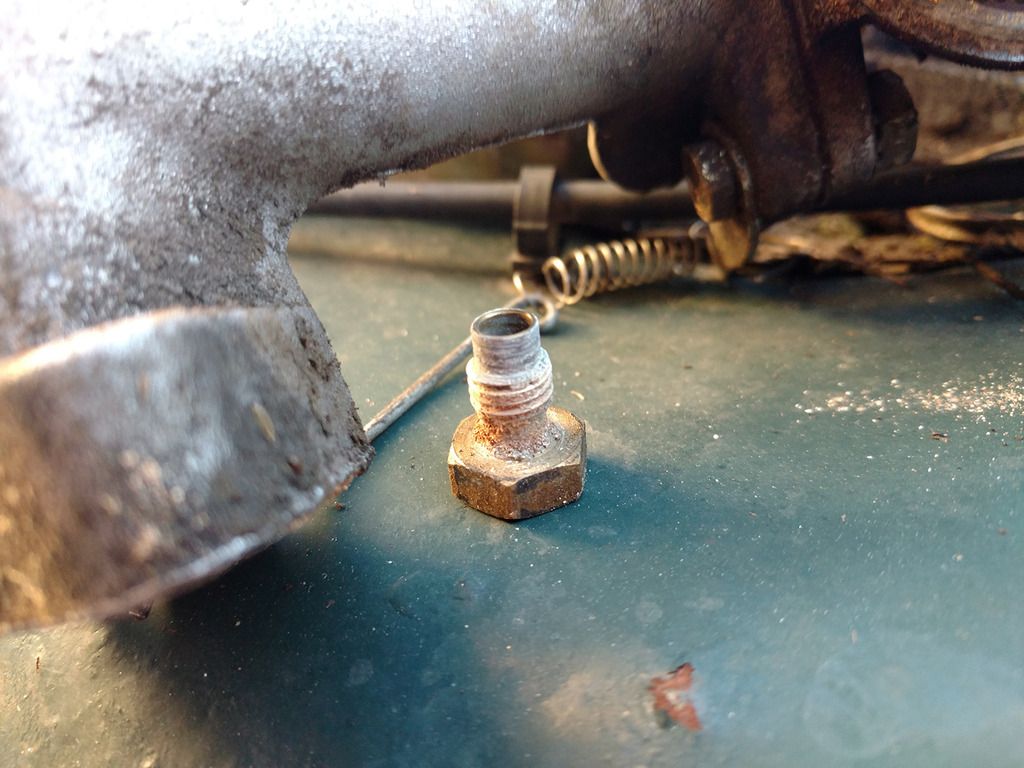
First was the loose shroud. It turned out that only one bolt was actually (loosely) holding it to the mower, and it was a sheet metal screw jammed into the cylinder head.

IMG_20170414_181449265_zpsvsfcmfqb.jpg


On the other side, the bolt had been sheered off.

IMG_20170414_182354618_zpsbkmpau3i.jpg


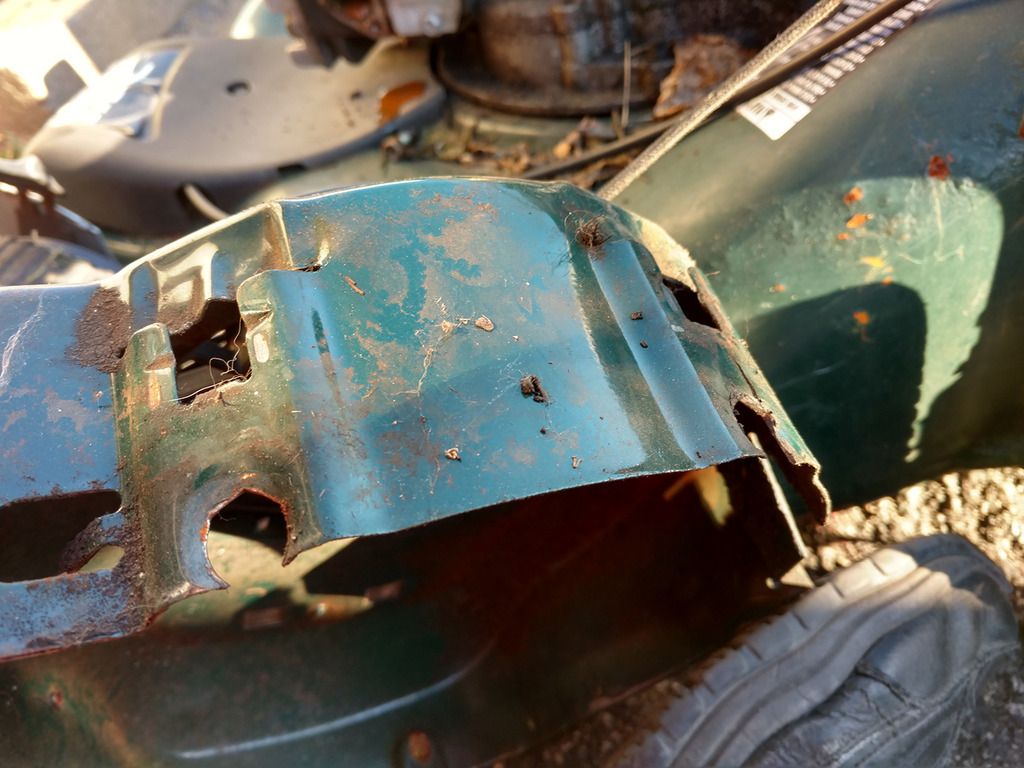
Around back the bolt holes on the shroud were utterly destroyed.

IMG_20170414_181645269_HDR_zpsekyxhzqh.jpg


But wait, there's more!

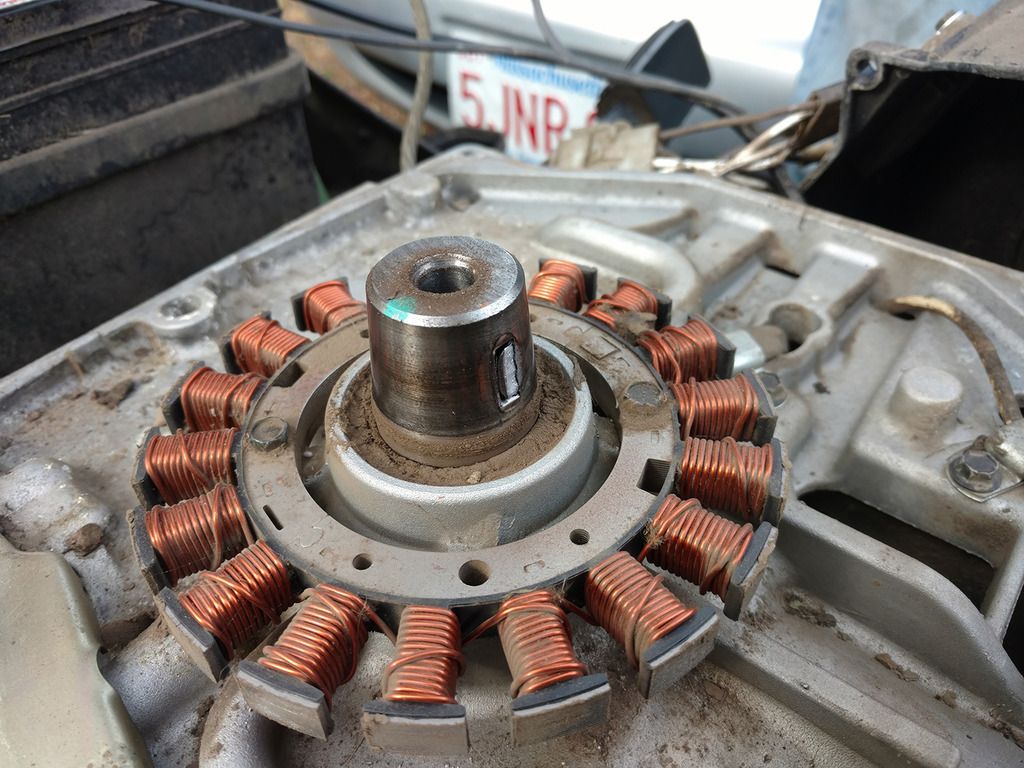
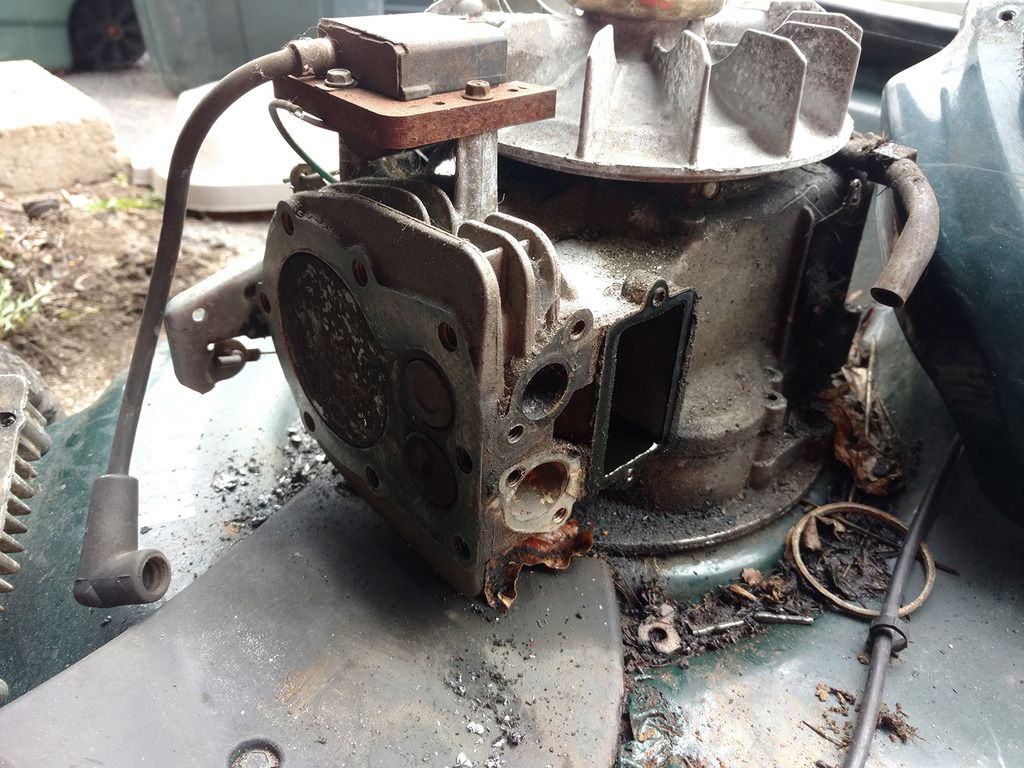
Just because I hate surprise, violent recoil, I pulled the nut off to inspect the flywheel key.
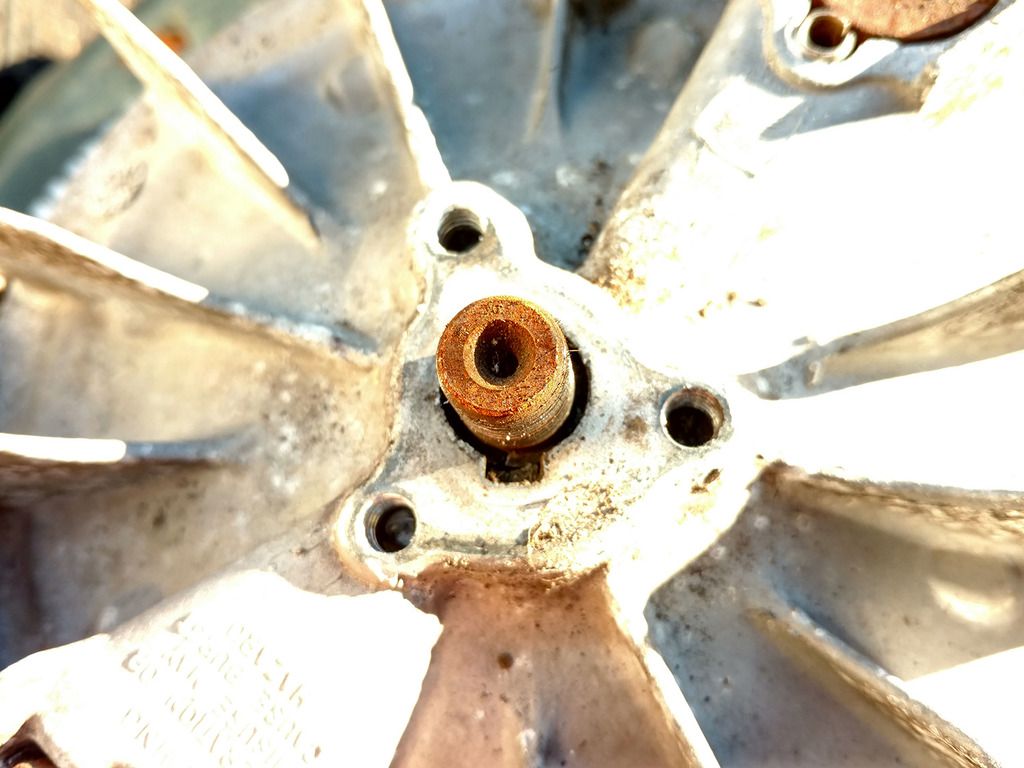
IMG_20170414_182104613_HDR_zpshk2uzmhm.jpg


Right...

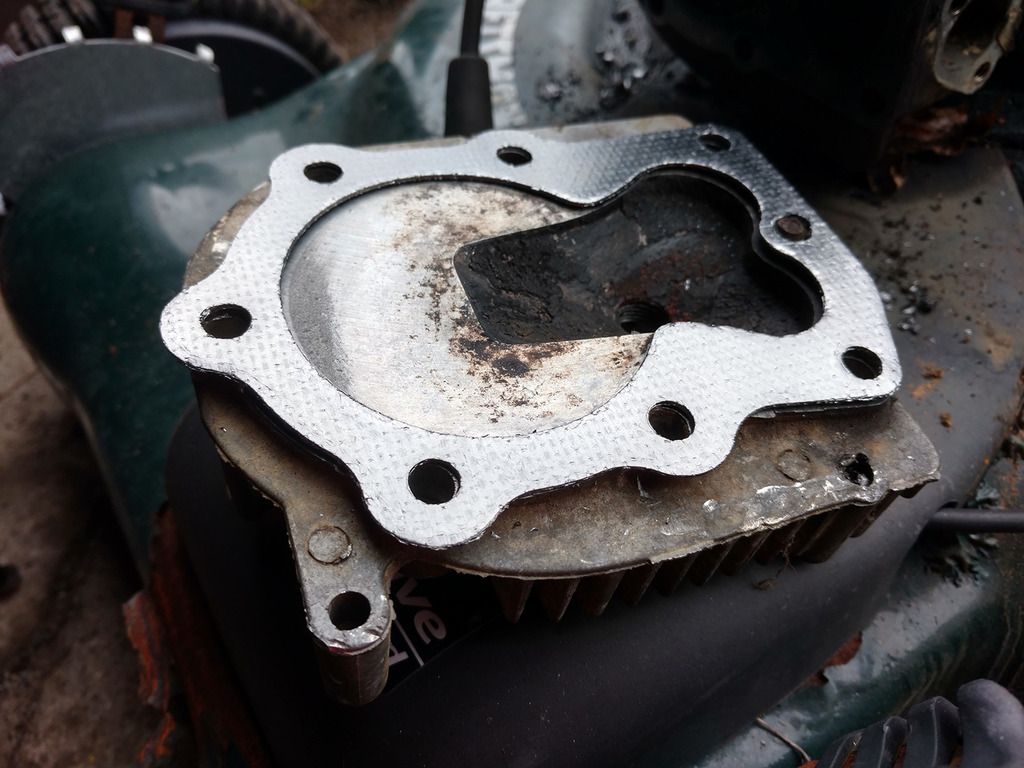
Off comes the flywheel.

IMG_20170414_183822575_zpszrz3vmw6.jpg


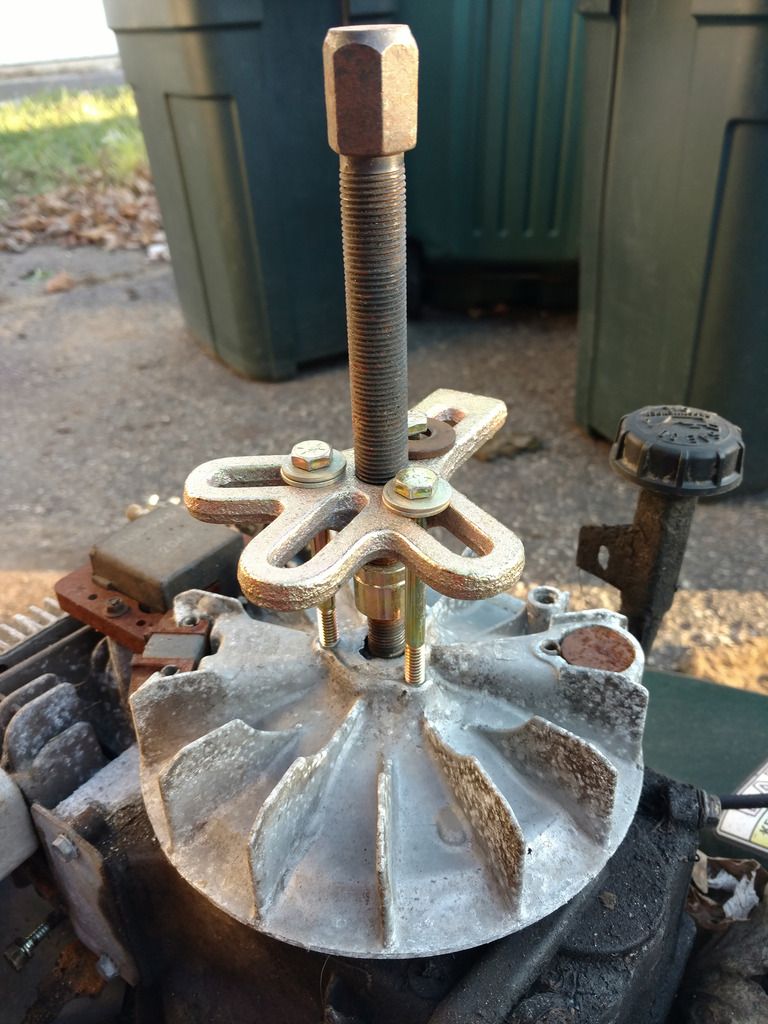
In the past this was a paint and sometimes resulted in the bolts ripping out of their threads. This year I (finally) have an impact wrench, would made short work of the flywheel.

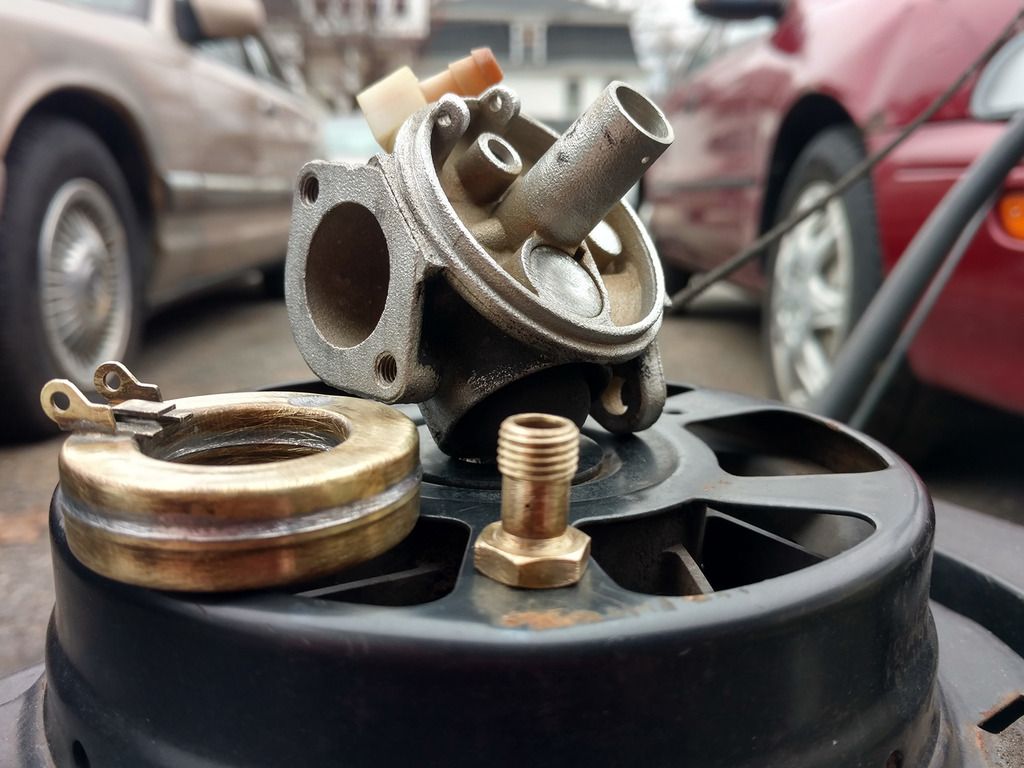
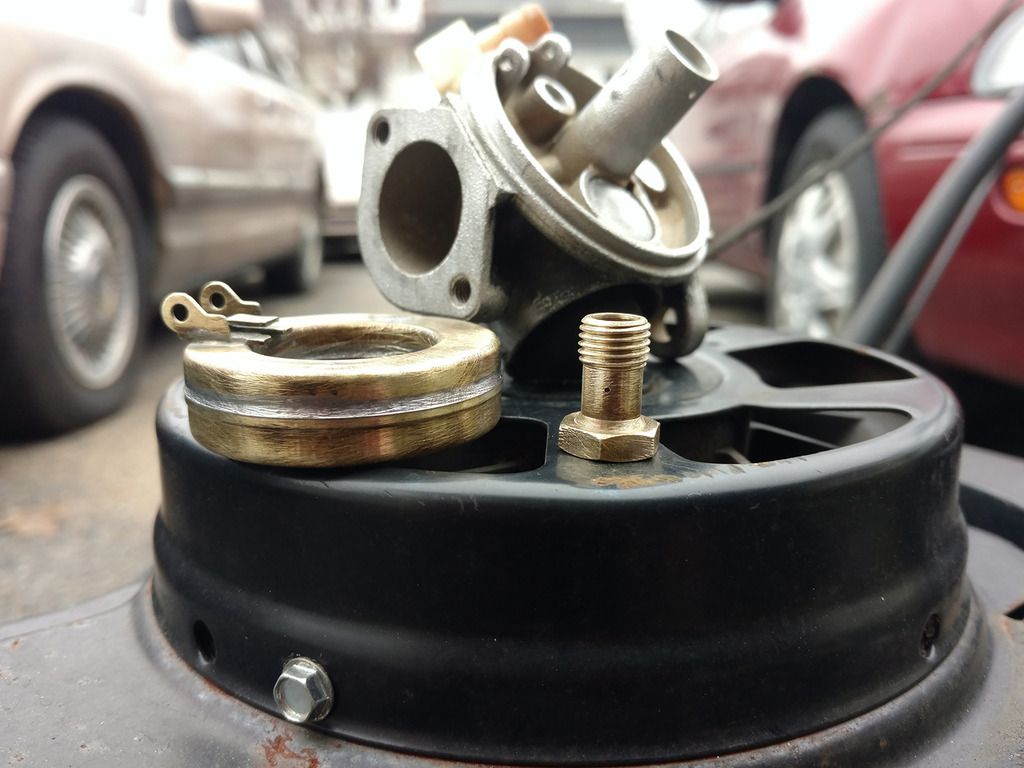
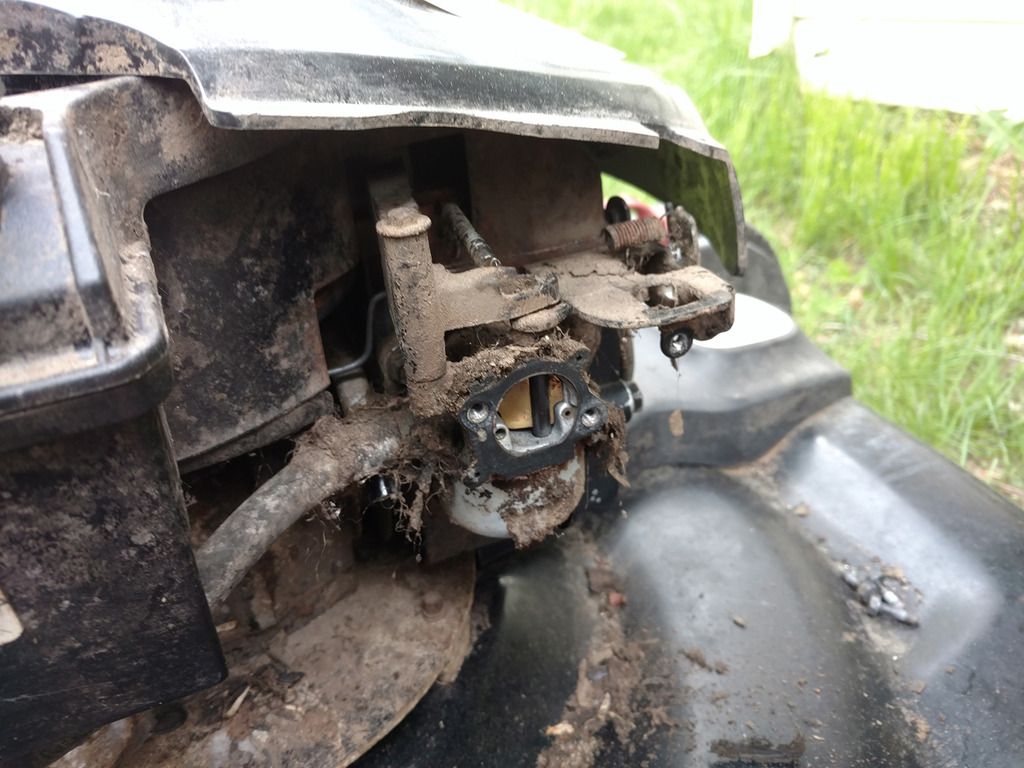
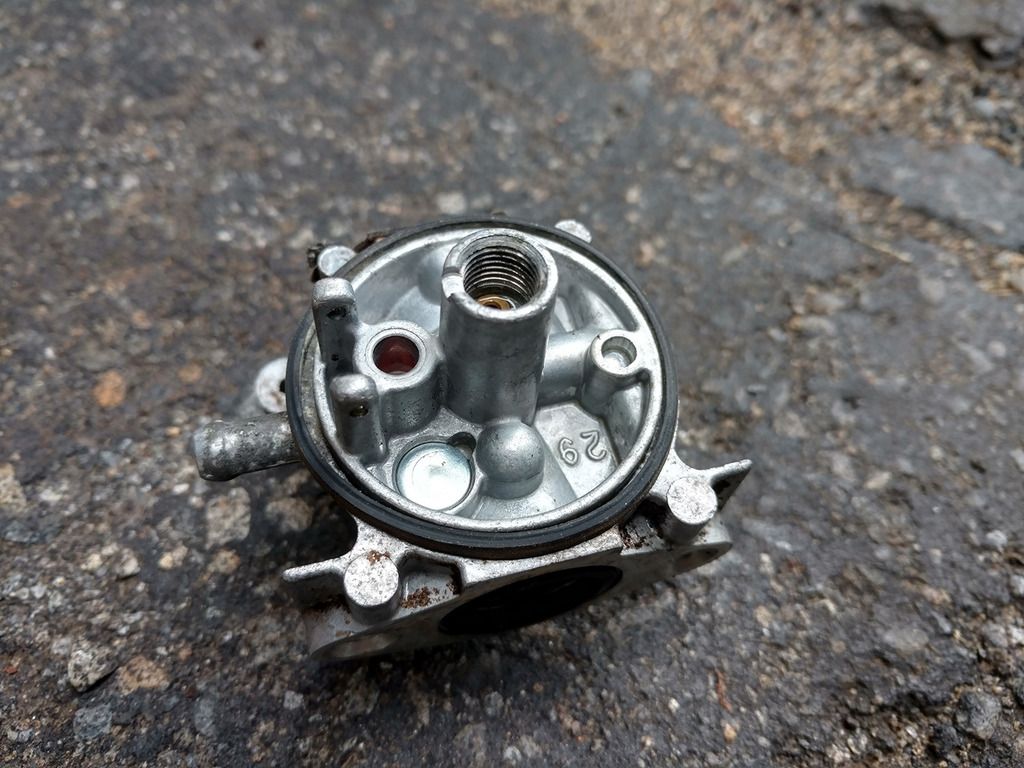
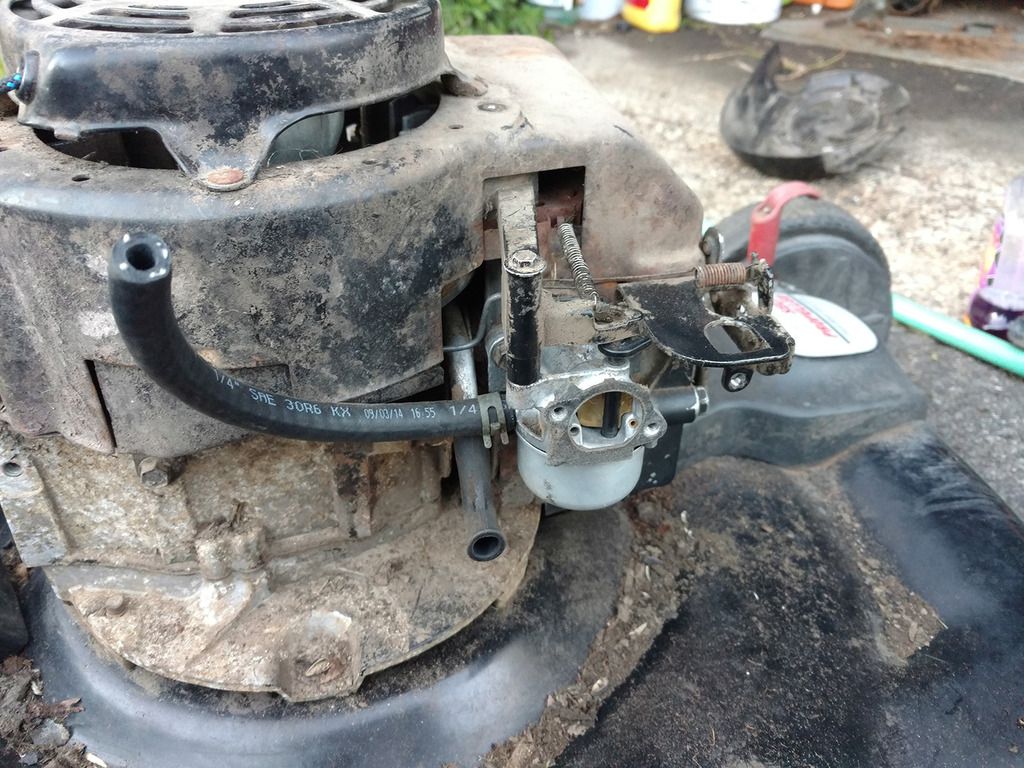
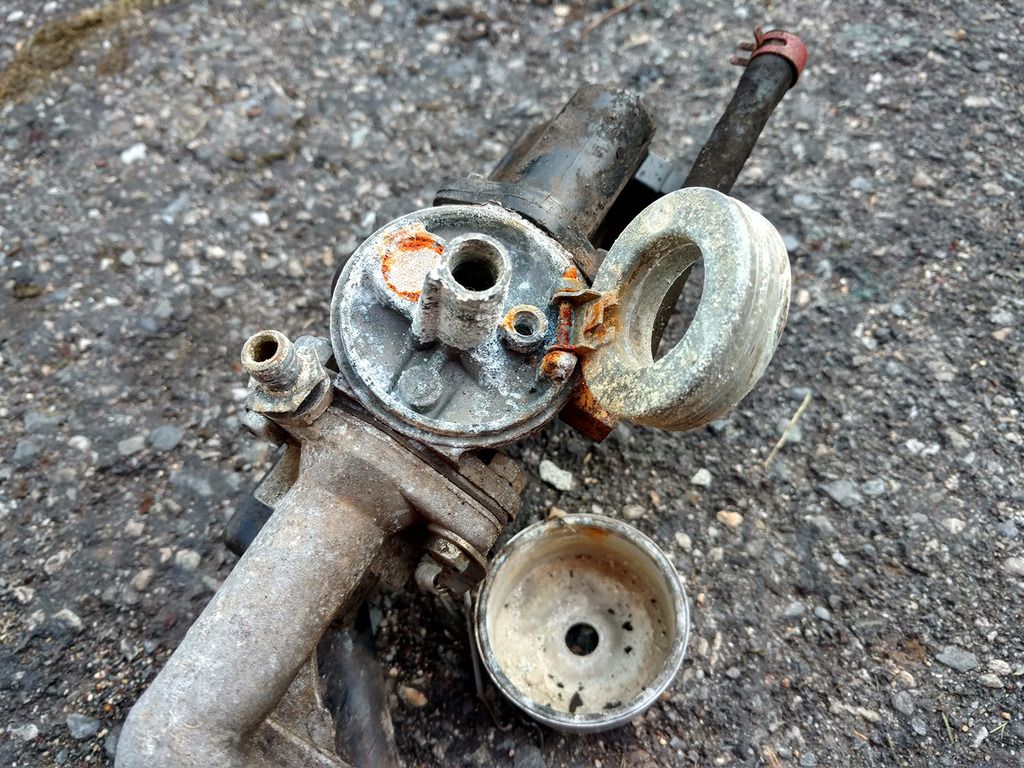
Finally, there's the carburetor.

IMG_20170414_182707052_zpsatn5vptx.jpg


IMG_20170414_184646281_zps142b6jmm.jpg


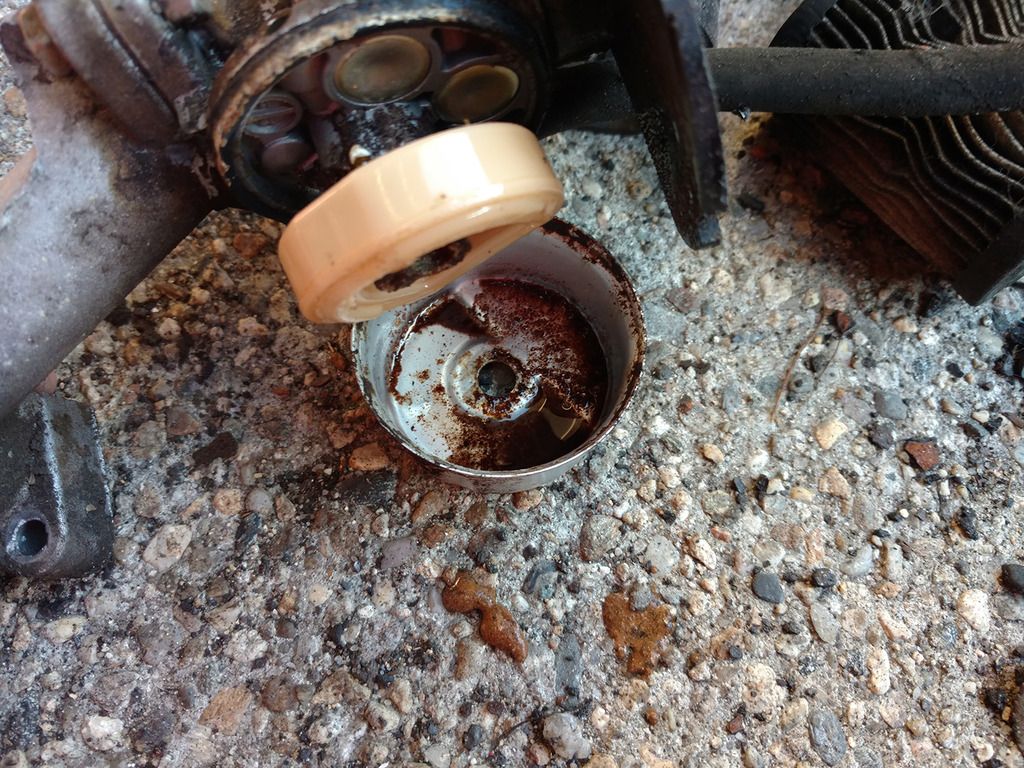
So this will be a fun one....

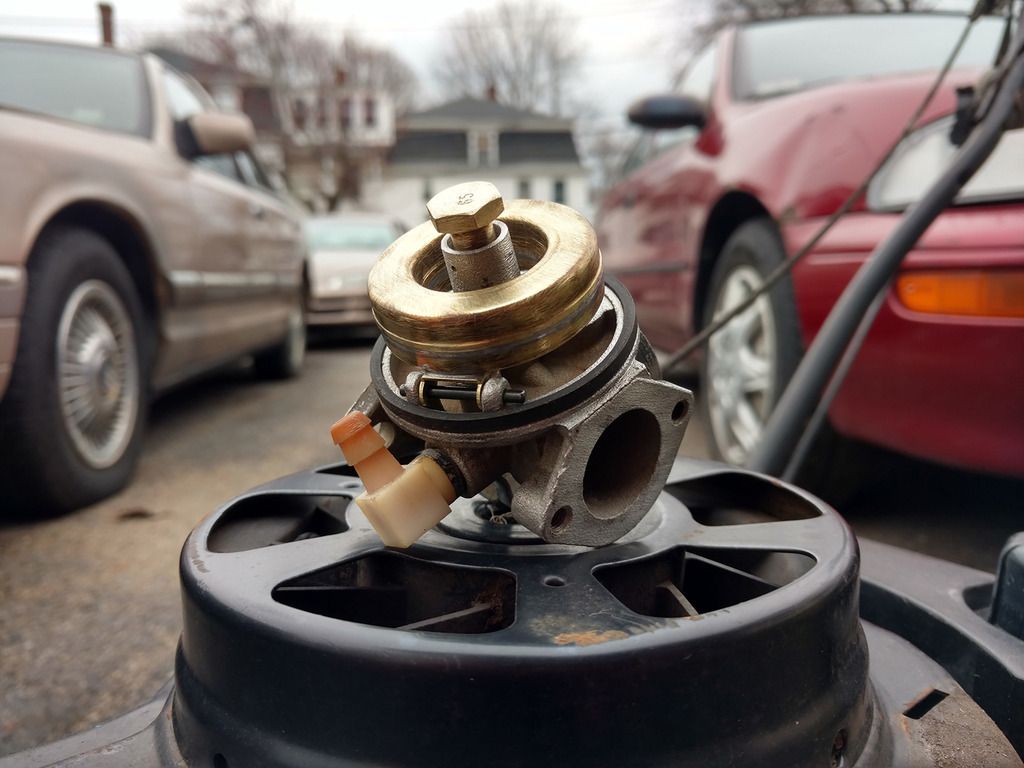
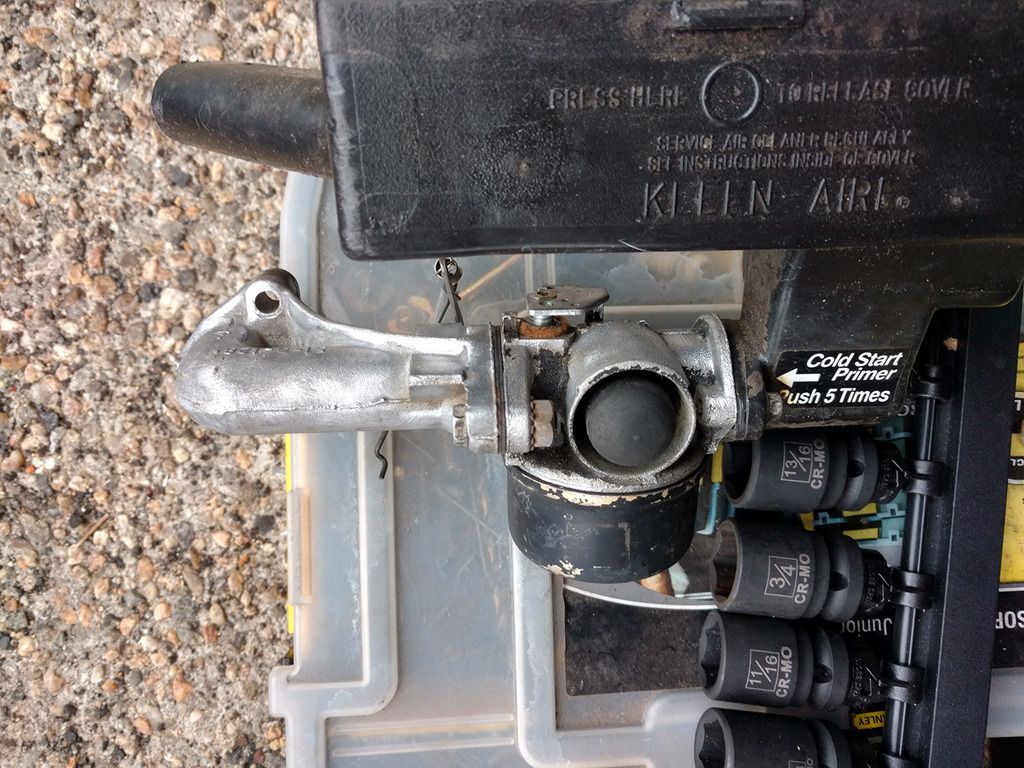
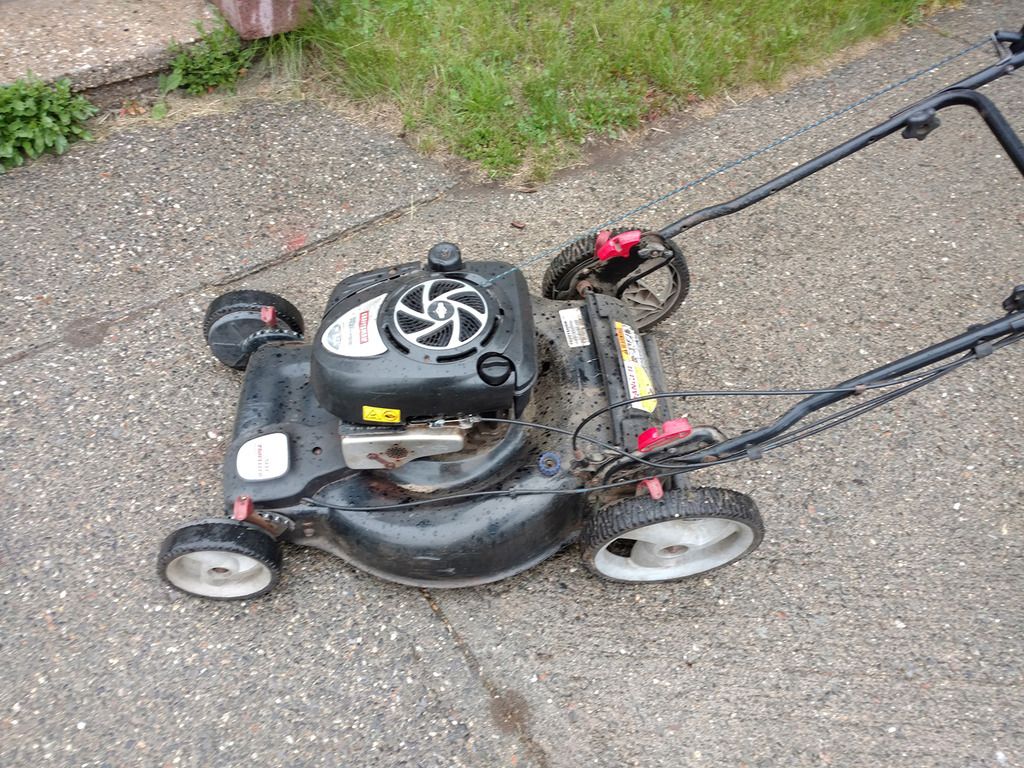
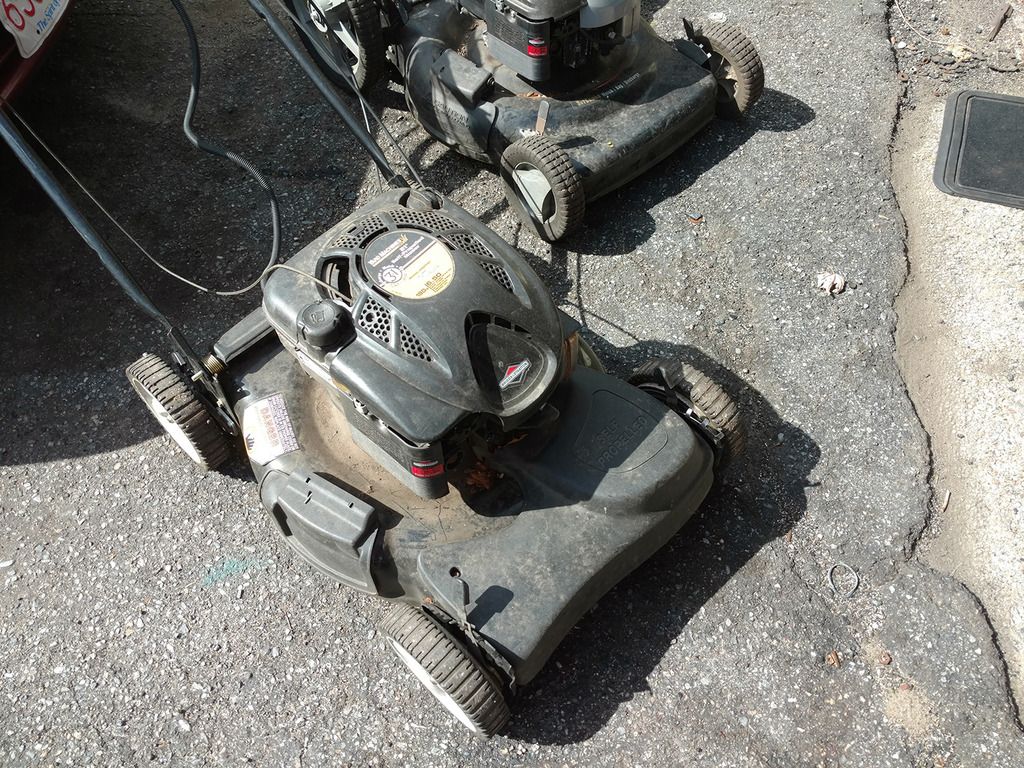
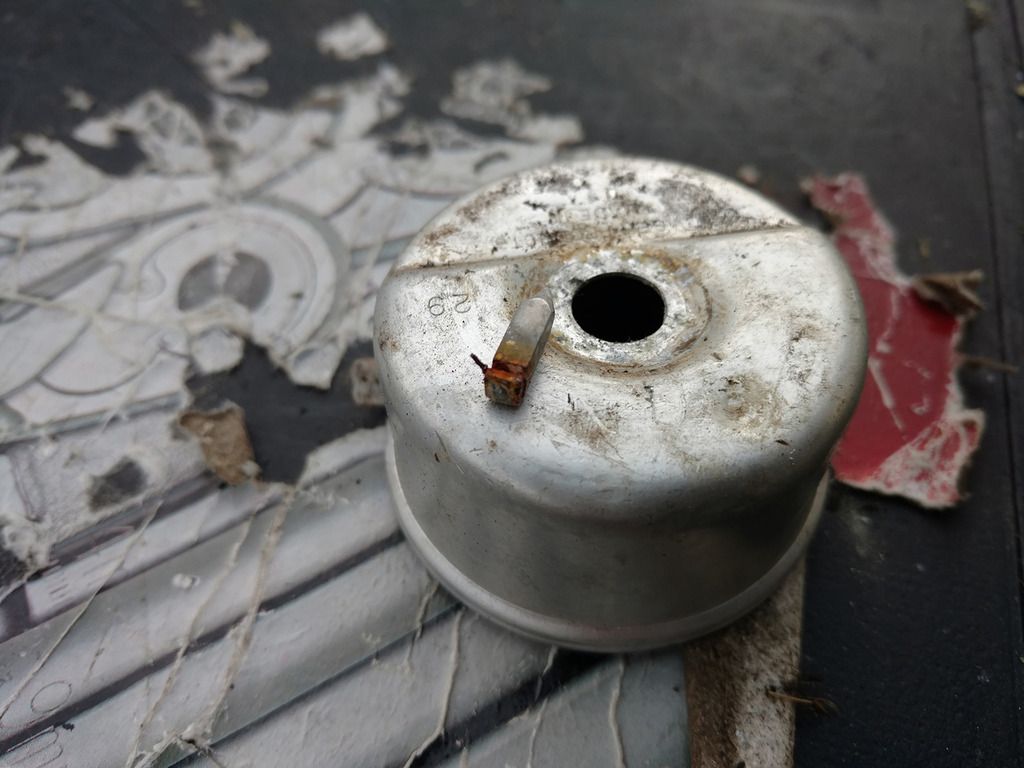
Mowing on, the other little Craftsman's engine is in much better shape, except it's ruined carburetor.

IMG_20170414_191221000_zpsl79bf0au.jpg


IMG_20170414_191238046_HDR_zps6nh22boz.jpg


This one is so corroded even the needle clip had mostly rusted away.

IMG_20170414_191443032_zps5w0cybvs.jpg


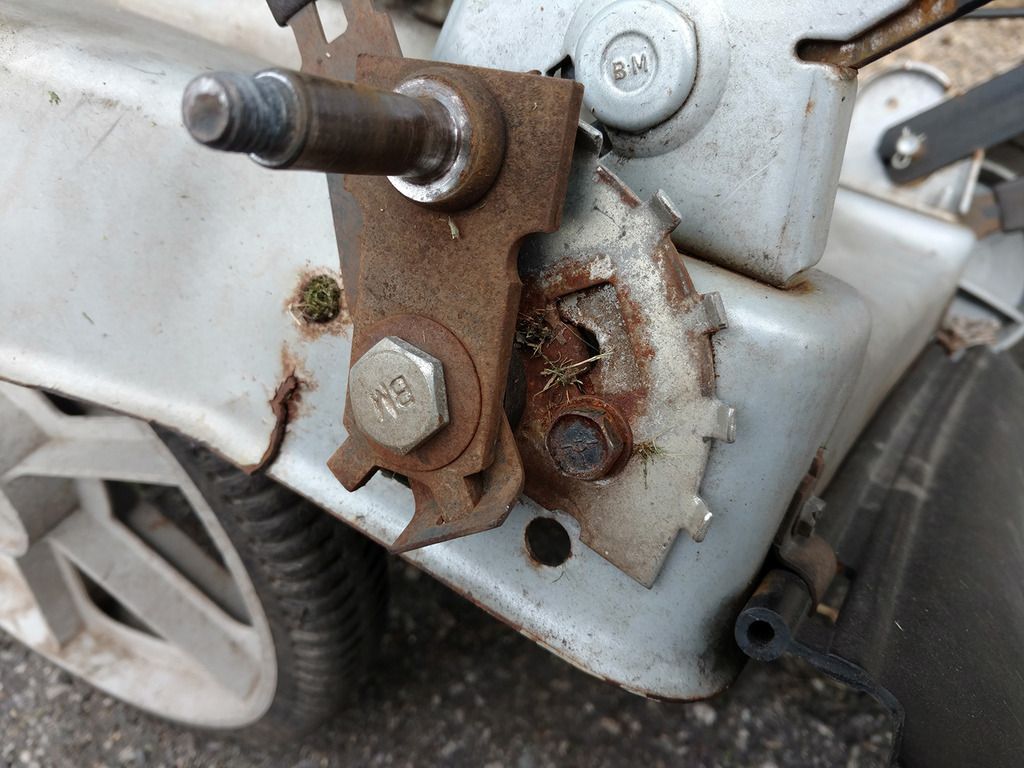
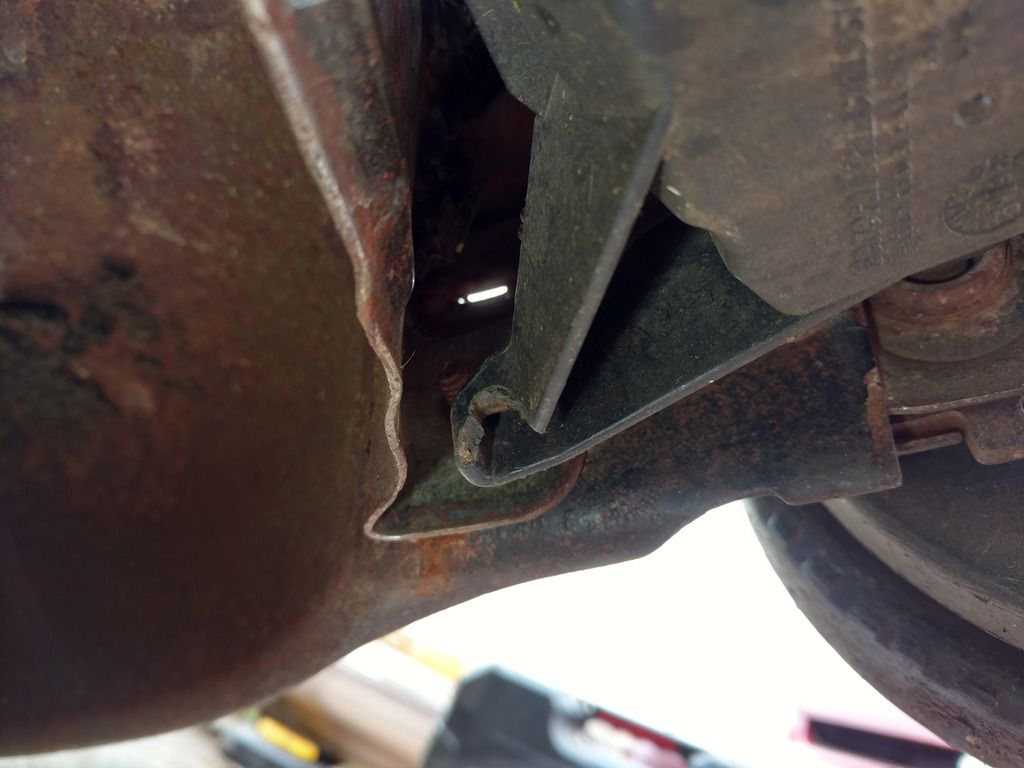
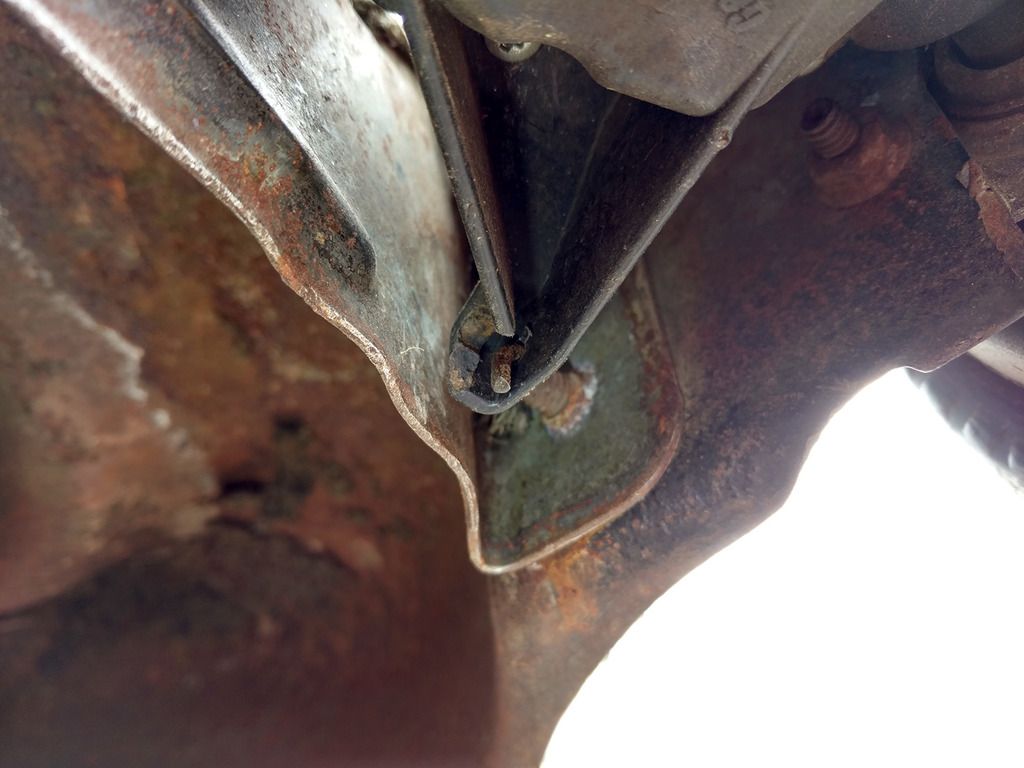
The deck is really clean...but there's a problem:

IMG_20170414_191231205_zpsemb8proh.jpg


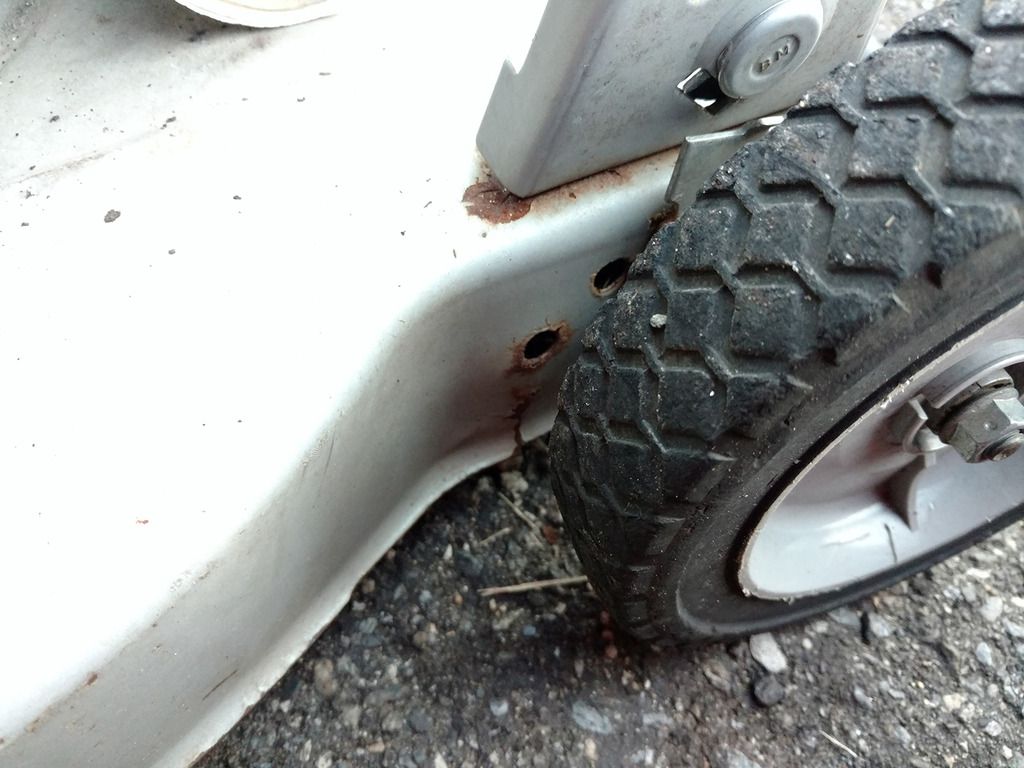
After I get it running I'll either transfer it to another deck as I have a few spares, or I might bring it to a friend's house and try welding it.

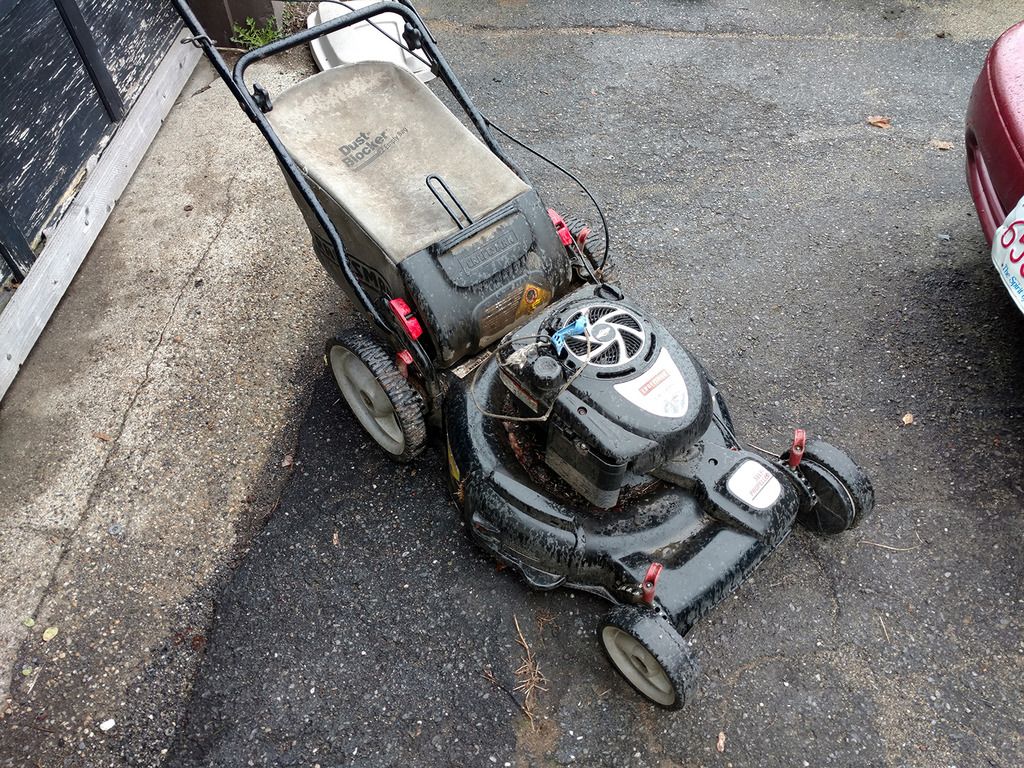
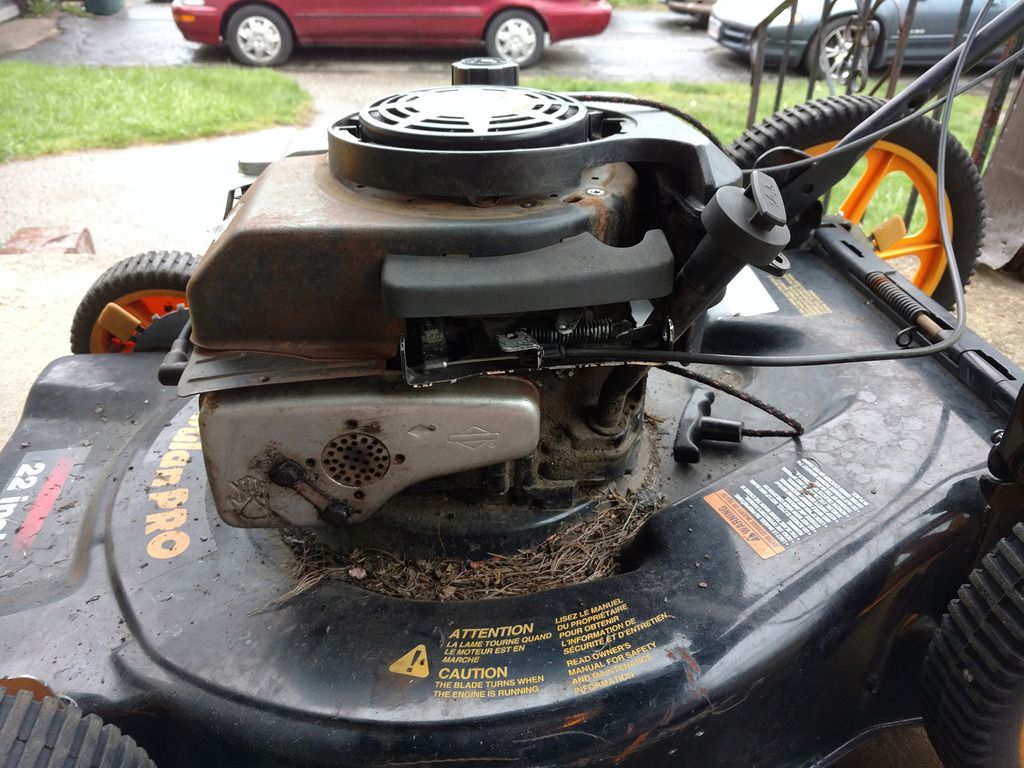
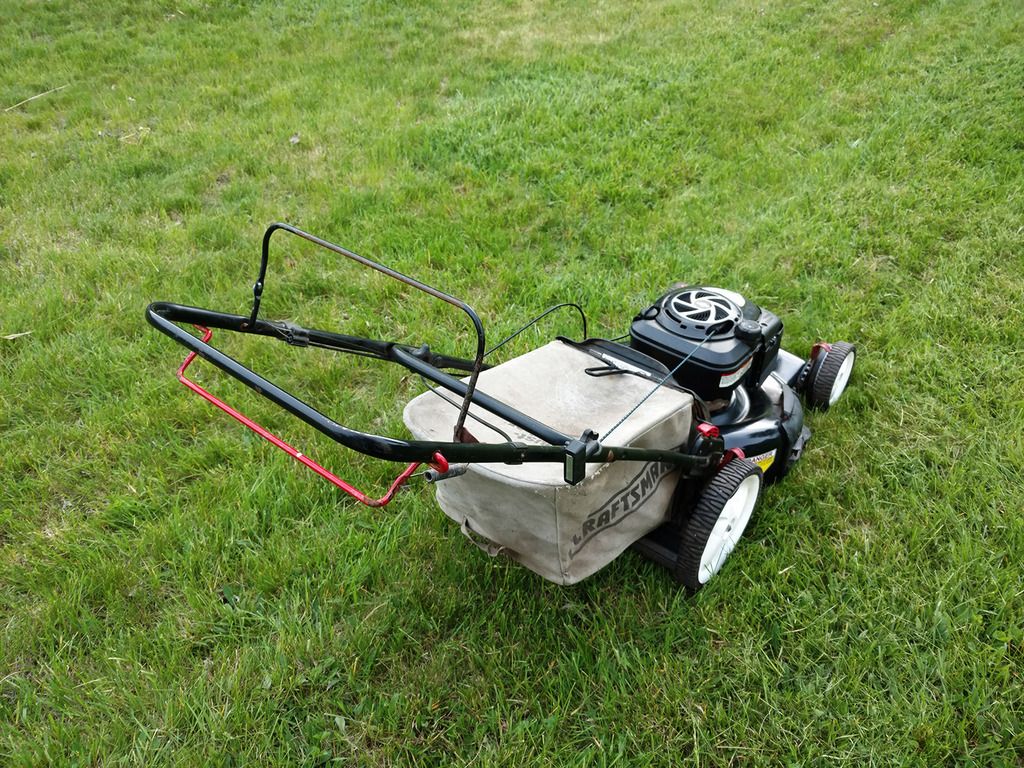
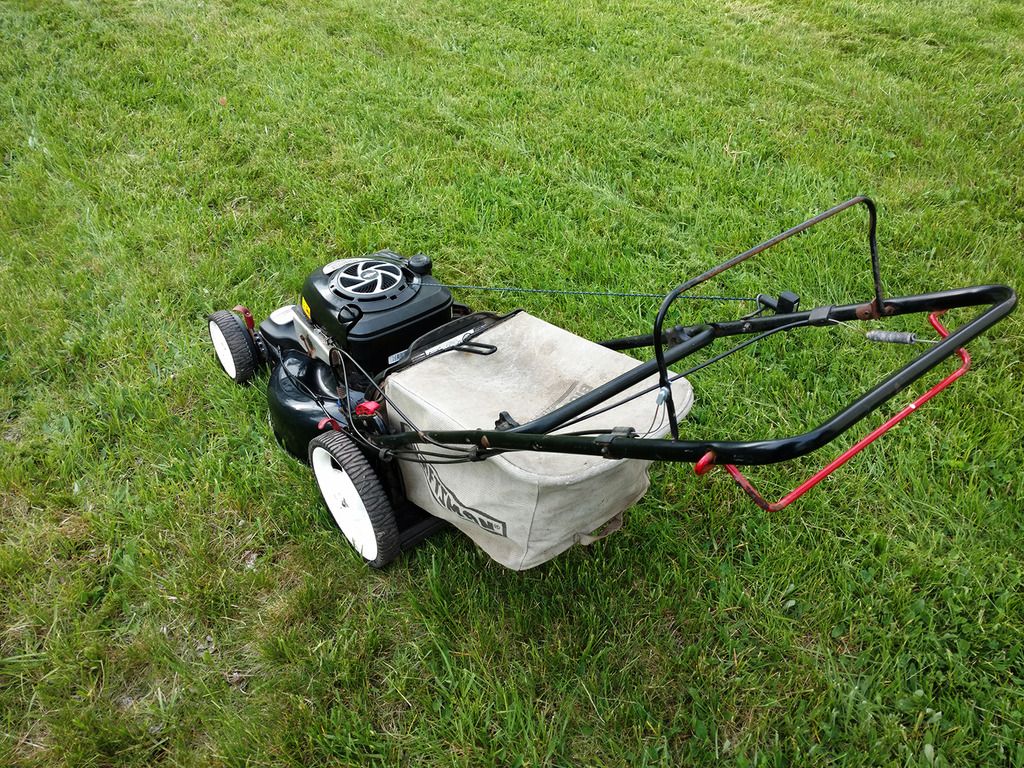
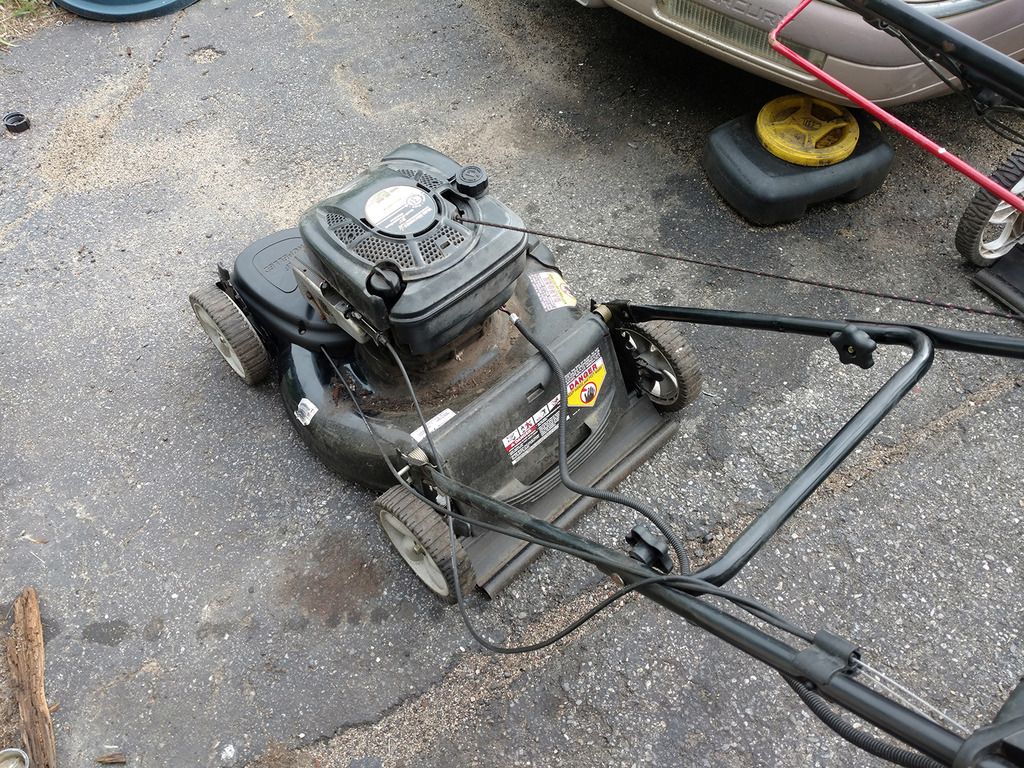
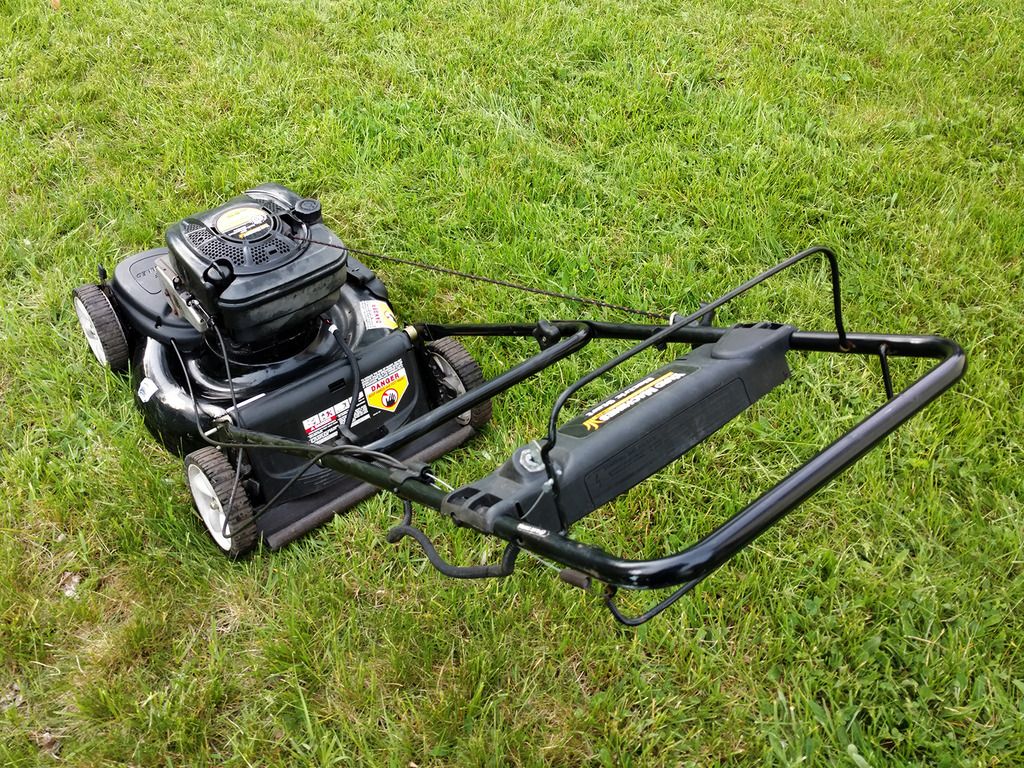
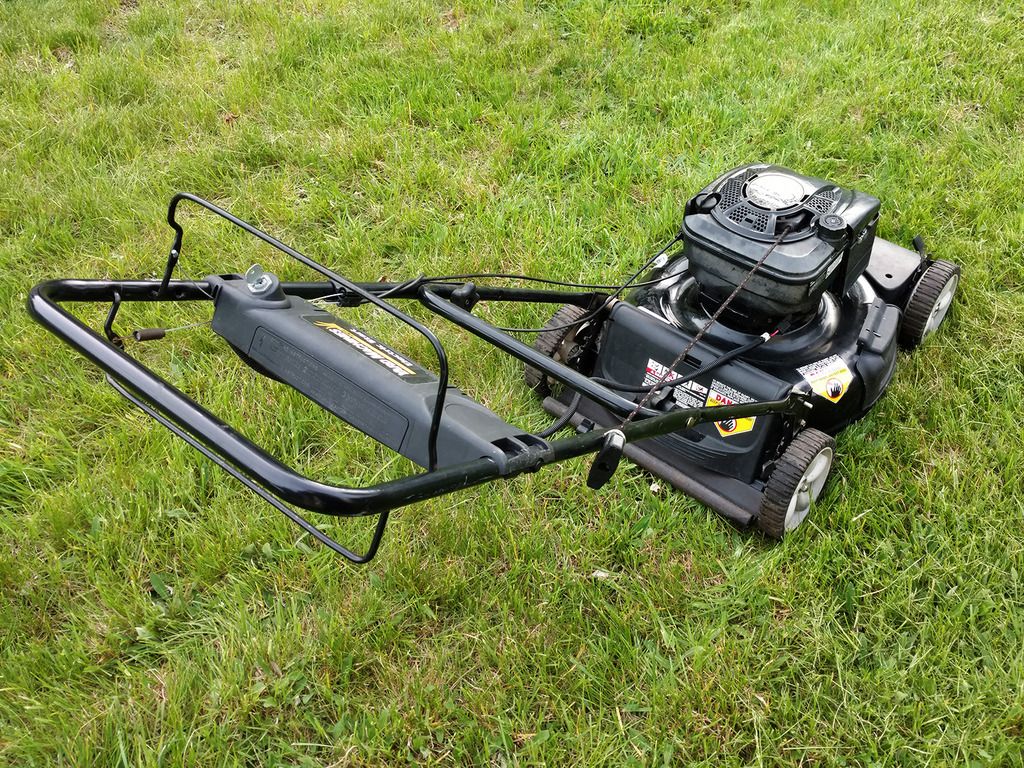
Last up is the Poulan Pro.

IMG_20170414_191700467_zpsp0cmxiuz.jpg


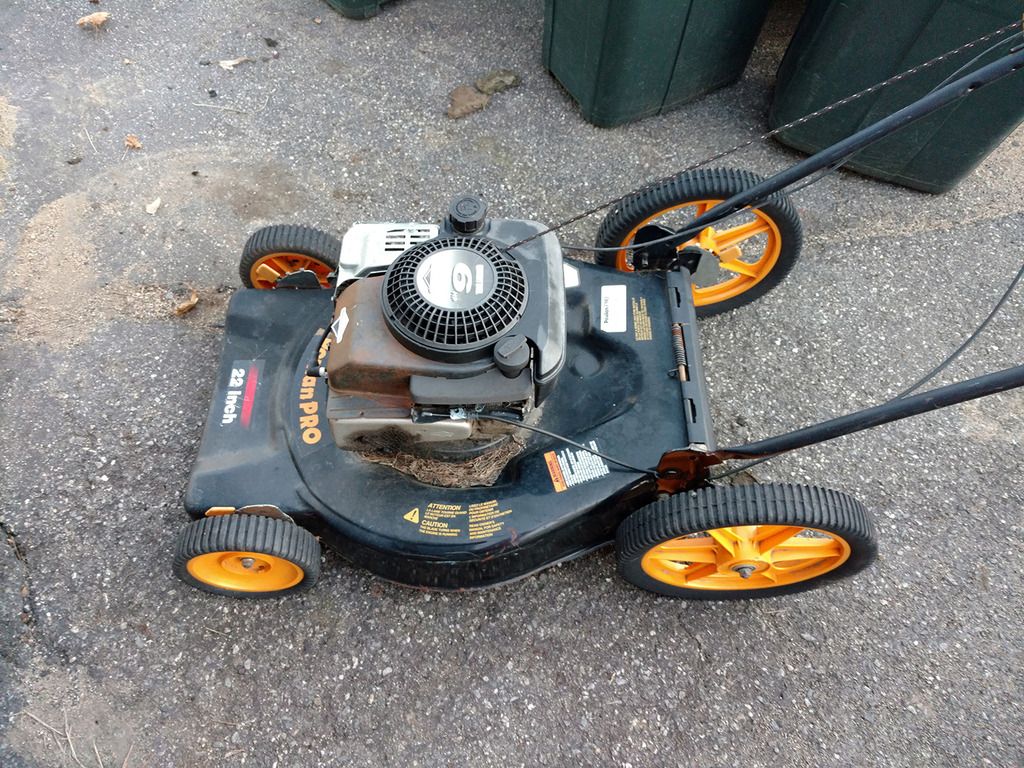
I didn't start opening this one up yet, but at the very lest it needs a new zone control cable, which is on order along with a flywheel key for the first Craftsman.
 

primerbulb120

Moderator
Joined
Nov 3, 2014
Threads
43
Messages
1,315
Yay! Glad to see this thread going again! :thumbsup::dance1:

I know you have a box of good used Tecumseh carburetors (lucky you!) but if you ever need a new one, I order mine from Green Dade Outdoor, through eBay or through their website. I've purchased aftermarket ones and they are junk, the ones from Green Dade are OEM and work great.

And I still haven't made a tutorial on making control cables... :rolleyes:
 

hanyoukimura

Well-Known Member
Joined
Jun 19, 2011
Threads
23
Messages
382
I need to get a flywheel key for that green Craftsman, so in the meantime I worked on the gray one.

Its carburetor, this one:

IMG_20170414_191238046_HDR_zps6nh22boz.jpg


Is pretty much junk, so I only reused the bowl nut, which actually cleaned up well, and the intake manifold, which I also cleaned up.

I had a similar carburetor hanging around, and while it needed cleaning it was in much better shape. The parts got a nice cleaning...

IMG_20170415_174618257_HDR_zpsjvknhbbn.jpg


IMG_20170415_174553633_zpsdgqkfxff.jpg


IMG_20170415_175403875_HDR_zpsxejdjbbq.jpg


And back together.

IMG_20170415_181448728_HDR_zpsoyffrubl.jpg


Gave a a couple pulls and to my delight it came to life!

The "oil" in this thing either had water or gas in it, it was very dirty and very thin. Nice and clean oil in there now.

Finally, there was the issue with the deck. The rear left wheel was bent and could be moved around. The deck was cracked near the mounting hole, allowing the whole wheel mechanism to move. Originally I was figuring I'd have to scrap the otherwise decent deck and put the motor on something else, but a little creative engineering fixed the problem.

On these cheap mower deck they have multiple holes in them. My guess is that on models that didn't get sold with adjusters, you could manually "adjust" the height by literally unbolting the wheels from the deck and putting them in one of the other holes above or below. What I did was use one of those holes that were covered by the adjusting bracket, and drill through the bracket. Then its just a matter of putting a nut and bolt through and and tightening down. Nice and strong now, no play at all, and because it was just a bolt I had lying around, its even ":"custom" weathered to match!

IMG_20170420_143827275_zps9d0jrnmv.jpg


IMG_20170420_144044237_zpsniqg0o6w.jpg


Pretty pleased with myself on that.

Now its just a cleaning and a sharpened blade away from being done.

The other thing I did today was go to a friend's house to look at his lawn tractor that refused to start and would just backfire when he tried.

IMG_20170420_164153947_zpsochhguyn.jpg


I believe I've found the problem.
 

hanyoukimura

Well-Known Member
Joined
Jun 19, 2011
Threads
23
Messages
382
I talked to my friend today we he made a surprise visit with a mower he found. He went and got a key the next day and told me it started up! Funny thing is when he first asked me about it back in like January my first thought was timing off and to check the key. Look who was right? :D I'm glad we were able to figure it out. That impact wrench to has got to be one of the best tools I've gotten in a while, as its already proven invaluable several times (including removing 2 flywheels).

The mower he gifted me is a late model Craftsman self propelled mower. Apparently the dump in his town lets him take stuff (my town doesn't) and he sees mowers every now and then, including this. I looked it over briefly. It's all there, even the bag, which is great. Not so great is that that one of the bolts are sheered off that secures the shroud to the cylinder head...just like that other Craftsman....yay. The cord is also quite the cob job.

IMG_20170422_130245673_TOP_zpsi1qb2xud.jpg


IMG_20170422_130252997_zpsrn2drvli.jpg


IMG_20170422_135042535_zpsdvpilcxr.jpg


You can tell that deck washout port has been well utilized....

The weather's been kinda meh, so my plans for the day got canceled. However, it did remain dry enough to do some mower time fun time.

I picked up a head gasket for both that Craftsman and the green one, as well as a flywheel key for the green one. My plan for both is to swap the heads for ones that don't have bolts sheered in them. As it so happens I have a spare for each. I mounted the key and put the flywheel back on. After that I found a suitable carburetor and cleaned it up then found the parts to make it whole. Once it was all together I attached the original's intake manifold and air cleaner mount.

Sitting down with the mower, I realized that there was bunch of crud in the intake port and the valve didn't seem to be moving. I cleaned the stuff out and was able to free up the valve, but at this point I wasn't having especially high hopes for this engine. Still, I'd come this far, might as well see it through. Here's the engine with not much on it.

IMG_20170422_162951844_zpsgucc0ftp.jpg


And here's the "new" head and new gasket.

IMG_20170422_163253068_HDR_zpsv4nx46c4.jpg


Put it together and mounted the carburetor and muffler.

Next was the tricky business of the shroud. The one that belongs to it is ruined because the rear bolt holes are destroyed. I've got a few spare shrouds, none of them exactly a like but they'll fit, and a gas tank to match. None the shroud like up with the dipstick, which is problematic. I was actually surprised the dipstick was even there at all since it wasn't bolted to the original shroud. Turns out, it actually has a bracket holding it to the engine block. I'm not sure if I've seen that before, but its pretty brilliant; enuring that the dipstick can't come loose or fall off.

Here it is nearly back together:

IMG_20170422_171625193_zpswxodocu4.jpg


Unlike the little gray Craftsman, this one's oil was dirty, but at least looked like oil and was at the proper level. Before putting new oil in I wanted to see if it would even start. After getting everything all together, I have it a shot of carb spray since the primer bulb is super stiff and will need to be replaced. To my amazement, it actually started! It was a slow to wind up start, and it did sputter out after a few seconds, but it was a good sign. I gave it another shot and tried a again. It spun back up, but this time the RPMs increased and settled at a nice normal idle. I couldn't believe this abused engine actually ran, and not only that, it didn't smoke at all. I let it run for a few minutes before shutting it off for an oil change. I'm honestly surprised that after the sorry state this thing was in that would actually turn out to be a good runner, or a runner at all, especially after finding crud in the intake port.

My final take for the day was to secure the dipstick to the shroud. I mean it might not really need to be since its secured at the base, but I'd like it to be extra secure. To do that I drilled a hole through the shroud, used one of the bolts that hold a Tecumseh Carburetor to its intake, and a spacer from a Briggs Quantum.

IMG_20170422_180948166_zps2hghl7ii.jpg


Oh and one or more of the engine mounting bolts were a bit loose (even though the shaft isn't bent and the blade appears to be ok), so I tightened them back down. All in all, it seems to run really well. I'll need to replace the primer bulb, see how it cold starts on its own, give it a shakedown, and finally clean it, but I'm quite proud of myself with this one. Here it is in running condition:

IMG_20170422_180952116_zps7bnllull.jpg


IMG_20170422_181000325_zps3alweiws.jpg
 

hanyoukimura

Well-Known Member
Joined
Jun 19, 2011
Threads
23
Messages
382
First sale of the season. It was actually the Murray leftover from last year.

IMG_20160608_164032440_zpsebl0urkw.jpg


Had a guy knock on my door looking for one. He actually bought one from me five years ago and it finally gave up the ghost. He was so pleased with it he came over looking for another from me. Love repeat business!

The little Craftsman is basically done now. Used a bit of hot glue to make the wrap on the handle nice and secure. Cordless hot glue gun is the best invention ever. Considering it was almost a write-off, its come along way.

IMG_20170510_180828478_zpsxcdisecn.jpg


IMG_20170510_180854745_zpspbjwbj9e.jpg


Runs great, though I think the fuel isn't shutting off all the way as the gasket. I'll need to check the seat and possible replace the float to be safe. I have plenty of plastic ones.

I've been tackling this late model Craftsman a little bit between the seemingly unending showery days.

http://i1320.photobucket.com/albums/u533/onemowchance/IMG_20170422_130252997_zpsrn2drvli.jpg

It was outside for a few days, in in that time there was so much dirt on the deck that vegetation actually started growing on it! I usually wash the mowers after I've gotten them working, but with this one I actually washed it before I started to get all of the dirt off the deck. This too had a bolt sheered off in the cylinder head. I had a spare head, from the Brute mower all those years back. So I got a head gasket and swapped heads. Removing the shroud cover and shroud revealed that another bolt was sheered off at the back on the exhaust side. I ended up drilling it and then retapping it. I also replaced the start rope.

Today I had more time, and it was dry out, so work continued. This mower, despite being not very old, has been through the ringer. Its absolutely filthy. Taking the shroud off revealed a nasty and just so much dirt and crud all over the engine. I had to remove the muffler and clean all that out so the ReadyStart mechanism would move freely again. and also not catch fire if and when this thing ran again.

Next, the carburetor:

IMG_20170510_154739757_zpsyxz6dknr.jpg


Yum.

However, inside it was actually very clean.

IMG_20170510_155818769_HDR_zpsu7mpjcdh.jpg


Now back together.

IMG_20170510_194010454_zpsx3egvlm5.jpg


Didn't get photos, but the air filter cover and box were pretty disgusting outside as well, needed a good cleaning, as did the exterior of the tank.

Put it all back together, put oil and gas oil in it. First pull!

Honestly, if it wasn't so filthy and two of its bolts hadn't been sheered off, this would have been an easy one. I need ot order a drive cable for it, clean up really good, and this should be a very nice one when it's all done.
 

primerbulb120

Moderator
Joined
Nov 3, 2014
Threads
43
Messages
1,315
First sale of the season. It was actually the Murray leftover from last year.

Had a guy knock on my door looking for one. He actually bought one from me five years ago and it finally gave up the ghost. He was so pleased with it he came over looking for another from me. Love repeat business!

Which one did he buy originally? What happened to it? Did he sell it back to you? Tell us more! :laughing::wink:

The little Craftsman is basically done now. Used a bit of hot glue to make the wrap on the handle nice and secure. Cordless hot glue gun is the best invention ever. Considering it was almost a write-off, its come along way.

Runs great, though I think the fuel isn't shutting off all the way as the gasket. I'll need to check the seat and possible replace the float to be safe. I have plenty of plastic ones.

Are you going to do any paint work on it? Muffler could use a coat of header paint to make it look new. :biggrin:

I've been tackling this late model Craftsman a little bit between the seemingly unending showery days.

It was outside for a few days, in in that time there was so much dirt on the deck that vegetation actually started growing on it! I usually wash the mowers after I've gotten them working, but with this one I actually washed it before I started to get all of the dirt off the deck. This too had a bolt sheered off in the cylinder head. I had a spare head, from the Brute mower all those years back. So I got a head gasket and swapped heads. Removing the shroud cover and shroud revealed that another bolt was sheered off at the back on the exhaust side. I ended up drilling it and then retapping it. I also replaced the start rope.

Today I had more time, and it was dry out, so work continued. This mower, despite being not very old, has been through the ringer. Its absolutely filthy. Taking the shroud off revealed a nasty and just so much dirt and crud all over the engine. I had to remove the muffler and clean all that out so the ReadyStart mechanism would move freely again. and also not catch fire if and when this thing ran again.

That black Craftsman is very similar to one I was given a few years back. Guy put it out at the curb, but nobody would take it because the yards in his area are too big for a push mower!
 

hanyoukimura

Well-Known Member
Joined
Jun 19, 2011
Threads
23
Messages
382
Which one did he buy originally? What happened to it? Did he sell it back to you? Tell us more! :laughing::wink:


Are you going to do any paint work on it? Muffler could use a coat of header paint to make it look new. :biggrin:


That black Craftsman is very similar to one I was given a few years back. Guy put it out at the curb, but nobody would take it because the yards in his area are too big for a push mower!

I honestly don't remember, he said it was a Craftsman and the engine "blew up", so he just wanted to buy another. Guess he figured he got his money's worth out of it.

If I had to guess, since he said he got it five years ago and used it to mulch with, it'd probably one of these two dark green ones.

IMG_9007.jpg


And of those two, I'd guess the Tecumseh powered one, because "blew up" and Tecumseh go together so well. :laughing:

As for paint work on that gray one, not sure. I did try to do some hand buffing because I couldn't find my buffer pad, but its stained pretty good.

At this point the black one just needs a drive cable now, so I'll have to wait for one to arrive. Runs great though.
 

hanyoukimura

Well-Known Member
Joined
Jun 19, 2011
Threads
23
Messages
382
I was all set to order a drive cable for that Craftsman, but wanted to see how it connected to the transmission before I did. I'm glad I checked, because it turns out it wasn't the cable that was broken, but rather the bracket the cable connect to. The "bracket" is part of the transmission housing, which is made of...plastic. Stupid design.

IMG_20170513_132251987_HDR_zpsgeu60oi1.jpg


However, the bracket wasn't broken on the other side, so I drilled a small hole through it and routed the cable through there.

IMG_20170513_133040245_HDR_zps8vty4gi4.jpg


Drive system works now! Honestly, I don't know how t his poor machine got to the state it was in, its only a few years old but its been very poorly taken care of. At last though, everything seems to work. Now it just needs a good cleaning. I have a spare set of white wheels of the same style that I'll swap over after I've touched up the paint.

IMG_20170513_180801678_zpsnu0j7uam.jpg


The other machine I worked on today was the Poulan Pro. I had already rebuilt the carburetor the other day. It was actually missing its seat, which I've never seen before.

IMG_20170513_180433106_zpsfyjamobi.jpg


Today I replaced the primer bulb, air filter housing gasket, and put it back together...only to discover it also had no blade! Luckily, its a 22" deck and I have a few new 22" blades. Put that on and tried to start it...nadda

Check spark...no spark. Took the shroud off, cleaned the coil and magnets. Tried again. Still nothing. Swapped the coil. Still Nothing. Tried its coil on another mower...spark. Not sure about this one. I checked the flywheel key and its off a little, but is this enough to result in no spark?

IMG_20170513_180012090_zpsc9ckrwgt.jpg


Either way, I'll have to get a key for it Monday.
 

hanyoukimura

Well-Known Member
Joined
Jun 19, 2011
Threads
23
Messages
382
Been busy, but finally got a couple finished. First up is the Craftsman.

Before:

IMG_20170422_130252997_zpsrn2drvli.jpg


After (with a "new" set of wheels):

IMG_20170523_182222383_zpsrvdi2ds1.jpg


IMG_20170523_182229593_zpsudwcf3yf.jpg


IMG_20170523_182218855_zpsxddkhbf6.jpg


IMG_20170523_182238922_zpsczcggr4r.jpg


IMG_20170523_182209405_zpsl9uhrowu.jpg


IMG_20170523_182202990_zpshgflktp3.jpg


IMG_20170523_182302266_zpsefrgnddp.jpg


IMG_20170523_182256608_zpsj6bmzjvm.jpg


IMG_20170523_182248325_zpsrdn8dpio.jpg


Besides the bag it almost passes for new!

The other one I finished was a Yard Machines mower I had leftover from last year.

IMG_20160510_155155519_zps3sbo6sje.jpg


This was the one I check the Poulan Pro's coil for spark with. I still haven't figured out why the Poulan Pro has no spark, and since it has no bag or mulch plug, I elected to put it on the back burner and use the cleaned carburetor on this. I also swapped shrouds since the Yard Machines has a broken recoil spring and I don't have on handy.

I also had to replace the blade which was a mangled mess, and it had no drive belt, so a new one went on.

IMG_20170523_164759802_zpsijbyqhqn.jpg


After getting it all together it too came back to life. Runs great and everything besides the electric start (dead battery) works. It's actually in very good shape. Under the deck is clean, top of deck was dirty but the paint under it was in such good shape I only had to wash it. The springs, nuts, and bolts aren't rusty either.

IMG_20170523_182520076_zpsftsnetyh.jpg


IMG_20170523_182513439_zpsd2z27pip.jpg


IMG_20170523_182506863_zps0oytkhva.jpg


IMG_20170523_182501252_zpsnvs6bdeq.jpg


IMG_20170523_182451246_zps7hrrlhxn.jpg


IMG_20170523_182456380_zpsvs3kmkdk.jpg


IMG_20170523_182552680_zps75zmeymv.jpg


IMG_20170523_182545084_zpskqyihlig.jpg


IMG_20170523_182534559_zpsh8phqb0b.jpg
 
Top