hanyoukimura
Well-Known Member
- Joined
- Jun 19, 2011
- Threads
- 23
- Messages
- 382
I've been asked a few times in my mower repair thread how I bring the luster back to paint that's in pretty bad shape. Well today I took some extra time to photography more of the process on a particularly troubled mower and share it with you.
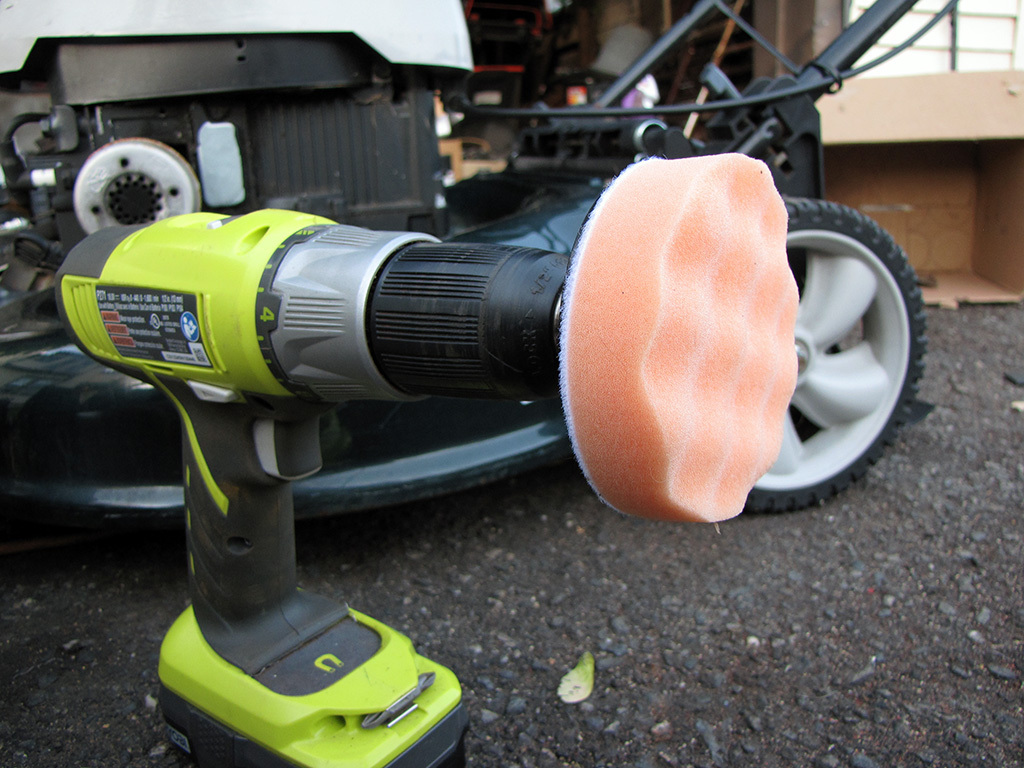
The Tools:
For severe stains:
The Mower:
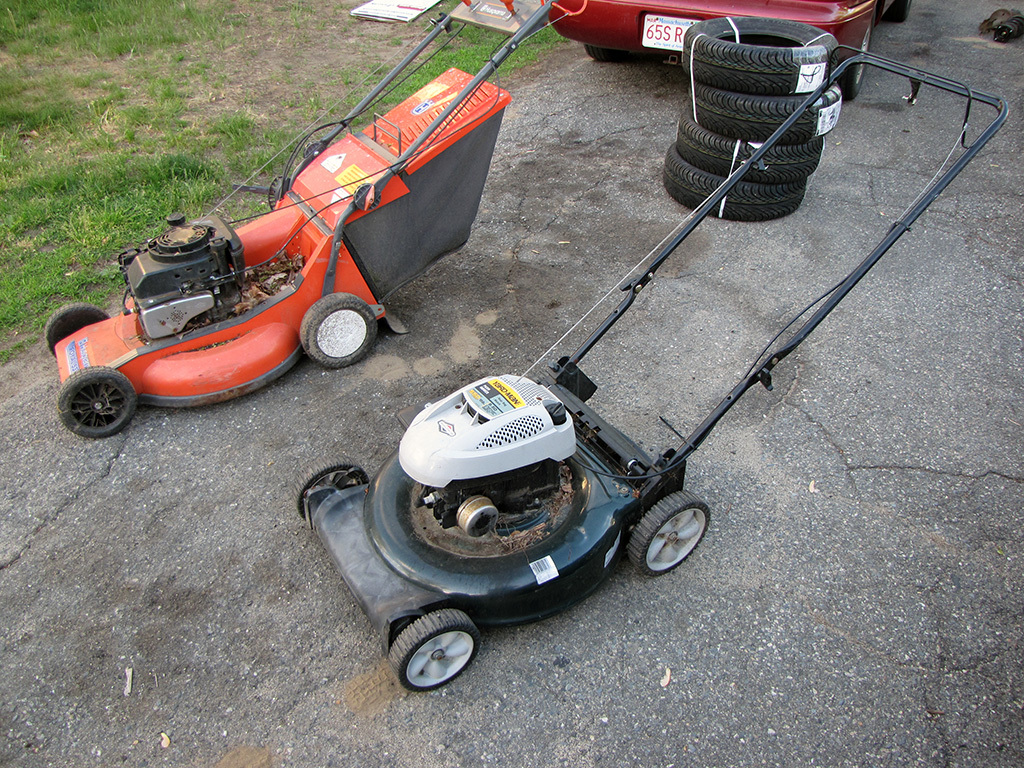
It's a 2011 Yard Man 11A-A18M055.
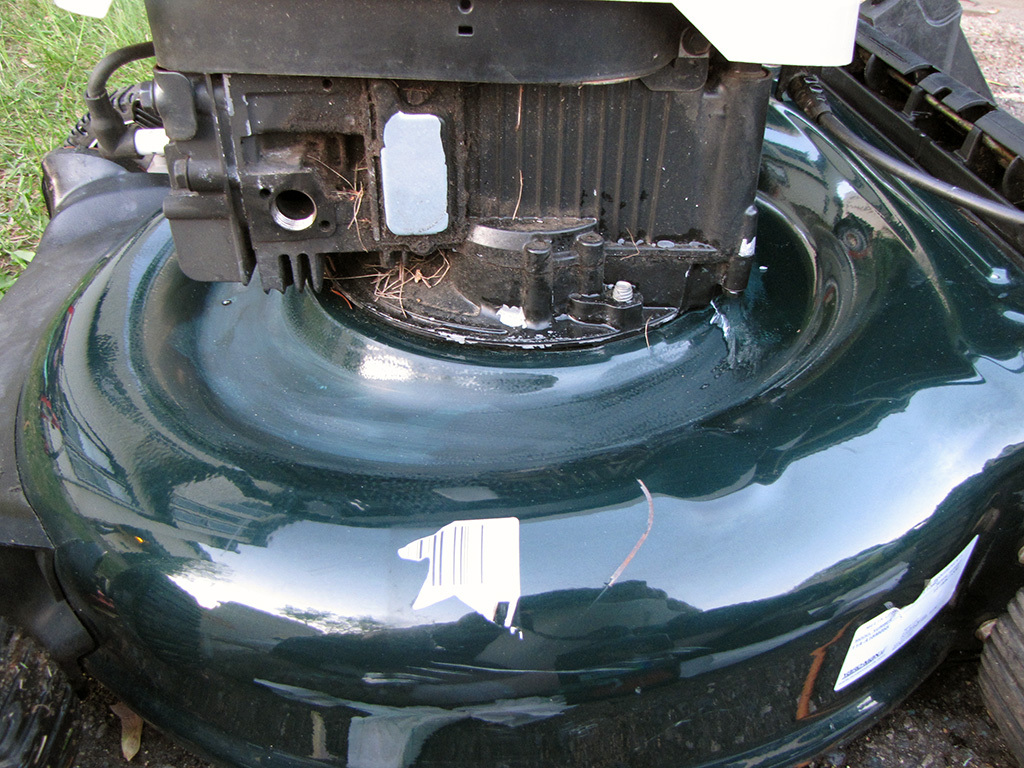
This is the newest mower I've worked on so far. Picked it up for free in exchange for some scrap metal. Cleaned the fuel tank and carburetor out, replaced the plug and she fired right up.
Once the mower is functional, the next step for me in to clean it up and make it look presentable.
Step one is to pressure wash the crud off of the deck, followed by a scrubbing of car wash and water. Car wash is better for the paint than dish soap. I usually have a cheaper brand of car wash for the mowers (and the good stuff for my cars!).
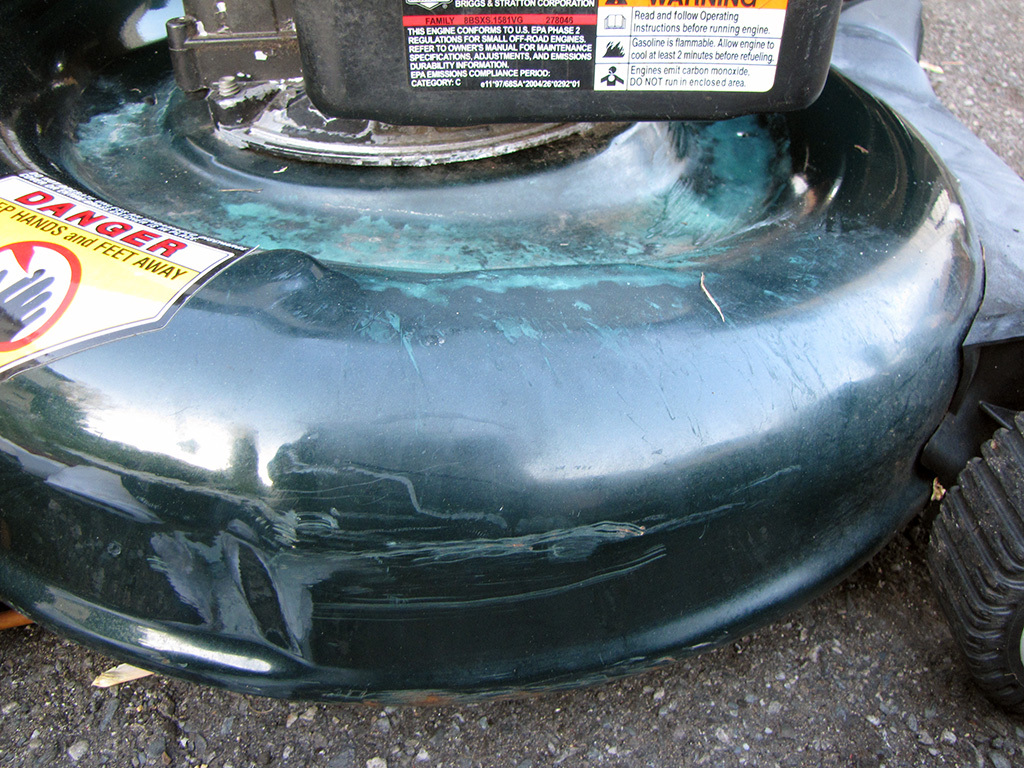
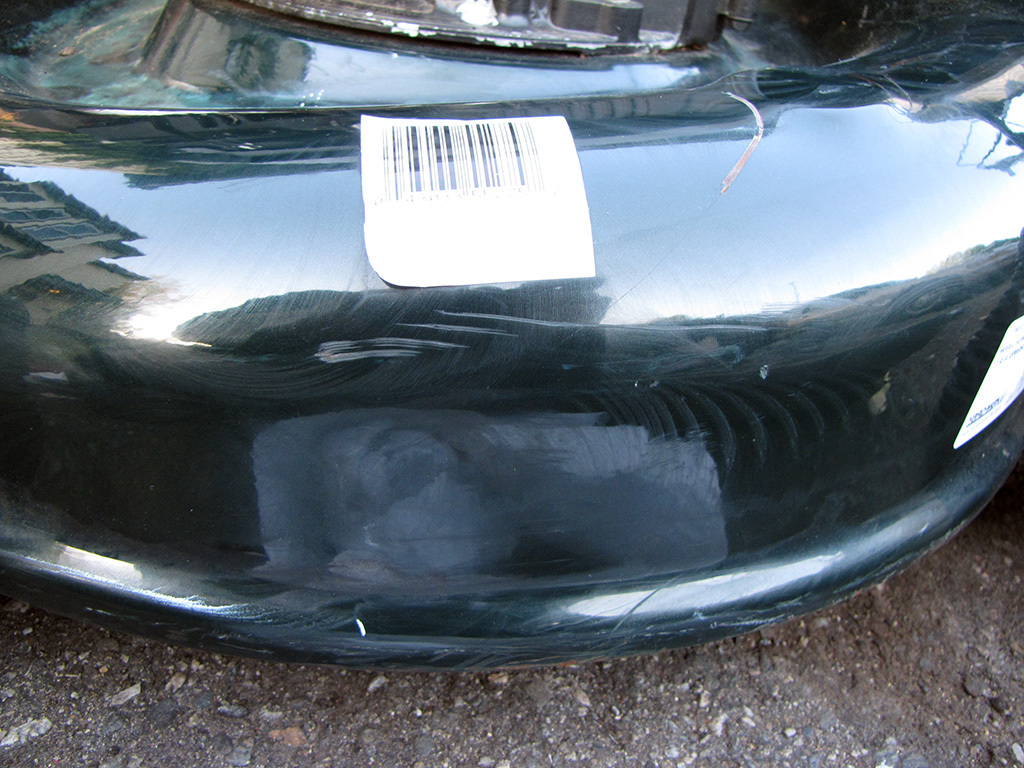
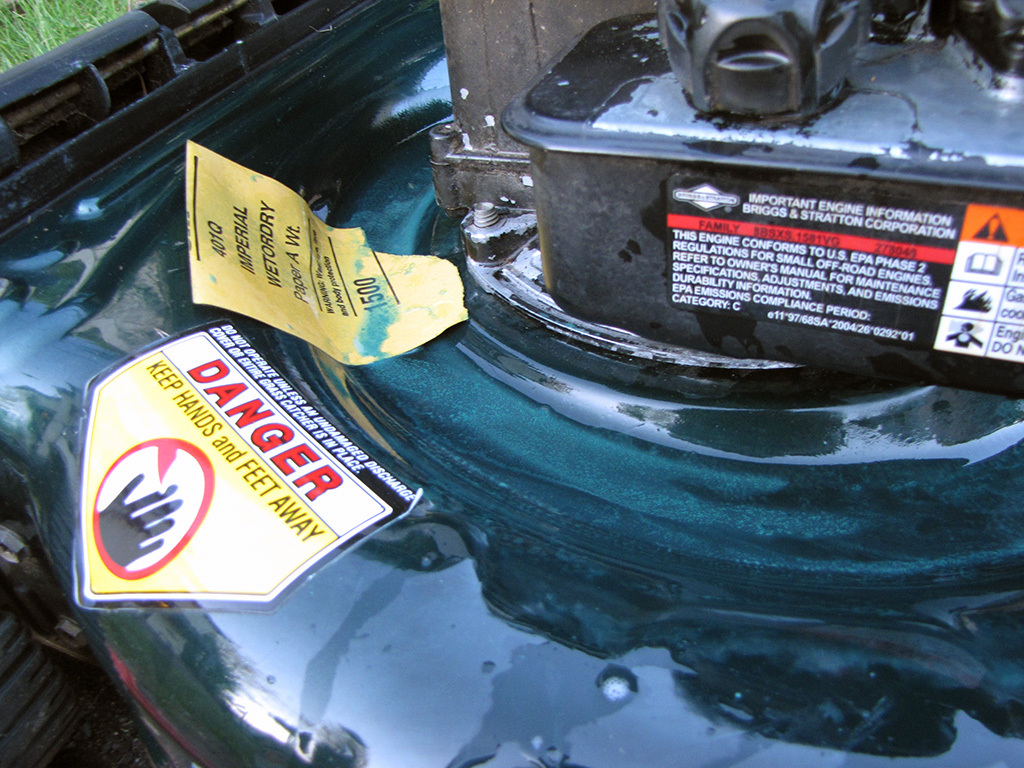
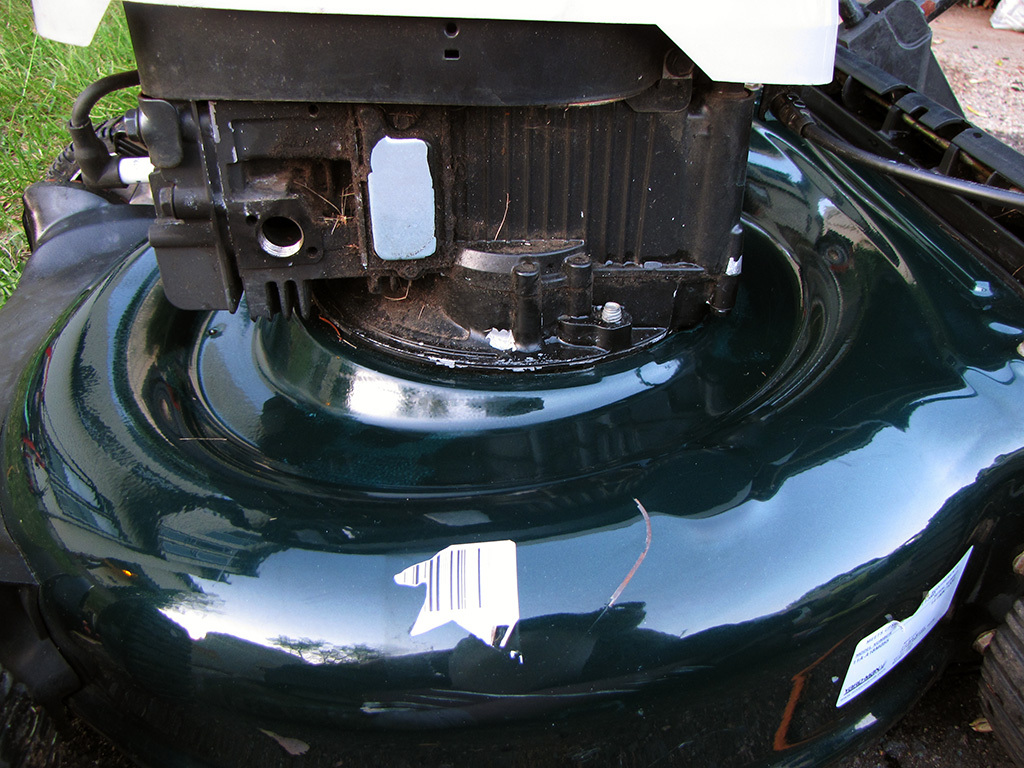
After its cleaned up, we can more clearly see the condition of the paint.
We can see fading, scratches, and damage caused by gasoline.
In most instances the next process will be sufficient.
With the deck clean and dry, put a dab of rubbing compound on the buffing pad.
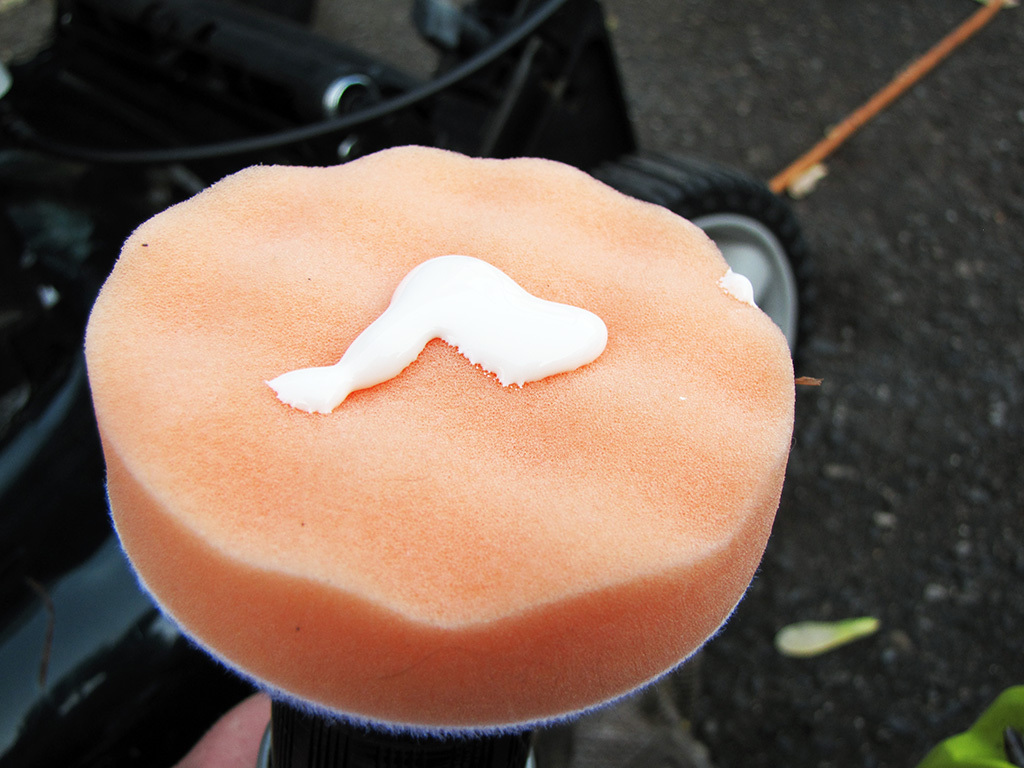
Place the pad on the deck and move it around to spread the compound before turning the drill on. Slowly spool the drill up to prevent slinging.
Work back and forth over an area, applying light pressure. Do not hold the drill in one place for long or apply excessive pressure.
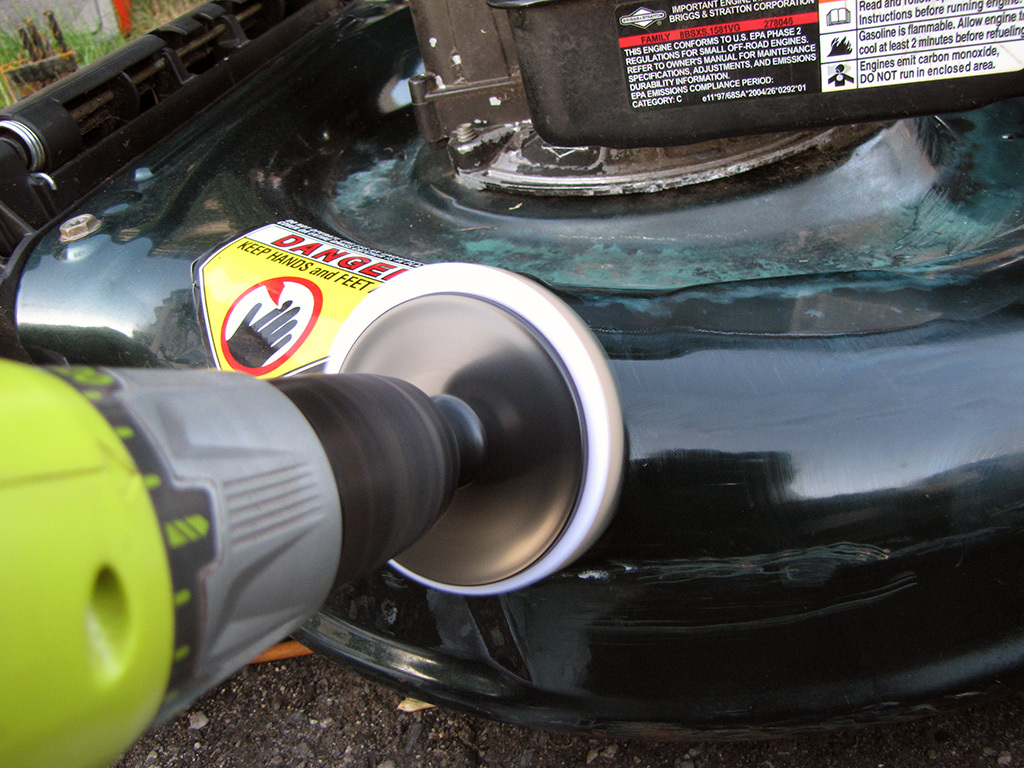
Wipe rubbing compound off with a clean cloth, do not allow it to dry.
Repeat as necessary until desired effect is achieved. Note that rubbing compound will not remove excessively deep scratches, but it will remove light scratches, swirls, and oxidation.
For areas that the buffer can't get to, apply some compound to a clean cloth and buff by hand. You'll get the same results, it'll just take more elbow grease.
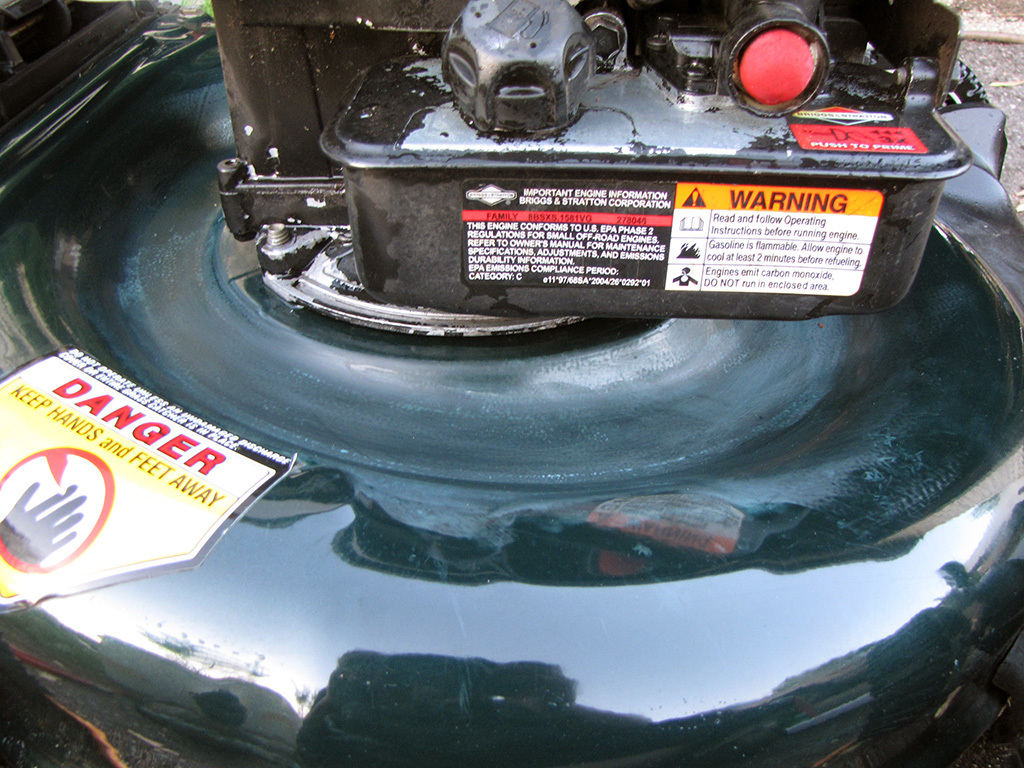
Now in this case, the mower must have gad quite a bit of fuel spilled on the deck and then sat there until it evaporated, as the damage is quite severe. Under normal circumstances rubbing compound will be enough. but in this case, more drastic measure were required. In fact, this is the first time I've had to wet sand a mower to bring the paint back, but it didn't take too long and the results speak for themselves.
With that said most renewal won't require this step, but since I did, I'll go over it.
Put some water in a buck with a bit of soap in it. this will act as a lubricant. Place a piece of 1500-2000 grit sandpaper in the bucket and let it soak for a few minutes. I used 1500 grit because that's what I had and it'll cut through the paint more quickly.
Get the area you plan to work on wet, and gently sand it. Apply more soapy water frequently to keep the sandpaper lubricated.
Ideally, you want to do this in a circular motion with light pressure, but that's not really possible in this area, so i went back and forth with light pressure.
Using 2000 grit after will net a better finish, but to be honest it wasn't needed for the the area I was working with.
Once the damaged paint/severe oxidation has been removed, rinse the area off and dry it.
Here's where the magic happens: Apply a dab of rubbing compound to your buffer pad or in this case cloth (as the buffer can't access this area) and work the compound in. Wipe the compound off with a clean cloth and repeat as necessary until you achieve the desired result.
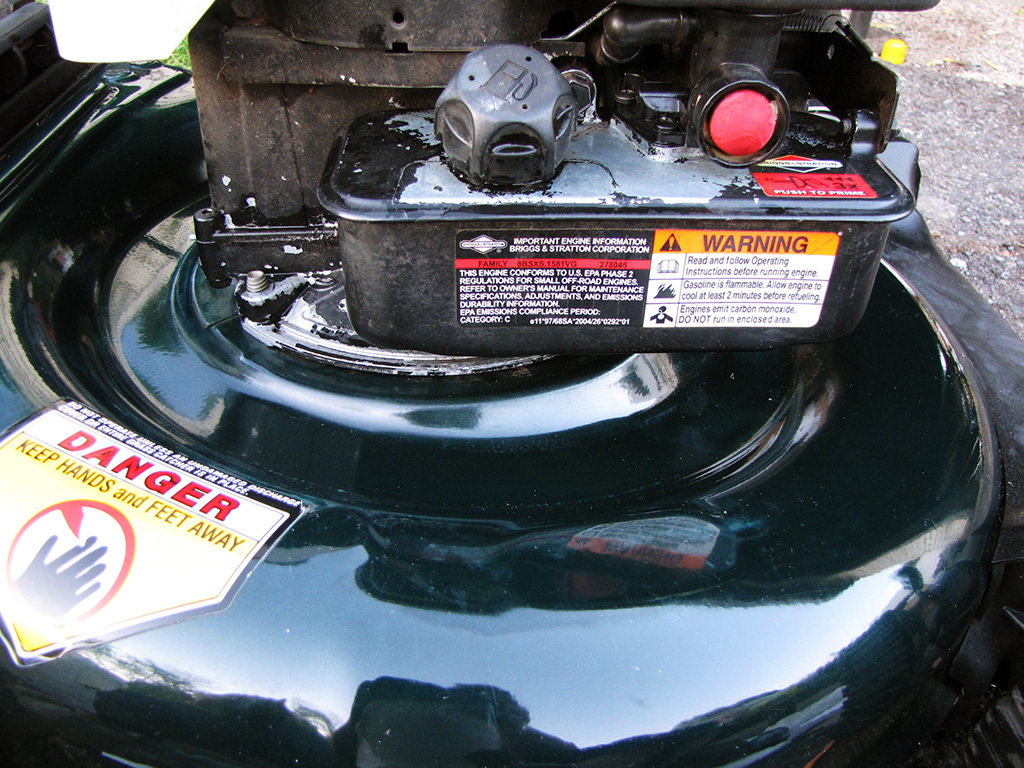
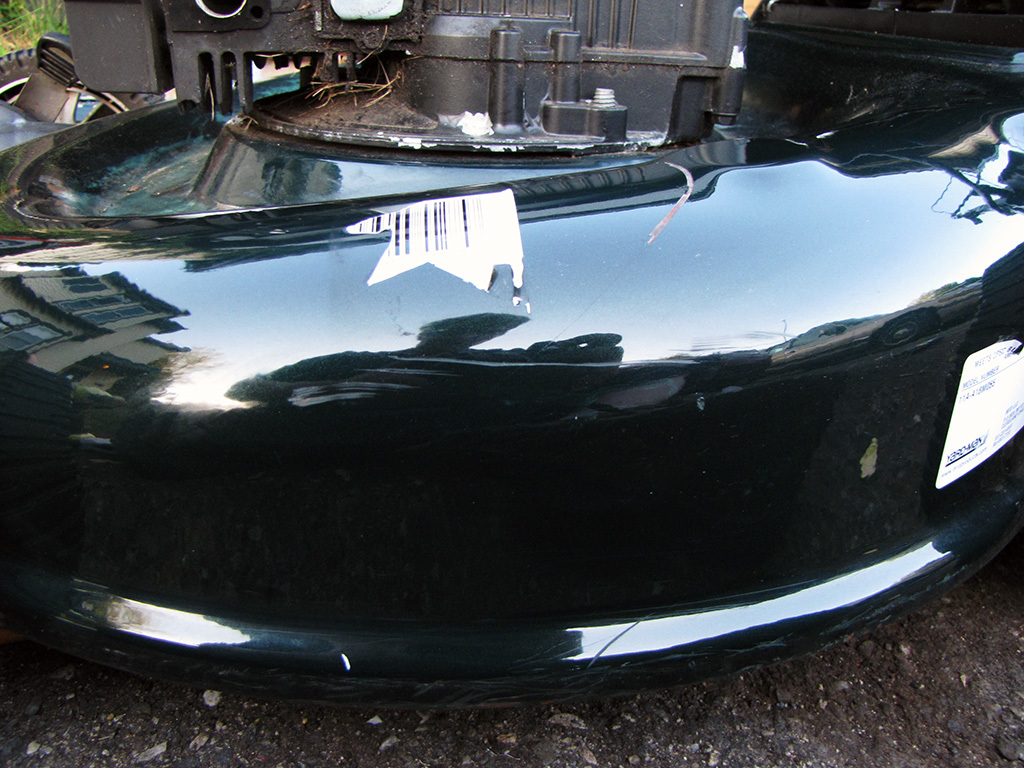
And there you have it! It doesn't take too long and the results are well worth it. By taking a little extra time to restore the finish on the mower, it looks far more valuable to a potential buyer, or if its your own, it looks much nicer in your garage!
The finished product (with some paint touch up on the engine).

The Tools:
- Car Wash
- Bucket
- Water
- Hose or...
- Pressure Washer (optional but makes life much easier)
- Cordless Drill
- 3M Scratch Removal Kit or equivalent. This kit comes with a drill attachment and two buffing pads. This pad is actually from a wheel restoration kit I got super cheap. Either will work.
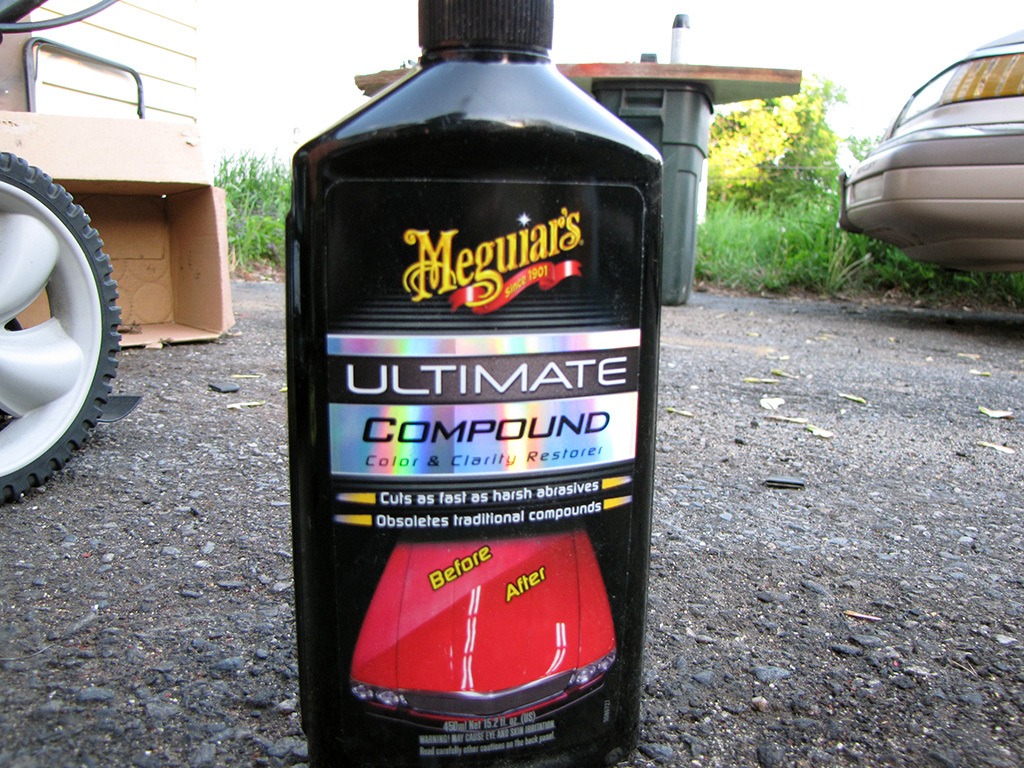
- Rubbing Compound - I use Meguiar's Ultimate or 3M. Both are high quality products.
- Clean rags. Microfiber towels are ideal, but as this isn't a show piece, shop towels or even good paper towels will serve our purpose.
For severe stains:
- Soapy water
- 1500-2000 Grit sand paper
The Mower:
It's a 2011 Yard Man 11A-A18M055.
This is the newest mower I've worked on so far. Picked it up for free in exchange for some scrap metal. Cleaned the fuel tank and carburetor out, replaced the plug and she fired right up.
Once the mower is functional, the next step for me in to clean it up and make it look presentable.
Step one is to pressure wash the crud off of the deck, followed by a scrubbing of car wash and water. Car wash is better for the paint than dish soap. I usually have a cheaper brand of car wash for the mowers (and the good stuff for my cars!).
After its cleaned up, we can more clearly see the condition of the paint.
We can see fading, scratches, and damage caused by gasoline.
In most instances the next process will be sufficient.
With the deck clean and dry, put a dab of rubbing compound on the buffing pad.
Place the pad on the deck and move it around to spread the compound before turning the drill on. Slowly spool the drill up to prevent slinging.
Work back and forth over an area, applying light pressure. Do not hold the drill in one place for long or apply excessive pressure.
Wipe rubbing compound off with a clean cloth, do not allow it to dry.
Repeat as necessary until desired effect is achieved. Note that rubbing compound will not remove excessively deep scratches, but it will remove light scratches, swirls, and oxidation.
For areas that the buffer can't get to, apply some compound to a clean cloth and buff by hand. You'll get the same results, it'll just take more elbow grease.
Now in this case, the mower must have gad quite a bit of fuel spilled on the deck and then sat there until it evaporated, as the damage is quite severe. Under normal circumstances rubbing compound will be enough. but in this case, more drastic measure were required. In fact, this is the first time I've had to wet sand a mower to bring the paint back, but it didn't take too long and the results speak for themselves.
With that said most renewal won't require this step, but since I did, I'll go over it.
Put some water in a buck with a bit of soap in it. this will act as a lubricant. Place a piece of 1500-2000 grit sandpaper in the bucket and let it soak for a few minutes. I used 1500 grit because that's what I had and it'll cut through the paint more quickly.
Get the area you plan to work on wet, and gently sand it. Apply more soapy water frequently to keep the sandpaper lubricated.
Ideally, you want to do this in a circular motion with light pressure, but that's not really possible in this area, so i went back and forth with light pressure.
Using 2000 grit after will net a better finish, but to be honest it wasn't needed for the the area I was working with.
Once the damaged paint/severe oxidation has been removed, rinse the area off and dry it.
Here's where the magic happens: Apply a dab of rubbing compound to your buffer pad or in this case cloth (as the buffer can't access this area) and work the compound in. Wipe the compound off with a clean cloth and repeat as necessary until you achieve the desired result.
And there you have it! It doesn't take too long and the results are well worth it. By taking a little extra time to restore the finish on the mower, it looks far more valuable to a potential buyer, or if its your own, it looks much nicer in your garage!
The finished product (with some paint touch up on the engine).